Edit Photos Like a Pro With Luminar Neo
Discover how Luminar Neo simplifies photo editing with pro-level tools and minimal effort. Explore Luminar Neo top features in this guide.

Learning to edit photos requires us to invest a good chunk of time. You also need to have a passion for editing pictures, or you will get bored easily. But what if I tell you that there’s a photo editing app that lets you edit your photos like a pro with minimal effort?
It might sound too good to be true, but it is possible with Luminar Neo. In this guide, I will guide you through my favorite Luminar Neo features to showcase why this photo editing app might just be the one you need.

Save Up To 75% With Luminar Neo's Summer Sale!
5 Luminar Neo features that will blow your mind
1. Sky Replacement AI
If you enjoy capturing beautiful landscape photos, you know that sometimes the lighting or the weather can ruin your perfect shot. Well, your photo no longer needs to go to your computer’s trash bin, thanks to Luminar’s Sky Replacement AI.
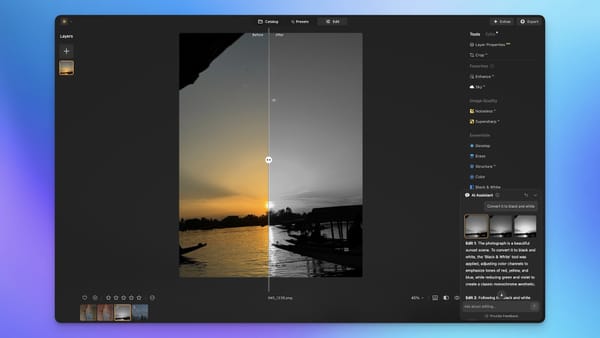
The feature uses advanced AI algorithms to replace skies while maintaining realistic lighting throughout the image. Here, we have a beautiful photo that I captured. However, since the lighting was not that great, the sky looks a little flat.
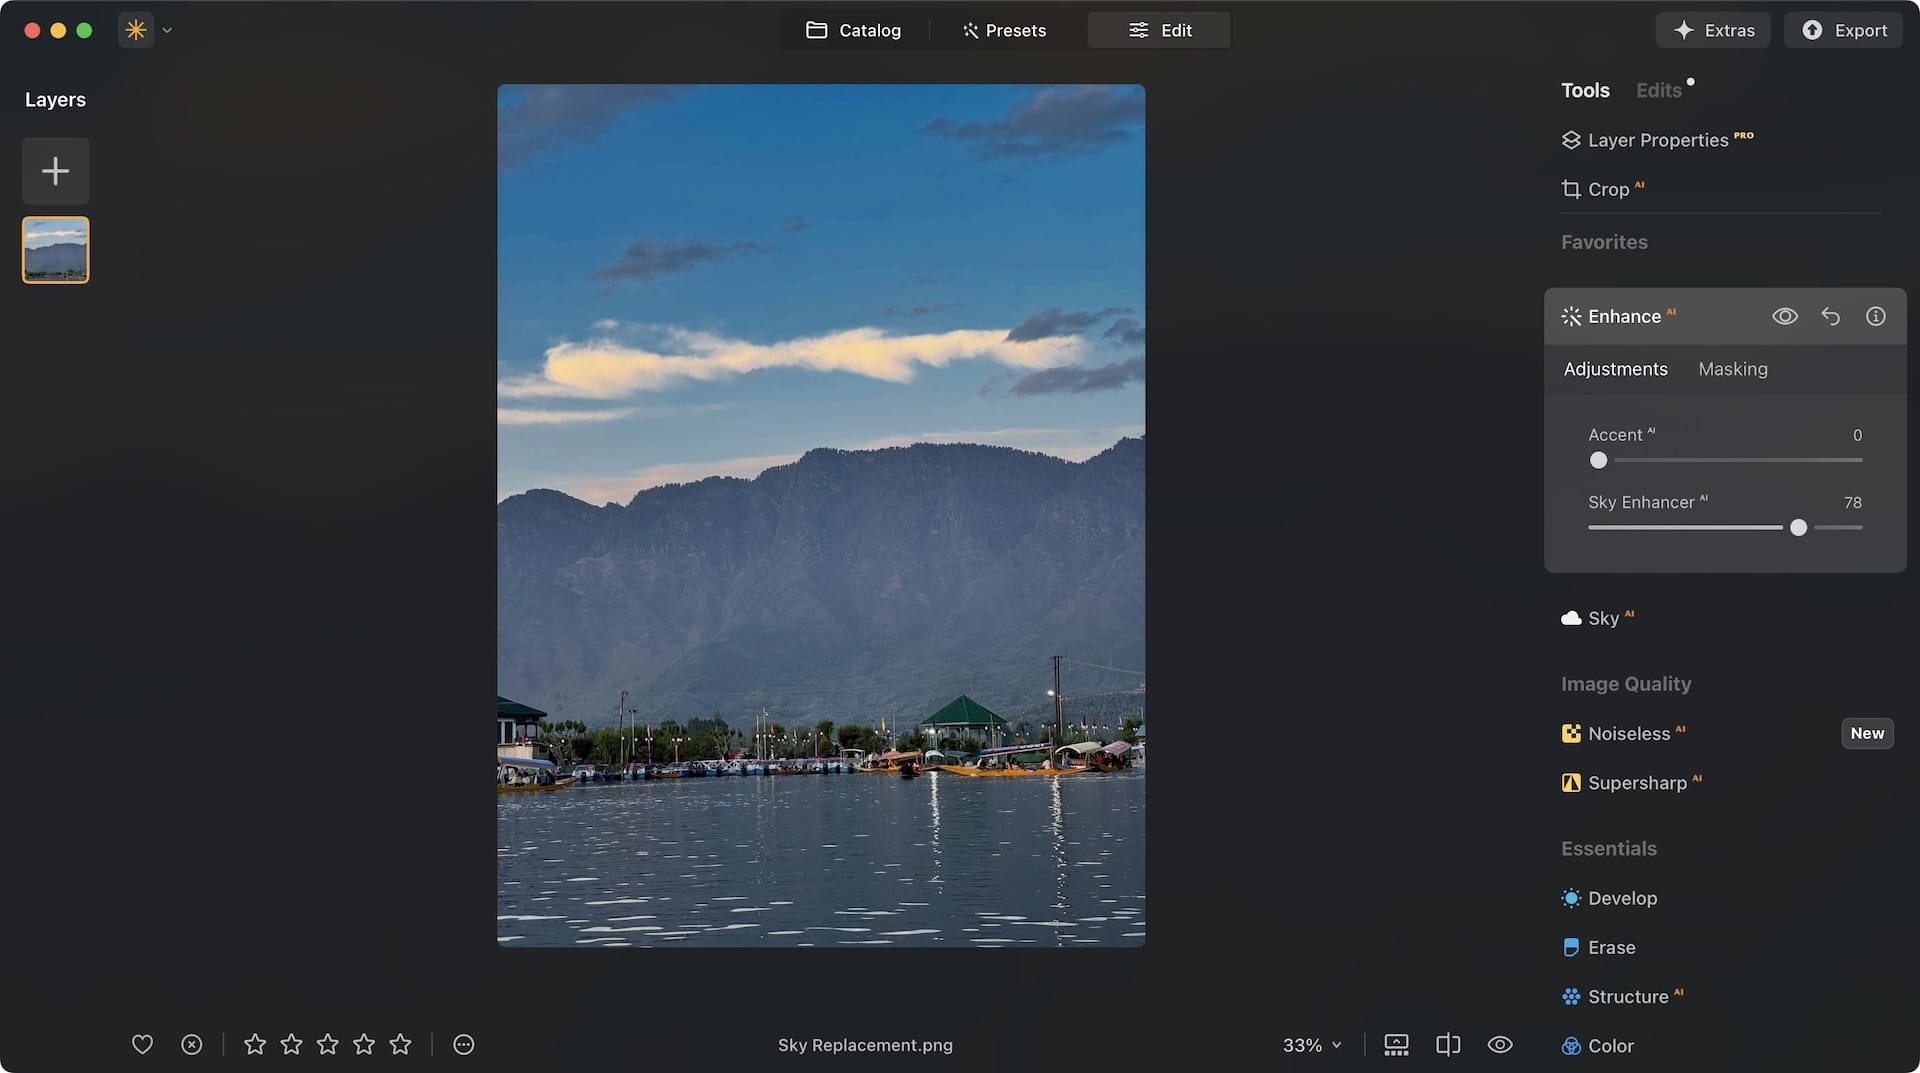
Luminar gives me two courses of action here. I can use the Sky Enhancer AI to bring some color back. See how I can do this with a simple slider. I don’t have to perform any complex tasks, like manually selecting the sky and creating a mask.
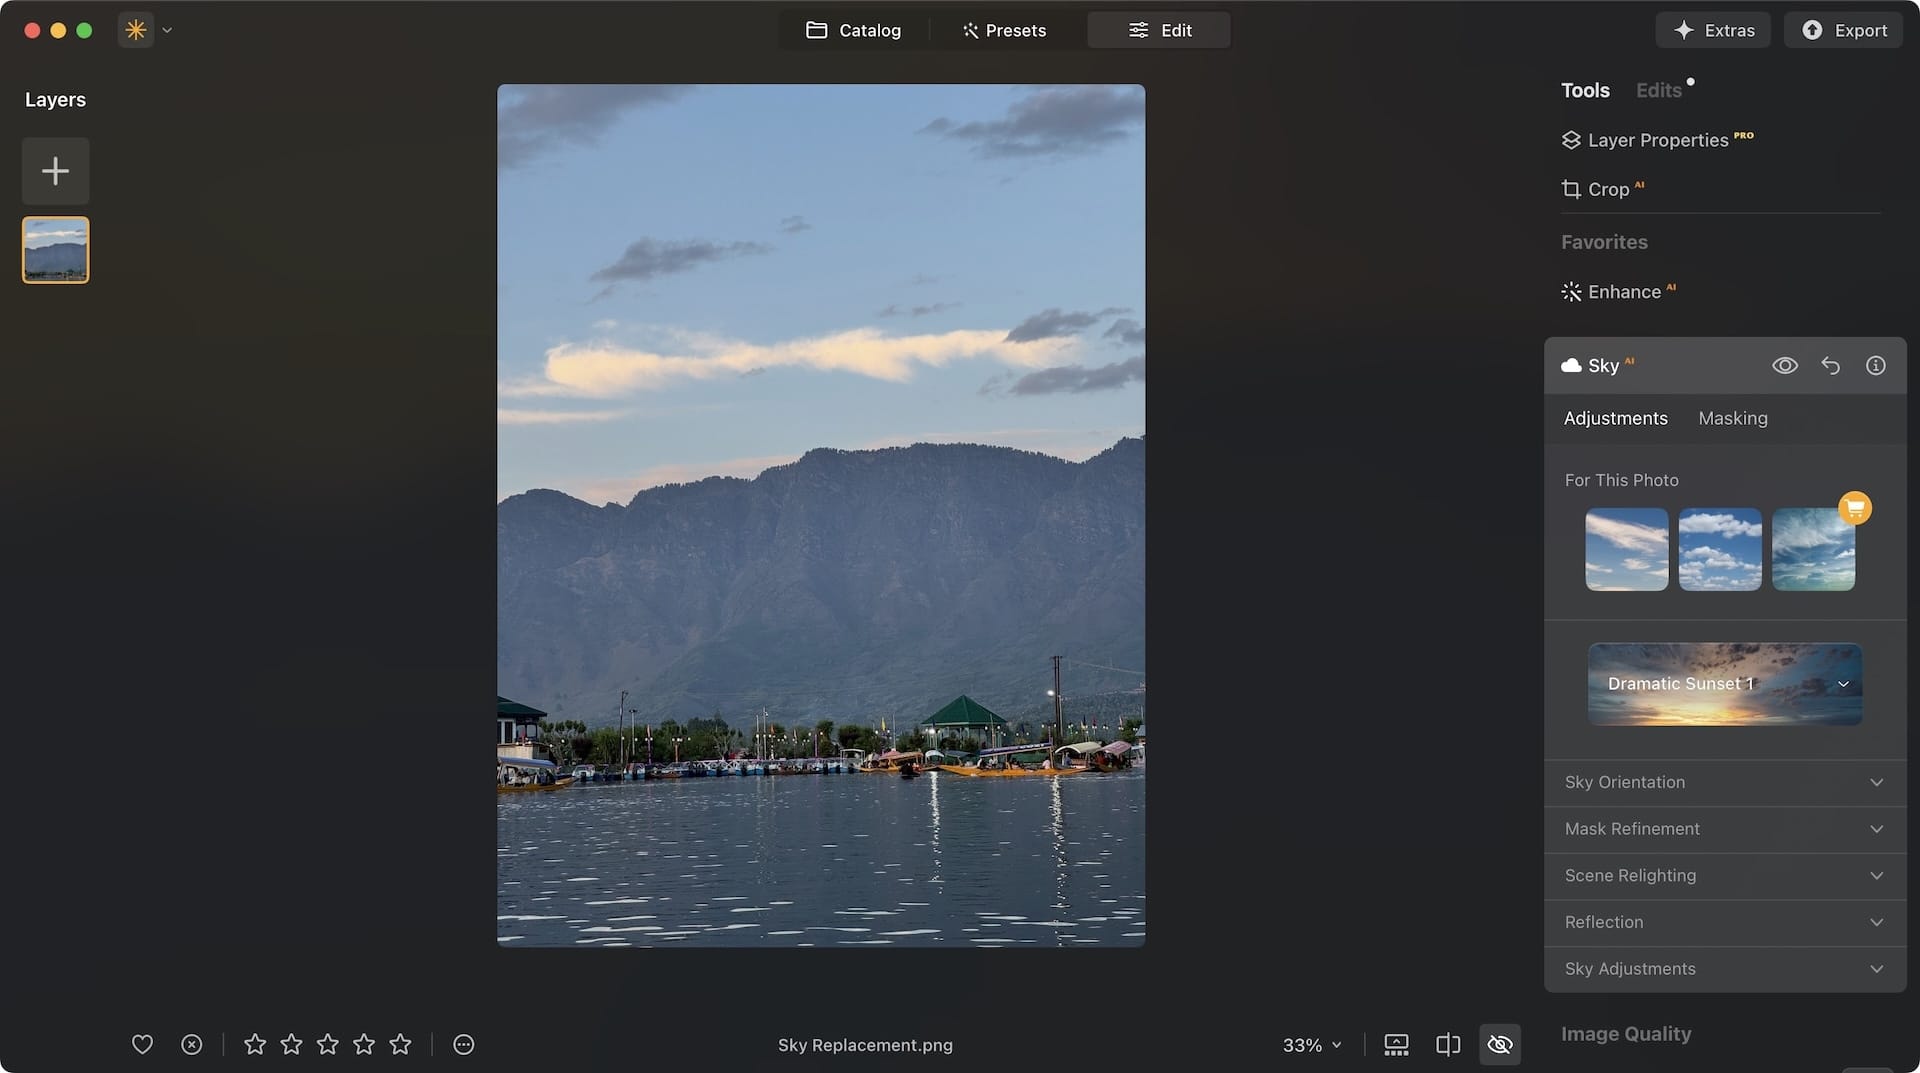
The image is already looking better, but what if I want to make a more dramatic change? I can do that with Luminar Neo’s Sky AI replacement tool. You get a selection of over 30 different skies, and you can click on any of them to apply it.
Again, with a simple click, I have completely changed how the sky looks. You can go for a subtle change or replace the sky with something dramatic altogether. Notice that as I choose different sky options, it’s also relighting the image to match the sky condition.
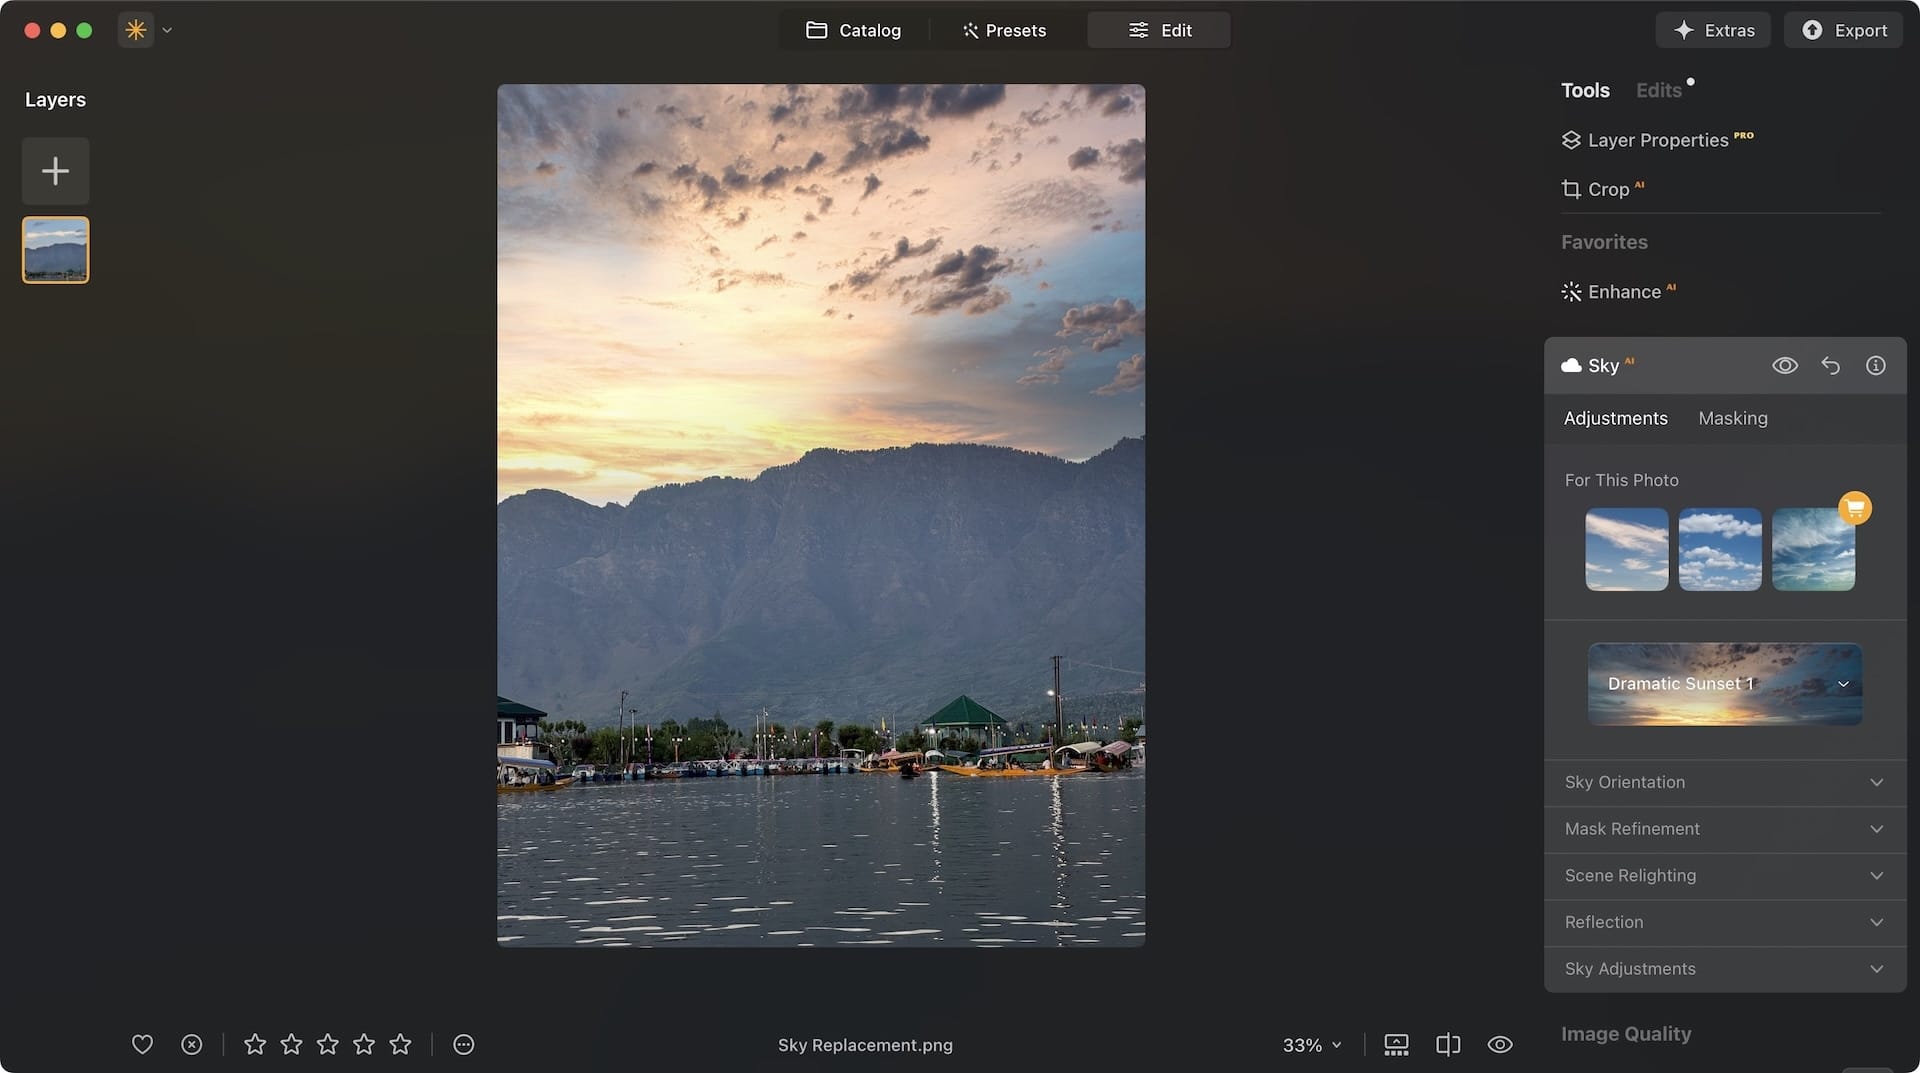
Once you decide on what you want to use, you have options to fine-tune it. You can adjust the sky position, relight strength, add grain, defocus, and more. Notice that you can make all the adjustments with a simple slider.
In my experience, I didn’t have to make any adjustments, as Luminar Neo got it right almost all the time.
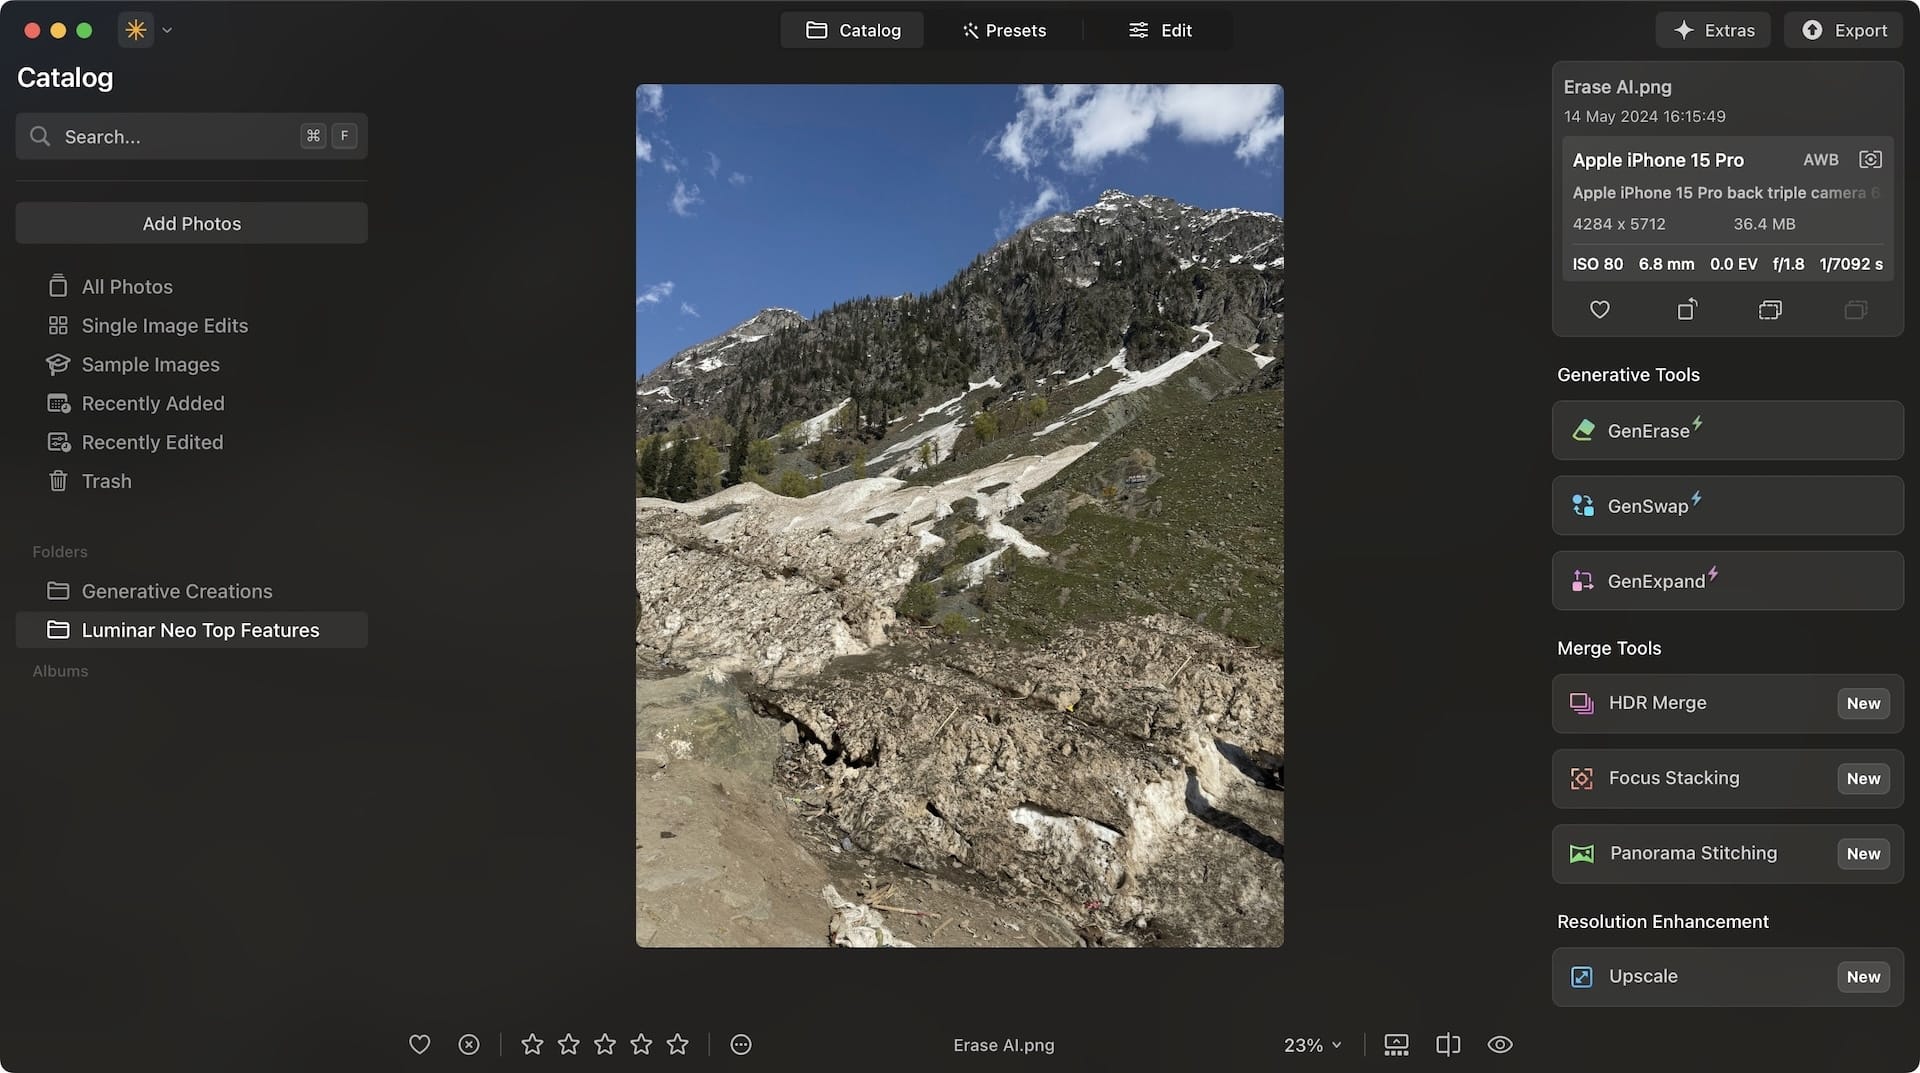
2. Erase power lines, objects, people
In photography, it’s inevitable that someone or something will ruin your photo. Most photo editing apps comprise an object removal option that somewhat helps with this issue, but what Luminar Neo does is on another level.Here, I have a photo with dozens of people in it.

Look what happens when I use the Erase tool to remove them from the shot. Is your mind blown yet as mine surely did. I have just removed dozens of people from the shot without introducing any noticeable artifacts in the photo.
I will show you another cool feature of Luminar Erase. Here, I have a photo with a power line in it. I can hit the Remove Powerlines button, and it will recognize and remove it.
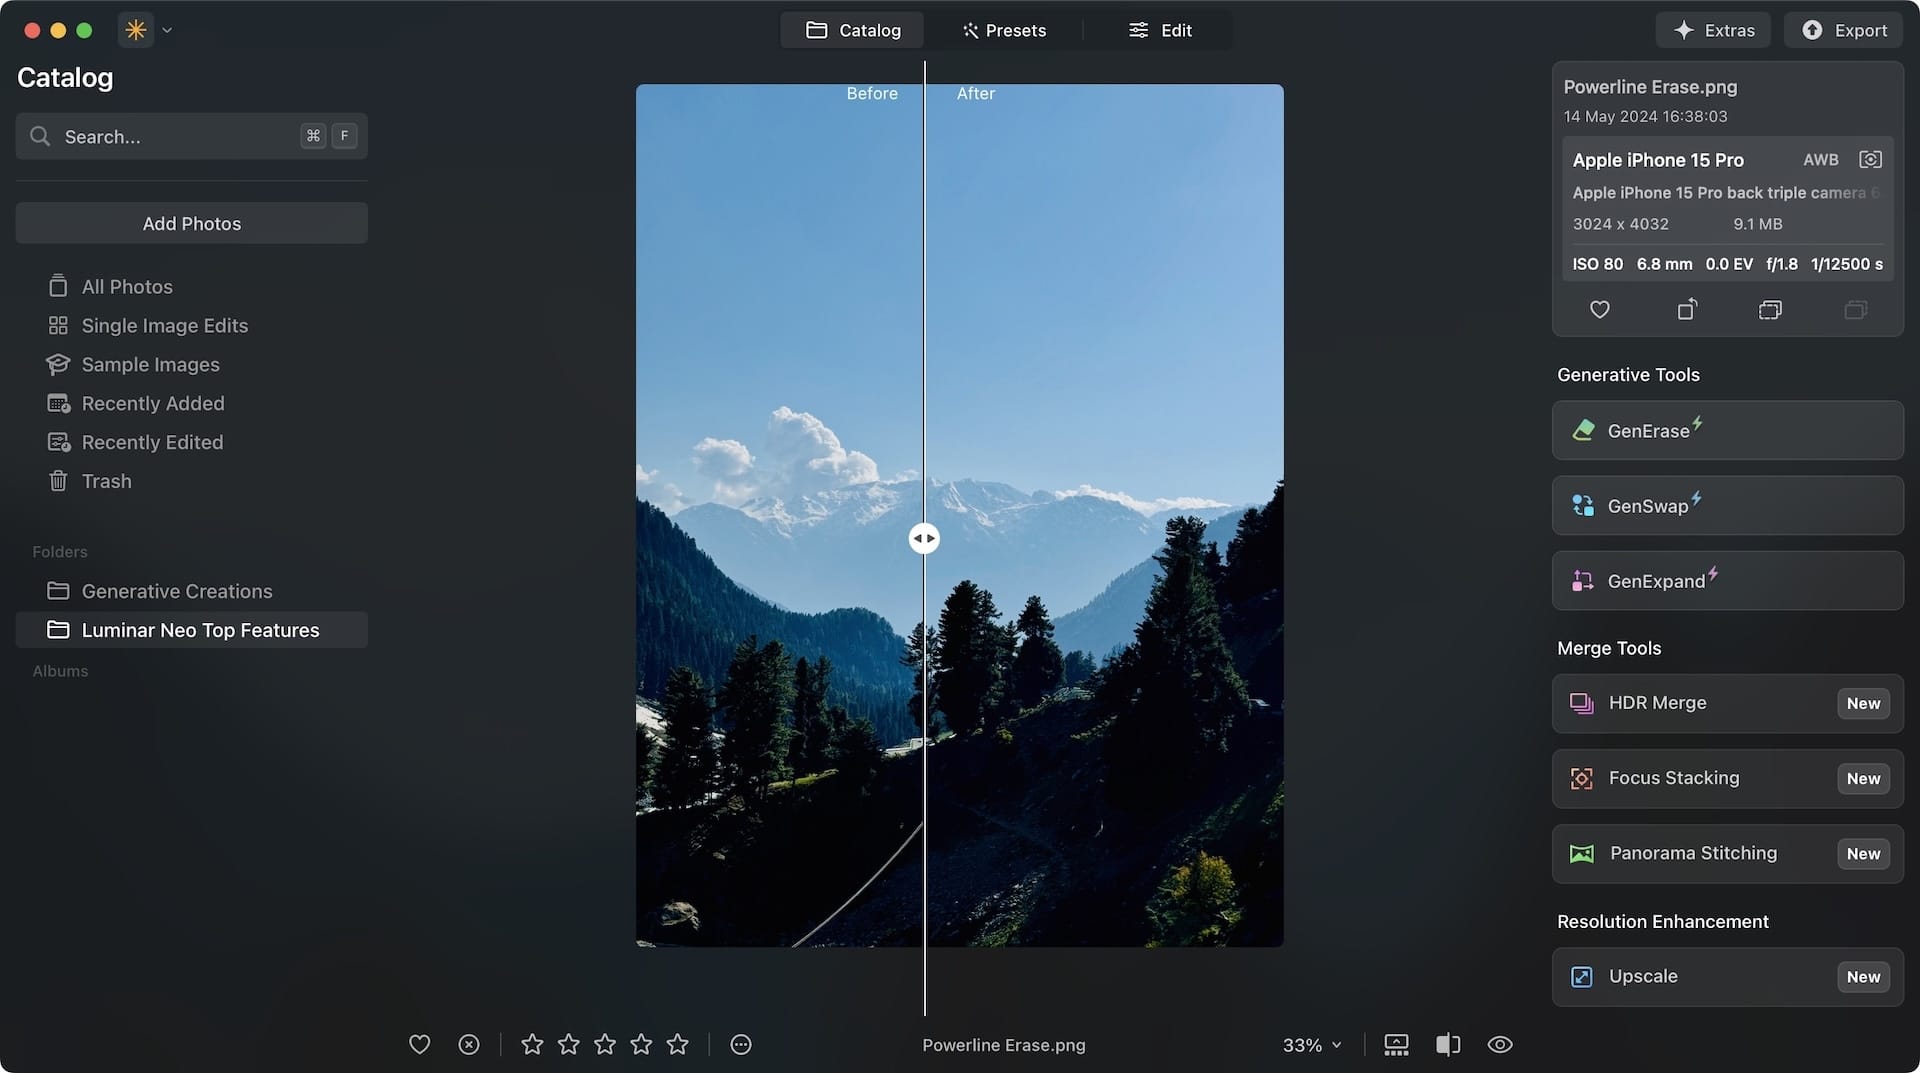
Tell me another photo editing app that can deliver this level of quality for such low effort required from my side. I have tested all popular photo editing apps for this workflow, and none come closer.
3. AI Portrait Suite
Luminar Neo also offers a suite of editing tools that will help you master your portrait shots. You can relight the scene, introduce background blur, remove noise, and do so much more.
Using the Face editing tools, I can adjust the face proportion, change eye color, remove red eyes, and make all sorts of adjustments. Using the Skin slider, I can remove any freckles or wrinkles and use the body editing tools to adjust the body shape.
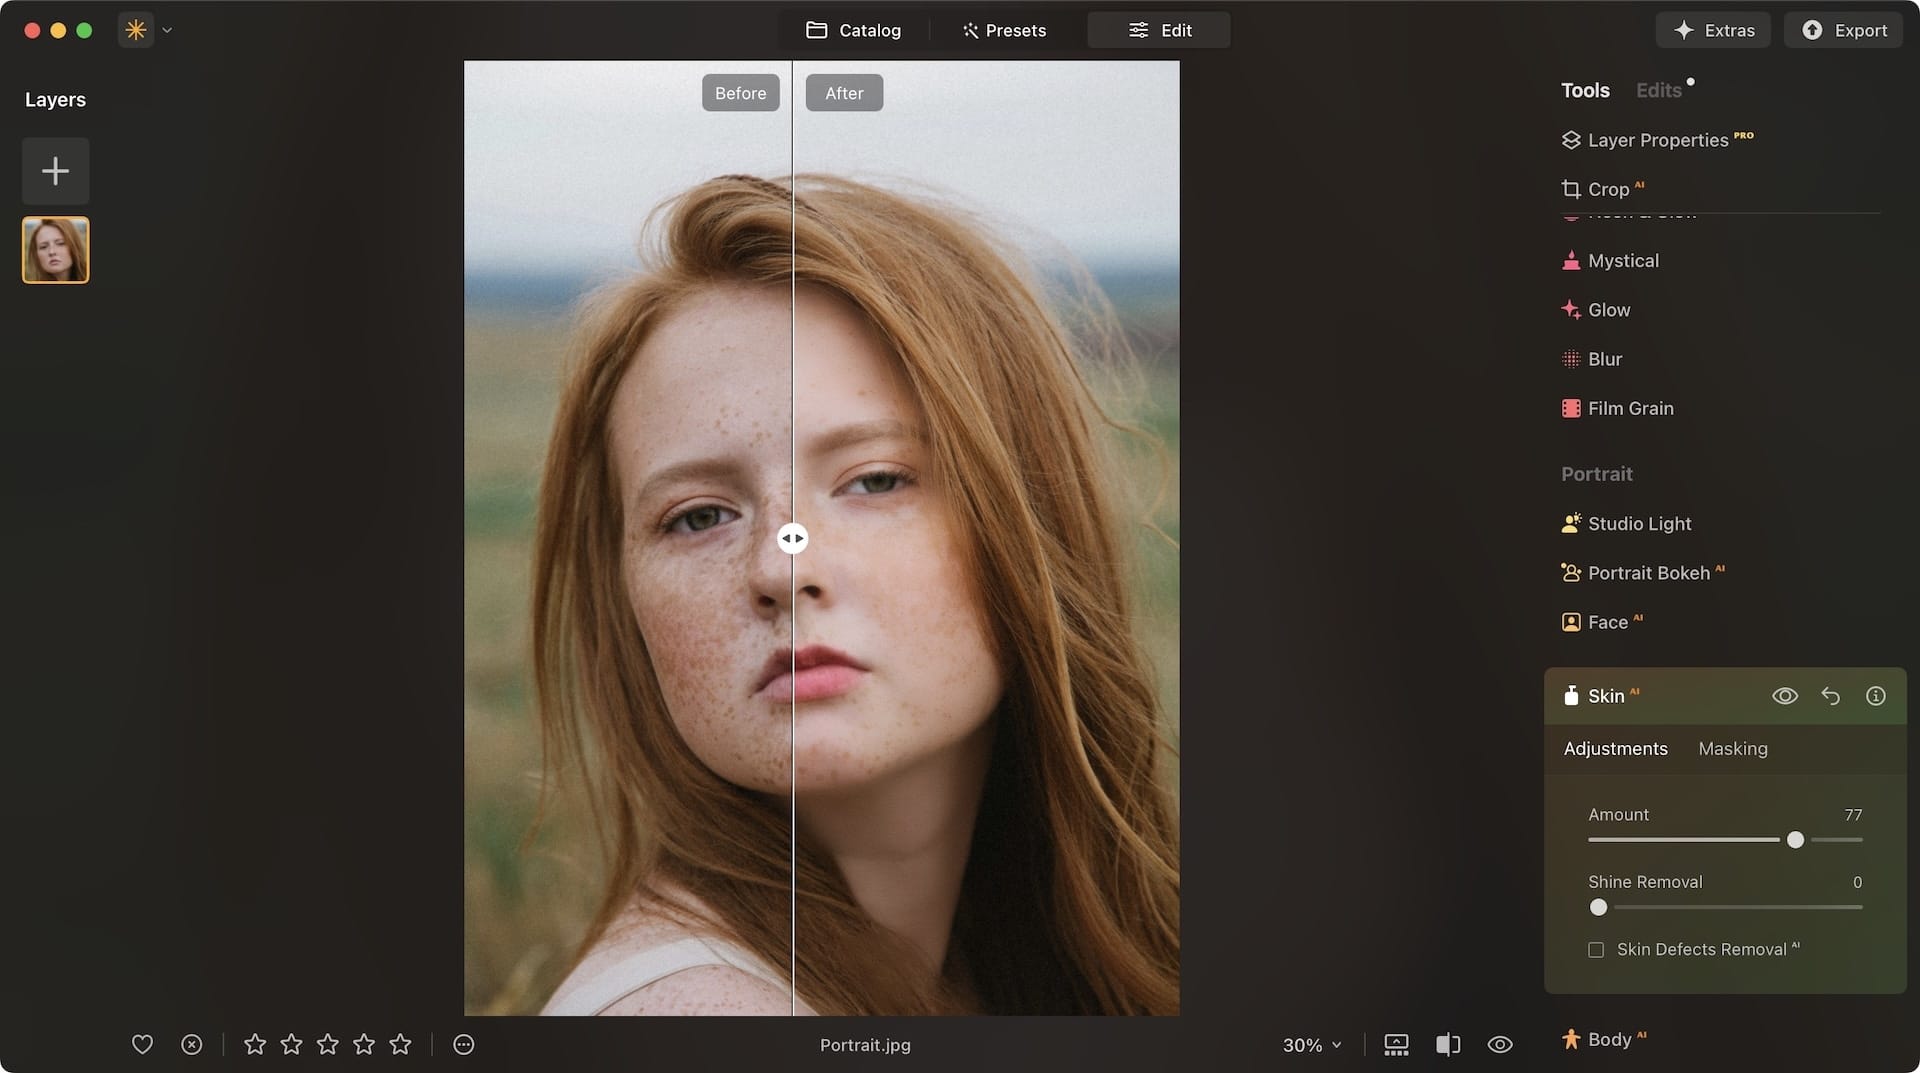
I am exaggerating all these effects in this article so you can see the difference. When editing a photo, be more careful and apply these effects conservatively to get the best results.
Before moving to the next section, if portrait editing is your primary focus, I recommend exploring Aperty. It specializes in portrait photo editing and provides greater control and advanced features.
4. SuperSharp AI
Another issue we face when capturing a photo is - blur. Sometimes your hands shake, or you are in a moving vehicle, and the shots don’t come out as you want. Luminar Neo has a Supersharp AI feature that can help you with it.
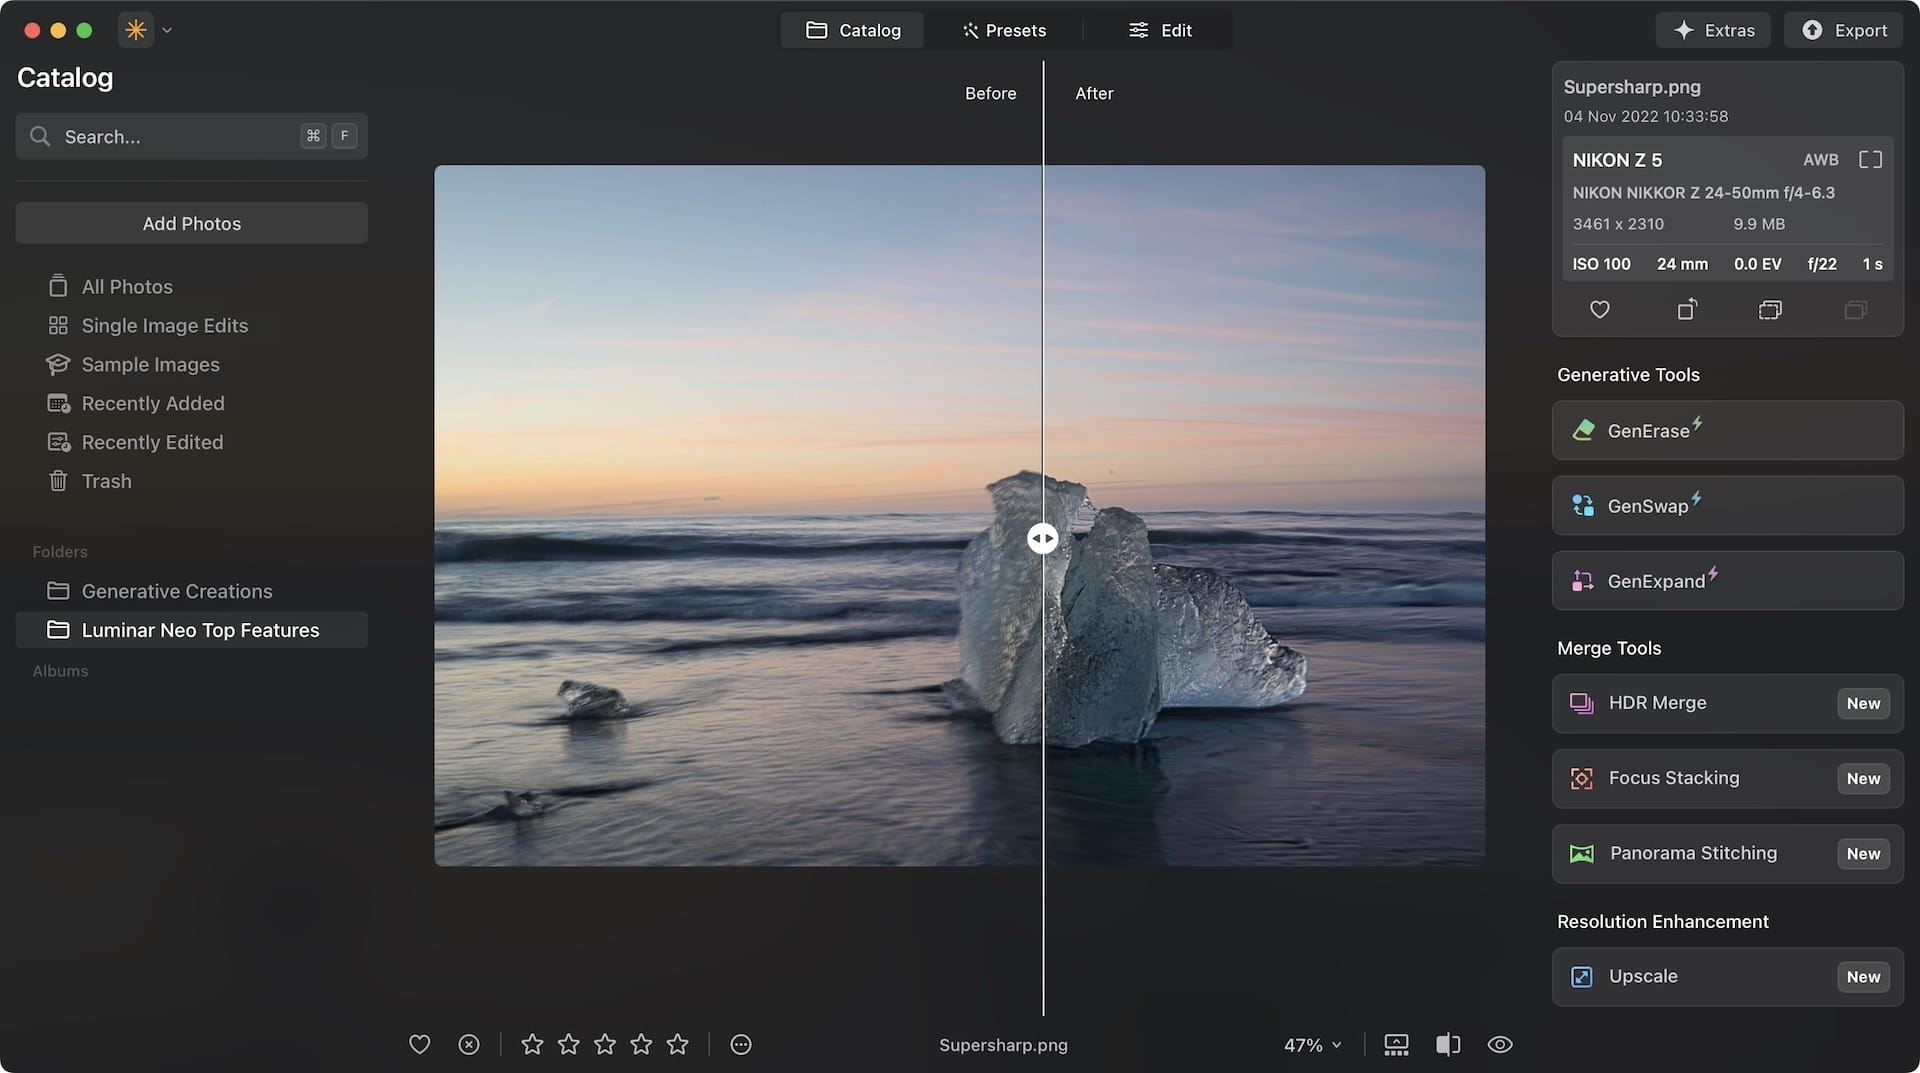
With a single click of the button, Luminar’s SuperSharp AI analyzes the photo and does its best to unblur it. It’s almost magical. The final result will depend on the blur amount, but in most cases, I have found the results to be excellent.
5. GenSwap AI
As the name suggests, GenSwap AI in Luminar Neo allows you to replace objects in photos using the generative AI feature. You can add objects or replace visuals with AI-generated content.
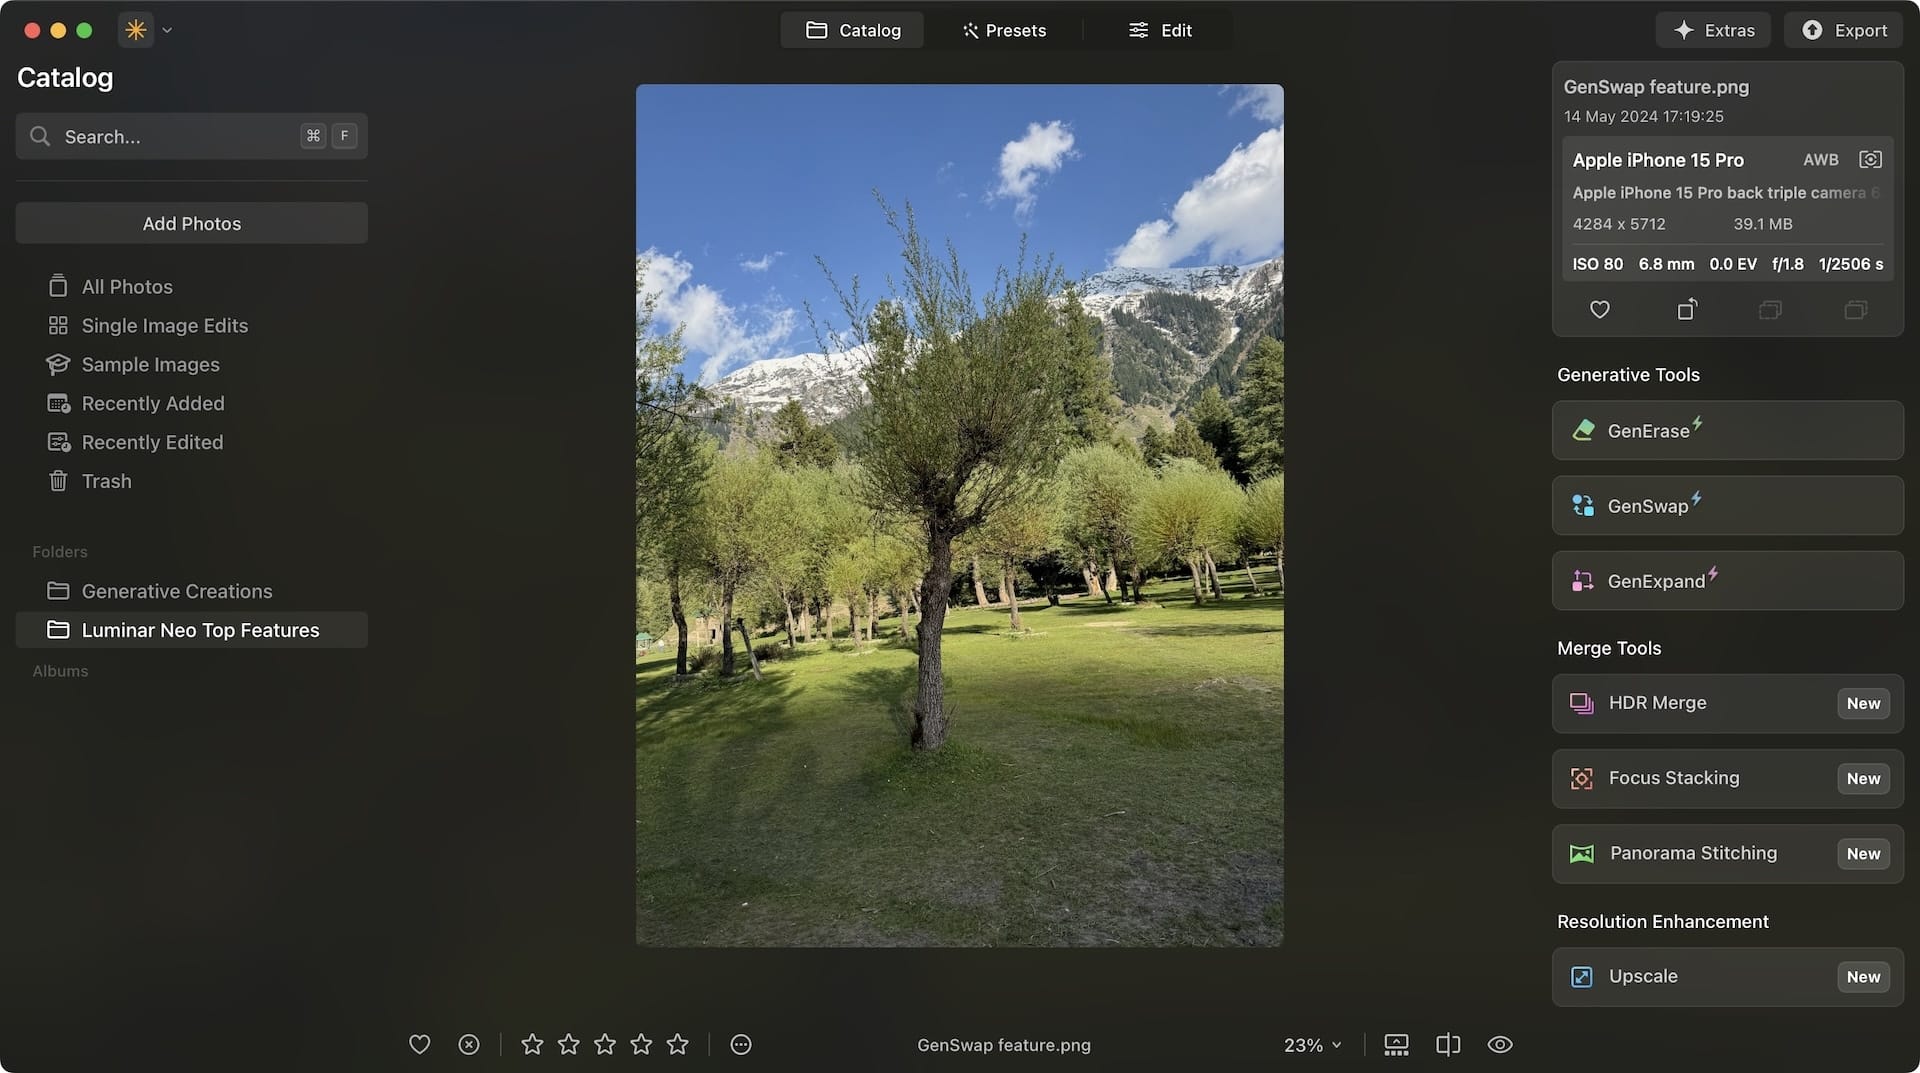
Here, I have an image of a tree. Let’s say I want to add blooming flowers to the tree. I will click the GenSwap AI button and paint over the parts I want to change. Now, I will add a prompt and wait for the AI to do its magic.
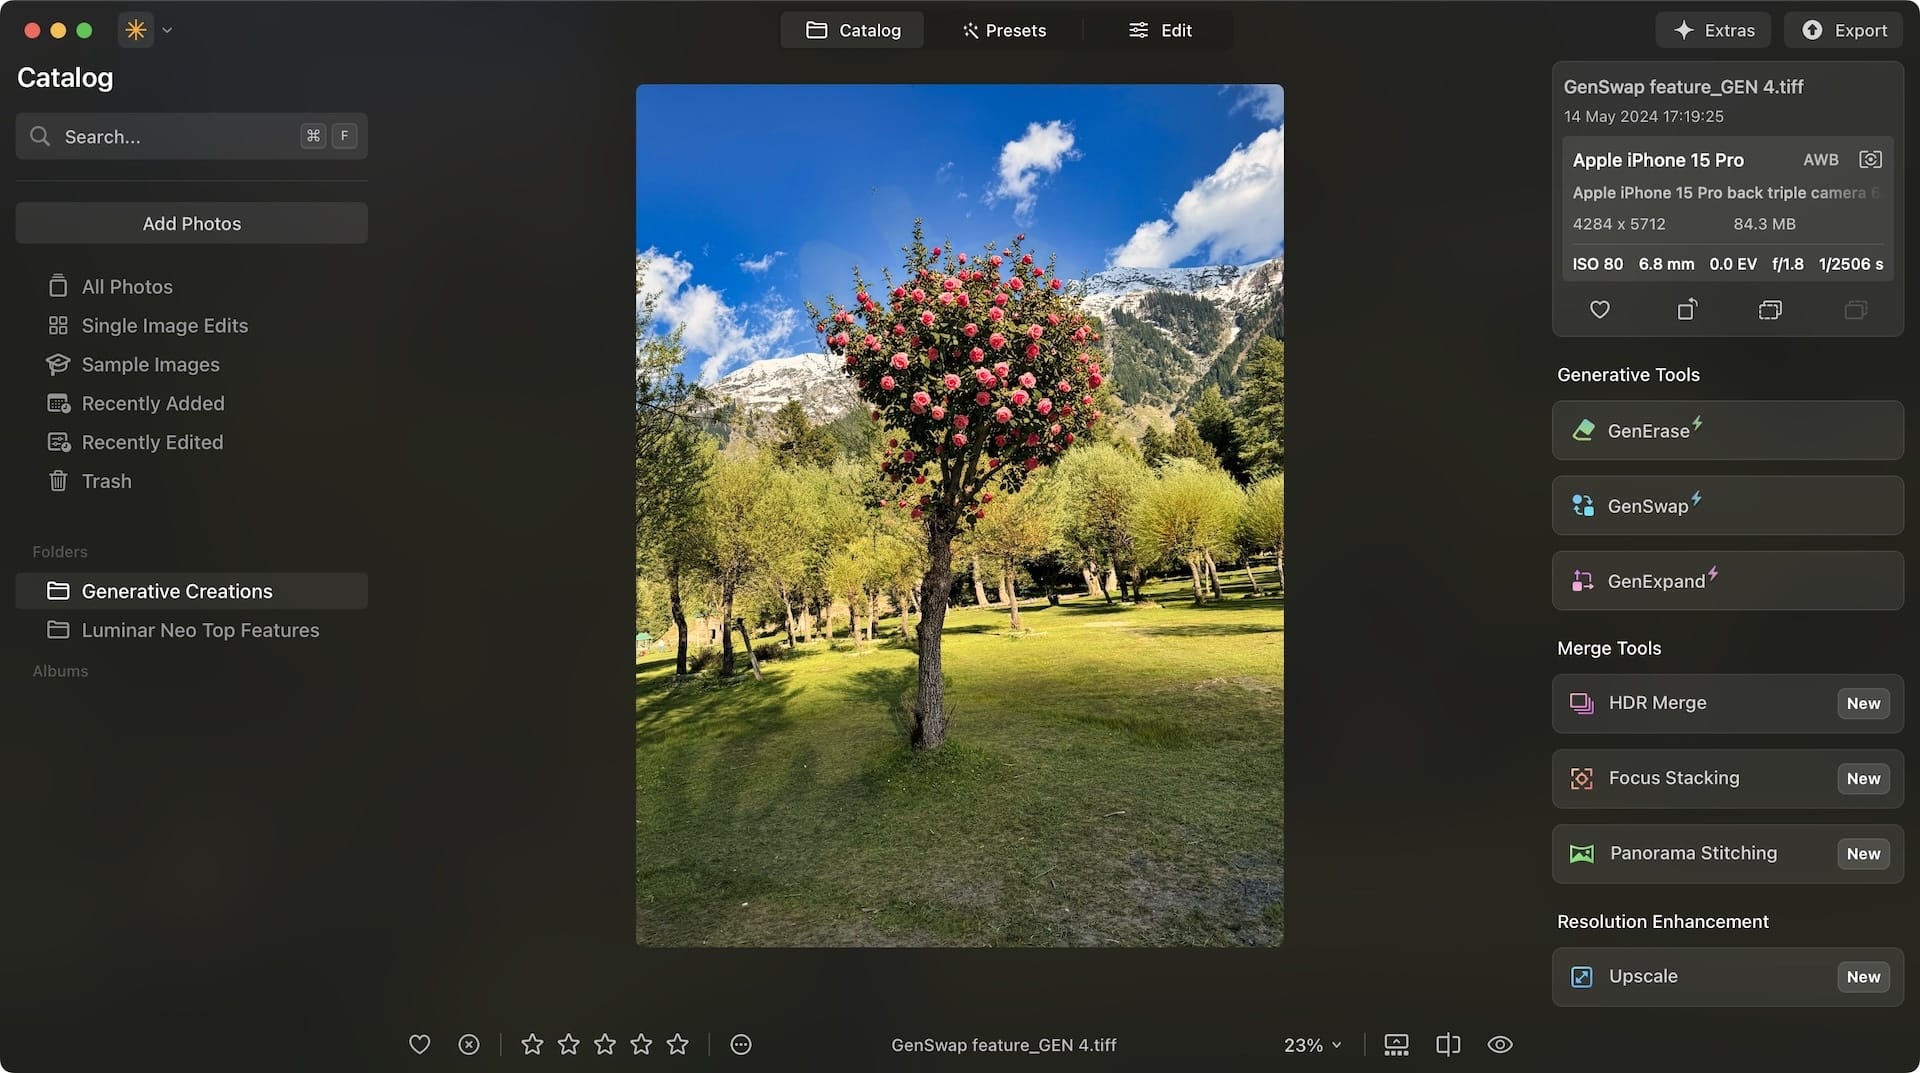
As you can see, the tree is now blooming with flowers. I can even replace the flower with the one I want.Of course, the AI is not perfect, and the results will depend on the specific prompt you use. But once you get the prompt right, the results can be impressive.
Luminar Neo: top features
In addition to the five highlighted features, Luminar Neo offers dozens of other tools that simplify photo editing. Click the link below to download and install the app today.