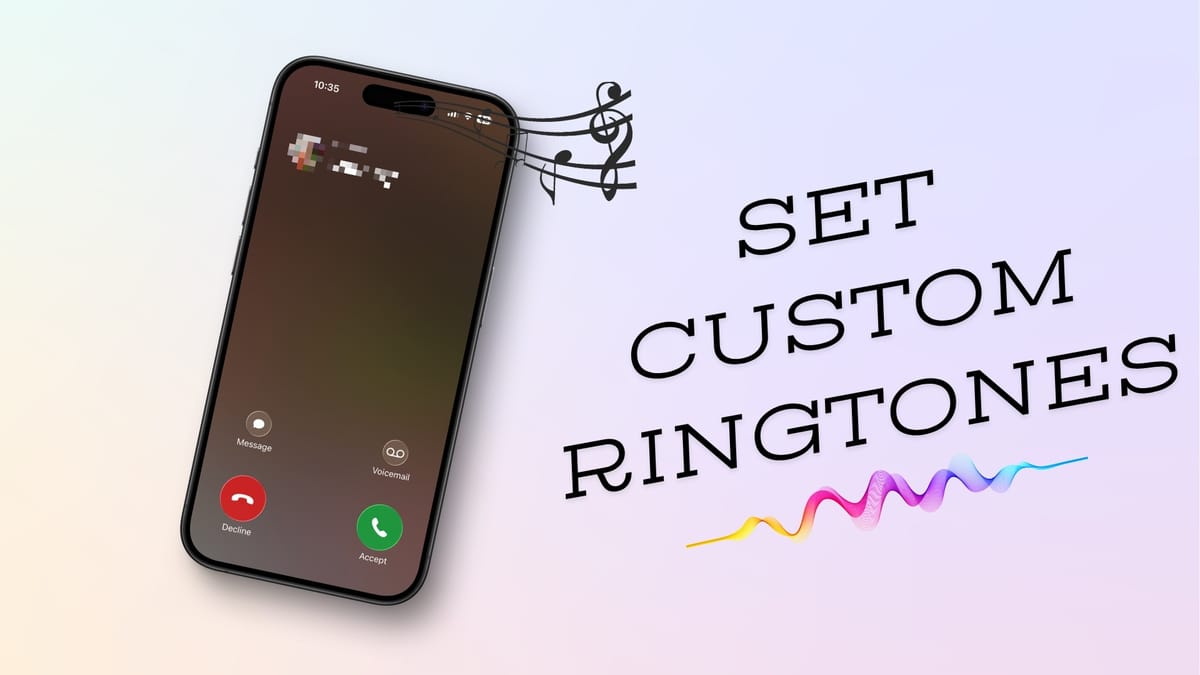
How to Set Custom Ringtones on iPhone
Here is how to set custom ringtones on iPhone with iOS 26's new feature. Set custom iPhone ringtones without using GarageBand.
Setting custom ringtones on iPhone has always been a challenging task, requiring us to use GarageBand to create and add ringtones. That has changed with the latest iOS 26 update. Now, you can easily set any audio file as your custom ringtone on an iPhone. Here’s how to do it.
Set custom ringtone on iPhone
To set a custom ringtone on iPhone, first download the ringtone file and open it in the Files app. Now, follow the steps below:
1. Long-press on the ringtone and tap the Share button.
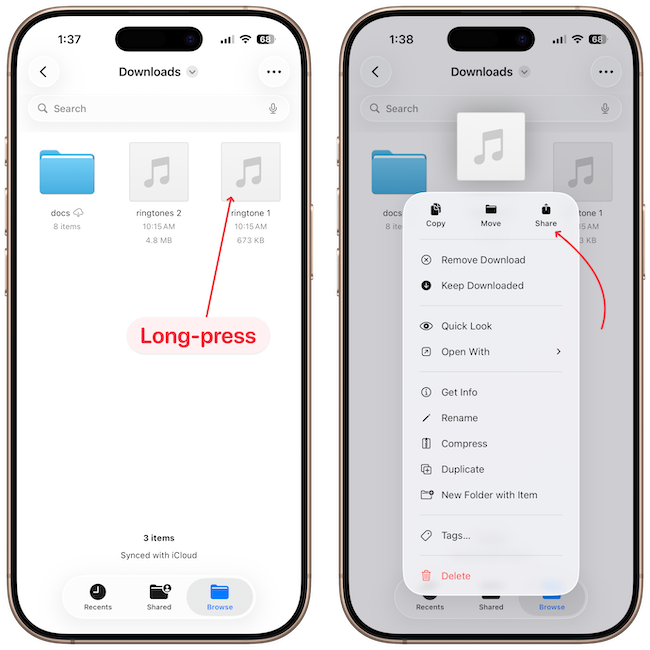
2. Tap on More and you should see a Use as Ringtone action.
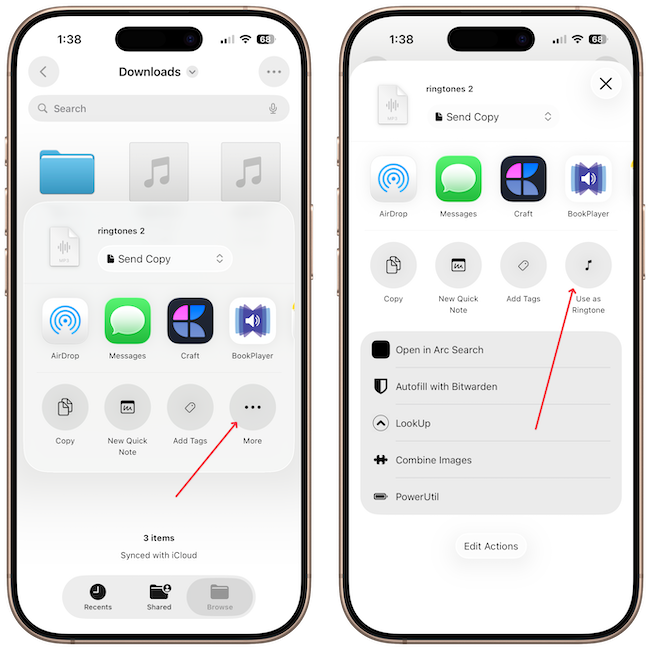
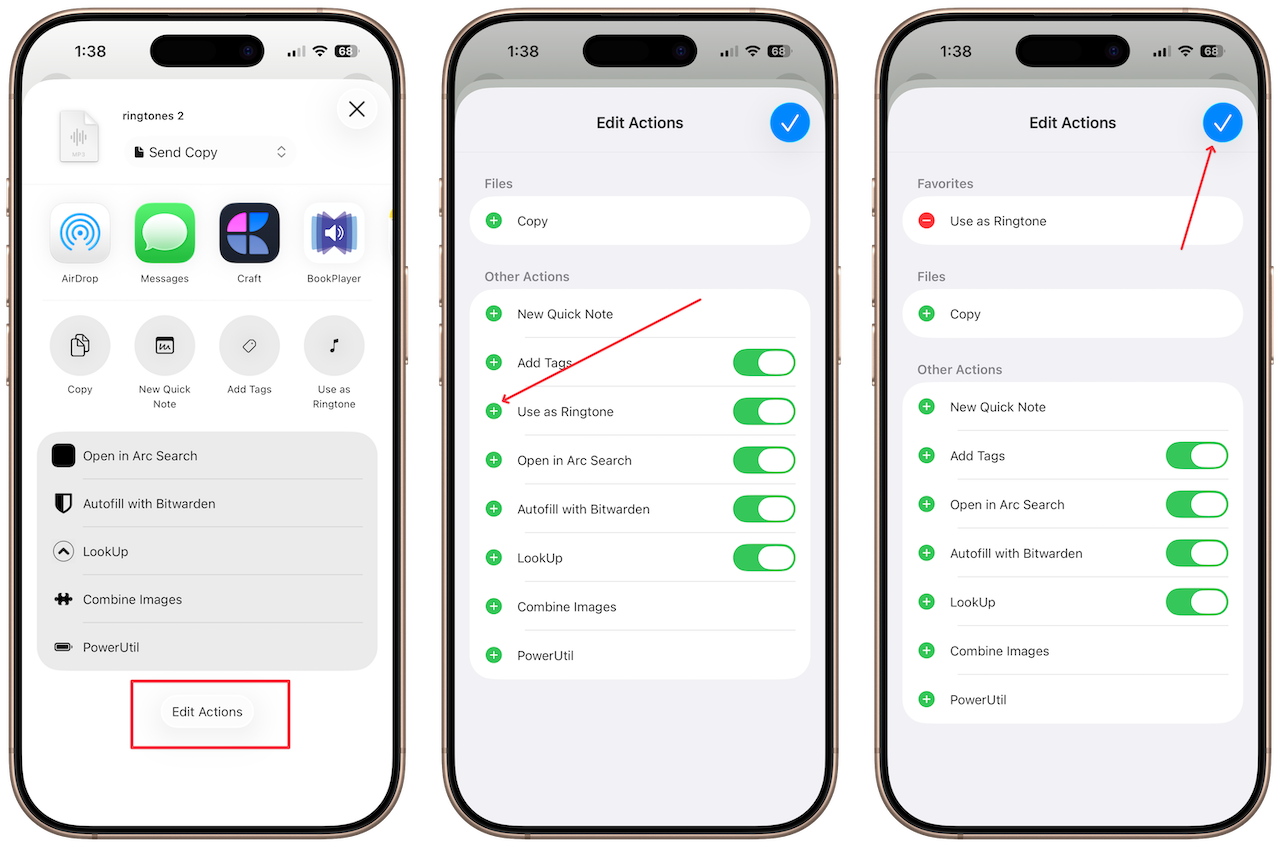
3. If you don’t see it, tap the Edit Actions button and hit the plus (+) button next to Use as Ringtone. This option will now appear in the Share Sheet.
4. Tap on 'Use as Ringtone,' and you can see that I have an error here. It says that the ringtone should be under 30 seconds.
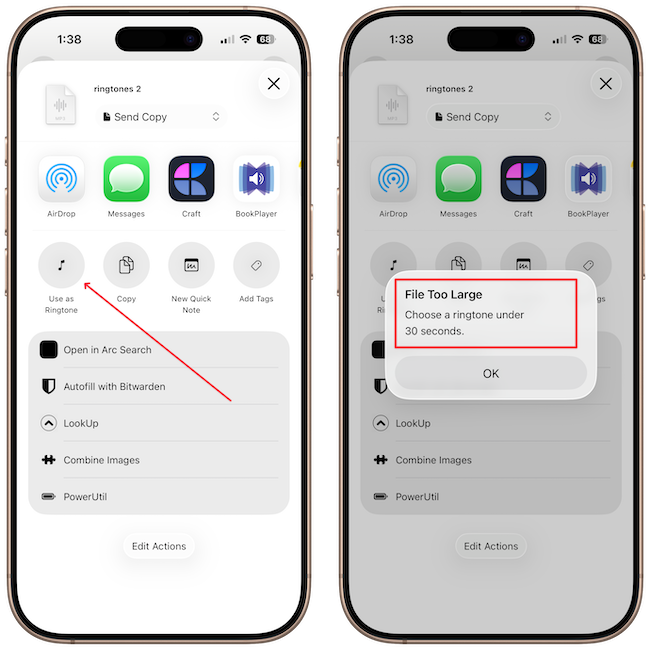
I specifically chose this audio to demonstrate the error. Remember to use ringtone files that are no longer than 30 seconds. Now, let’s repeat the steps using a compliant file.
I will long-press on the file, hit the Share button, and tap the Use as Ringtone option.
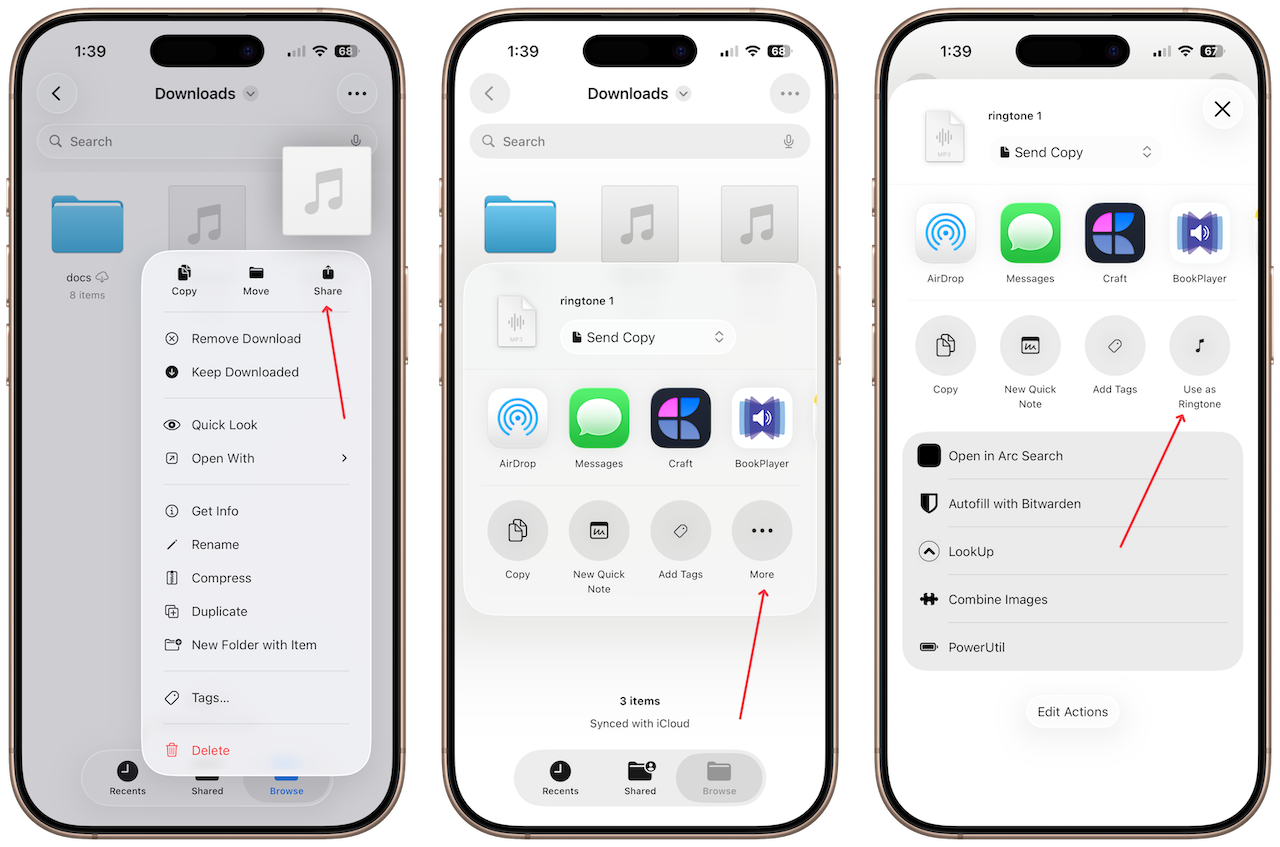
Notice that it automatically opened the Ringtone setting page and added our file as a ringtone on the iPhone. Now, we can tap on it to set it as our ringtone.
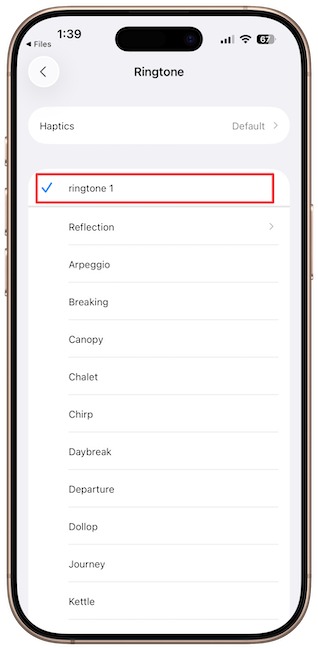
Once you add a ringtone, it will become available across all other sections on your iPhone, just like other tones. It means you can use it as an alarm sound, a message notification sound, and more.
iOS 26 is chock-full of hidden features like this. If you don’t want to miss out on these features, don’t forget to subscribe or follow us on BlueSky or Mastodon to get notified whenever we publish a new article.