How to Schedule Messages on iPhone and Mac
Here's how to use iOS 18 and macOS Sequoia's Send Later feature to schedule messages on your iPhone and Mac.
With iOS 18 and macOS Sequoia, Apple has released a new Send Later feature for the Messages app that lets you schedule iMessage texts. Now you can type and schedule messages, and they will be delivered at your set time. Here’s how to schedule Messages on iPhone and Mac.
How to schedule messages on iPhone
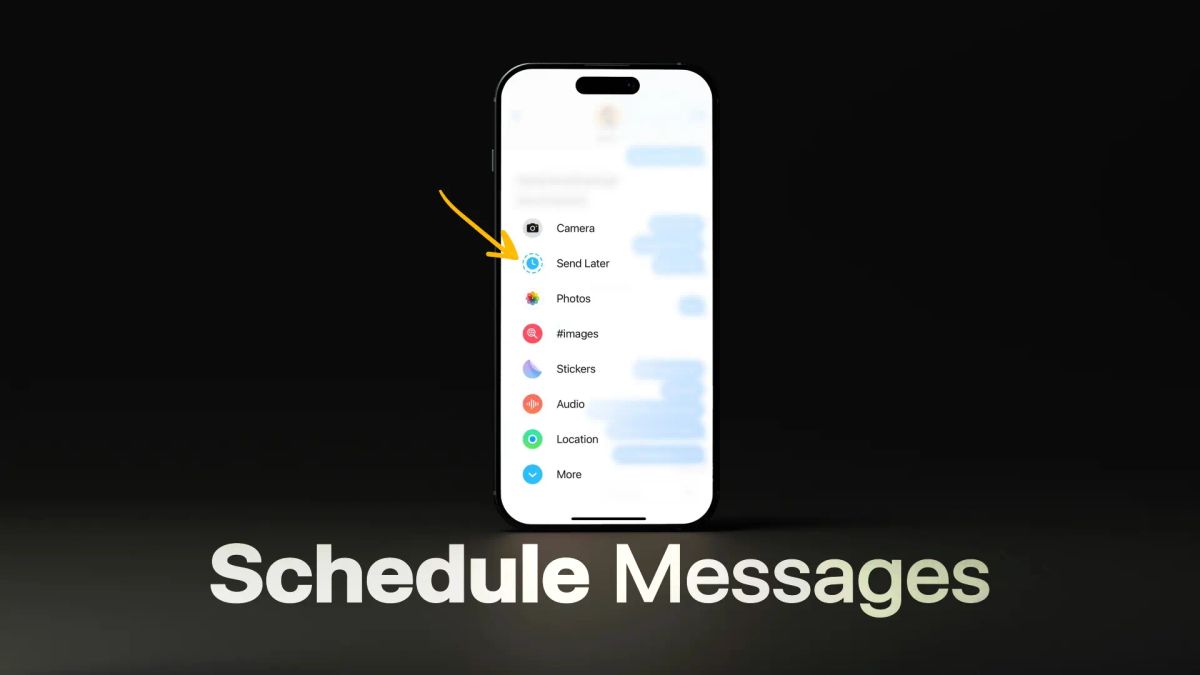
The Send Later feature is part of iMessage apps that you can access using the plus (+) button at the left of the text field. To schedule a message on your iPhone:
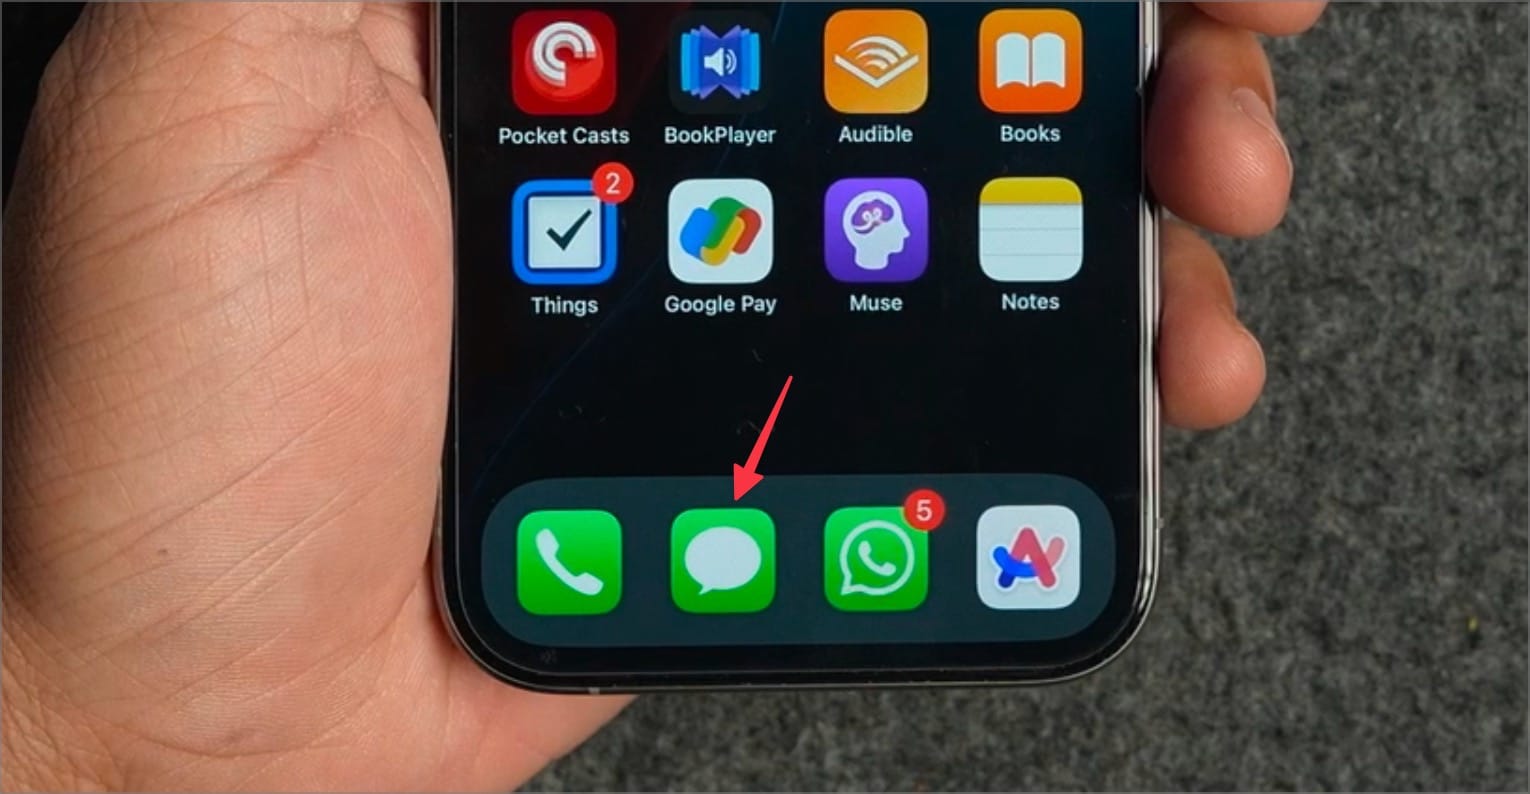
1. Launch the Messages app and open the chat where you want to schedule a message.
2. Use the plus (+) button to open iMessage apps and tap on More.

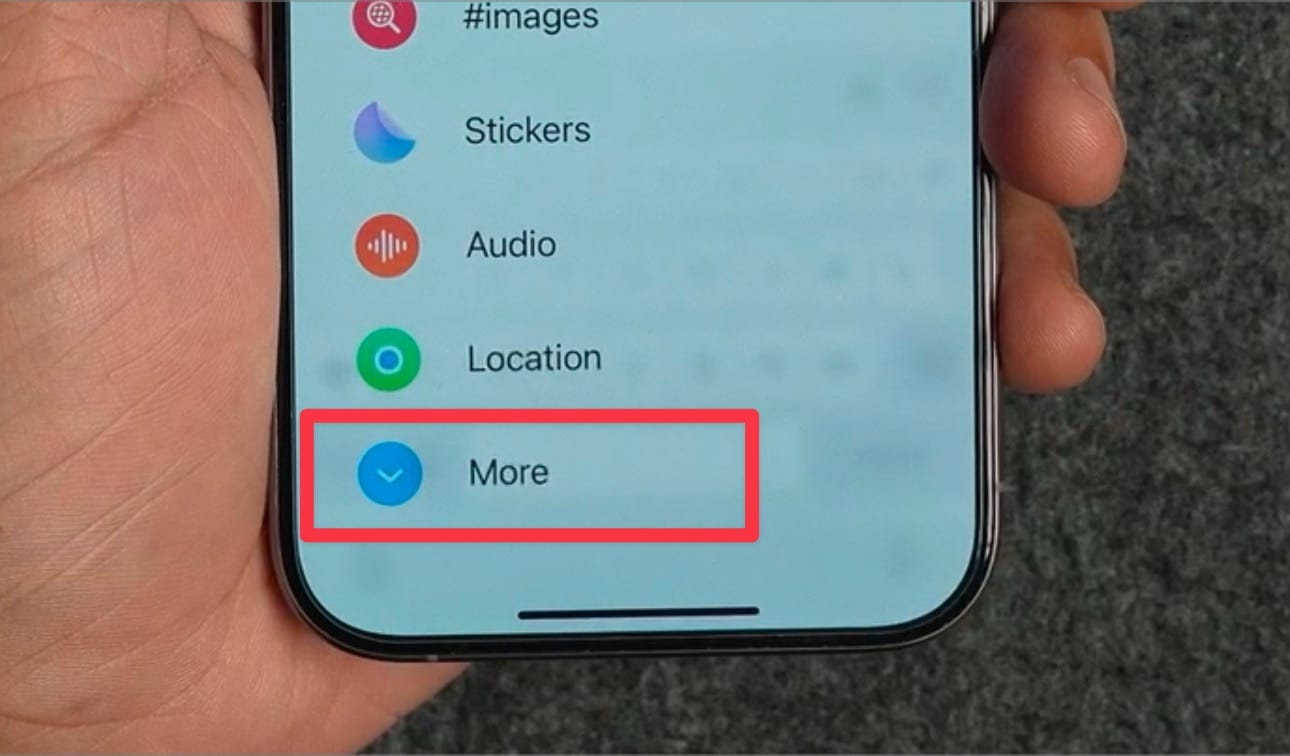
3. You will see a Send Later option here. If you are going to use this feature frequently, we recommend you rearrange this iMessage app to the top of the list by long-pressing on it and dragging it to the top.
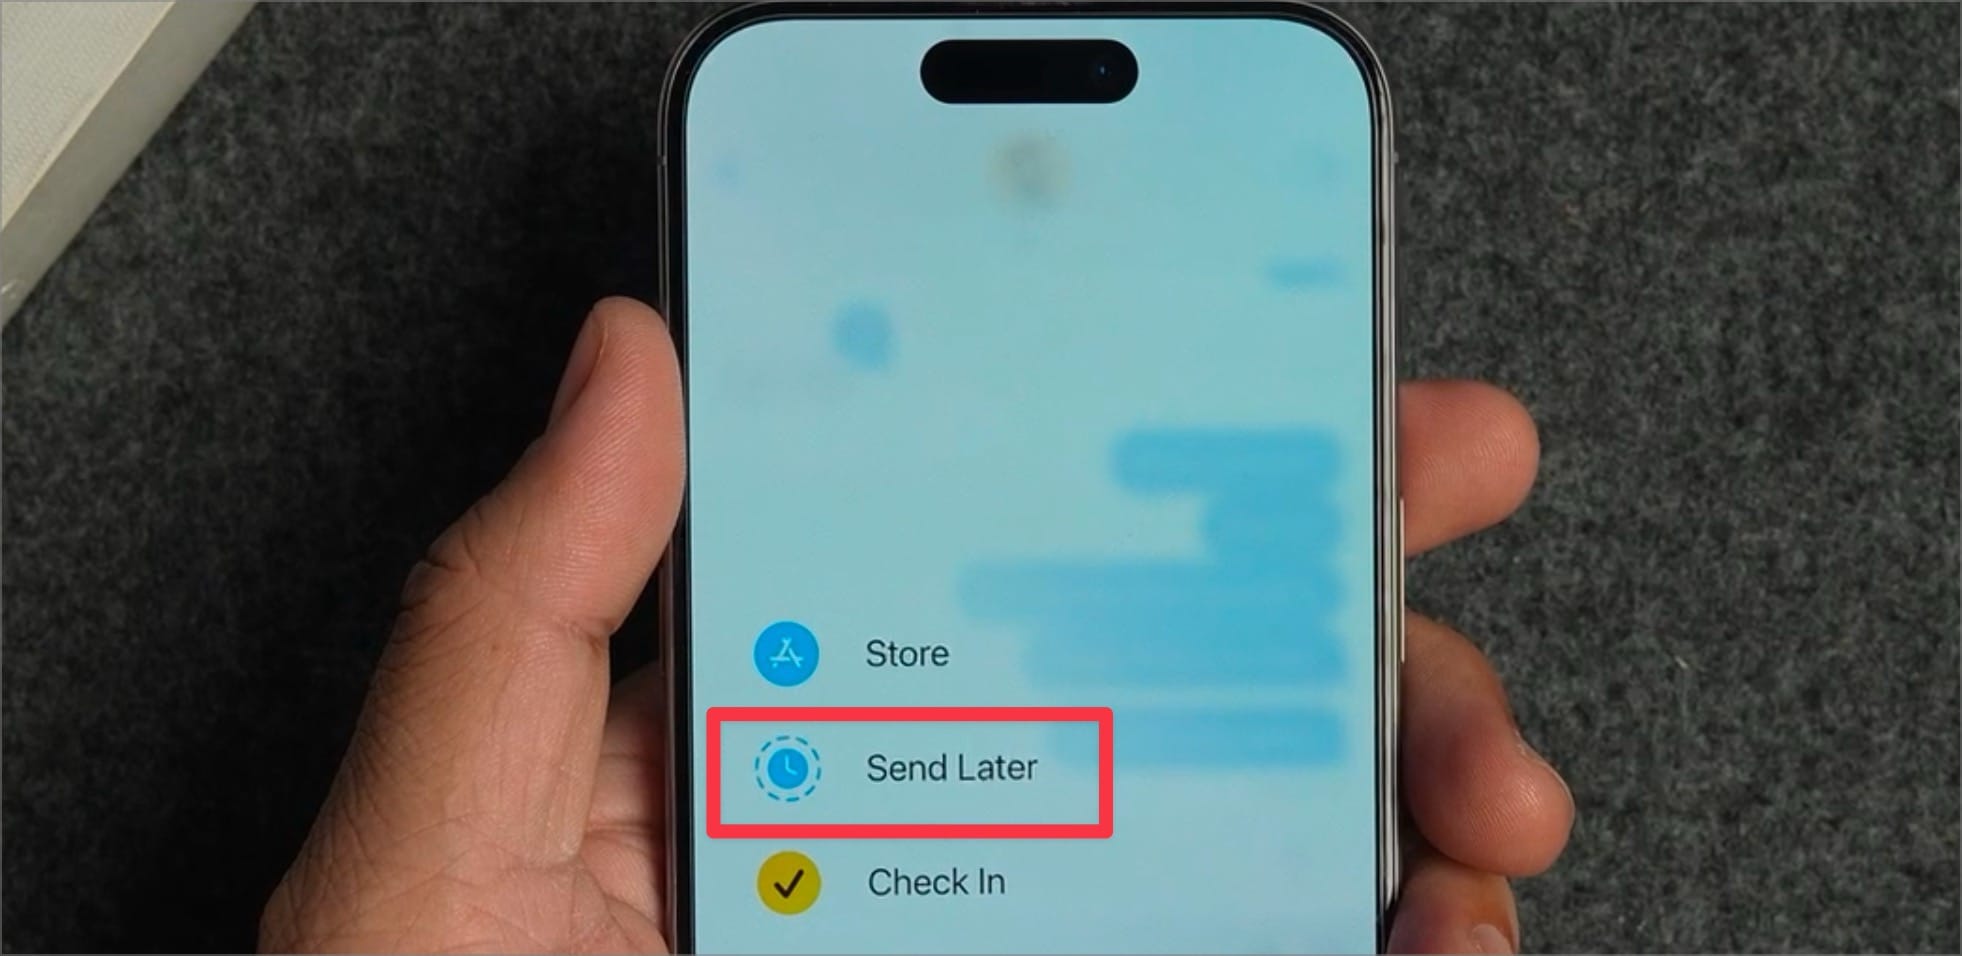
4. Tap on Send Later to open the message scheduler. You will notice that it has added a schedule option at the top of the text field.
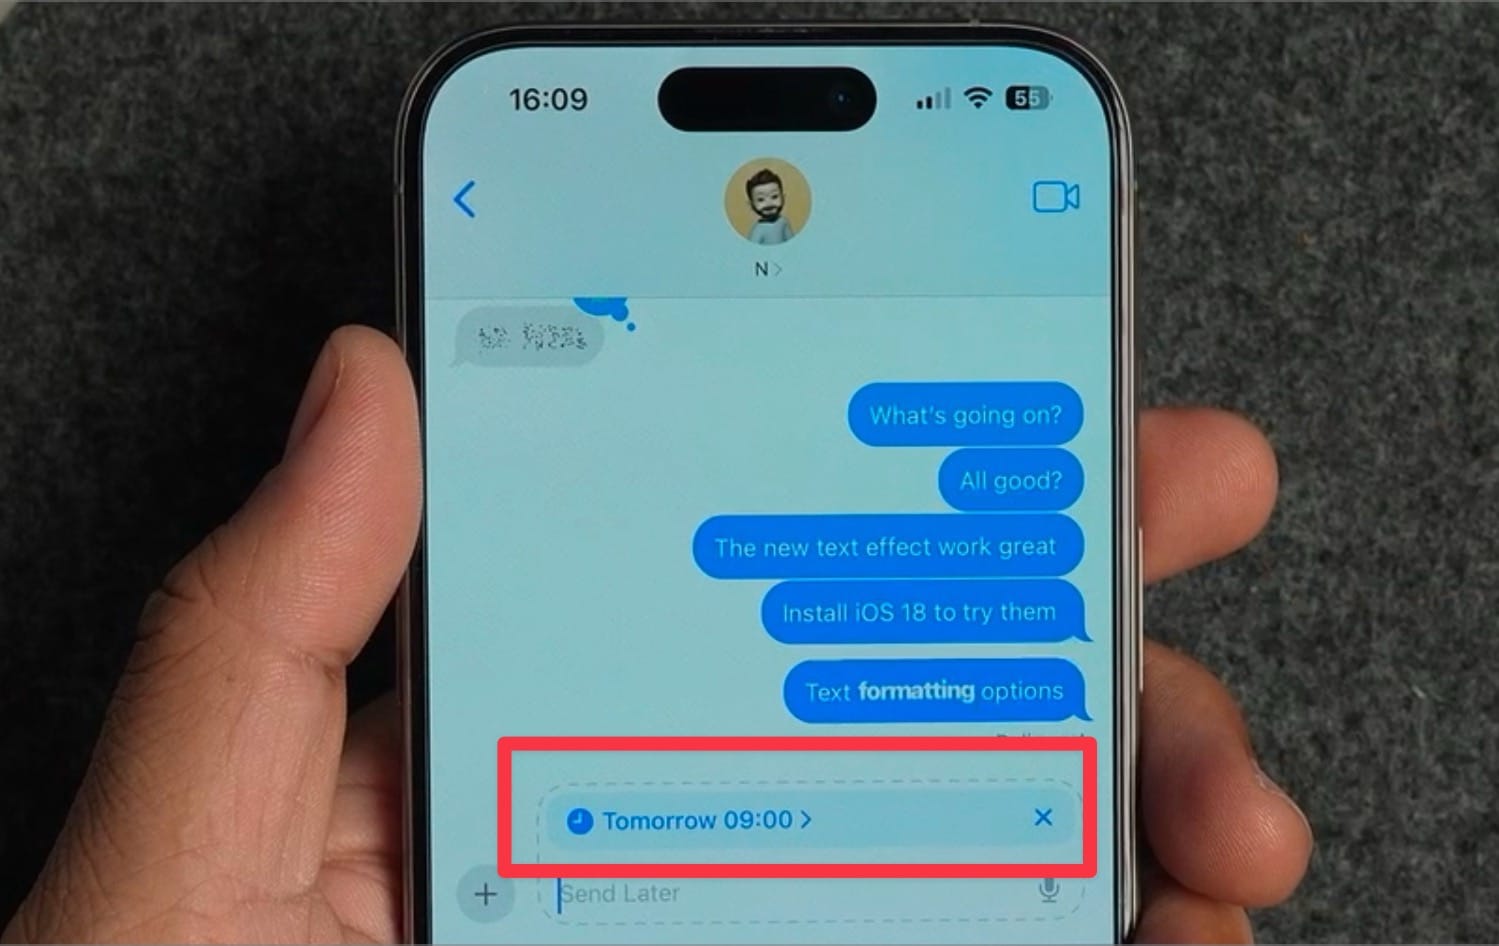
5. Type your text and tap on the schedule option to change the date and time.
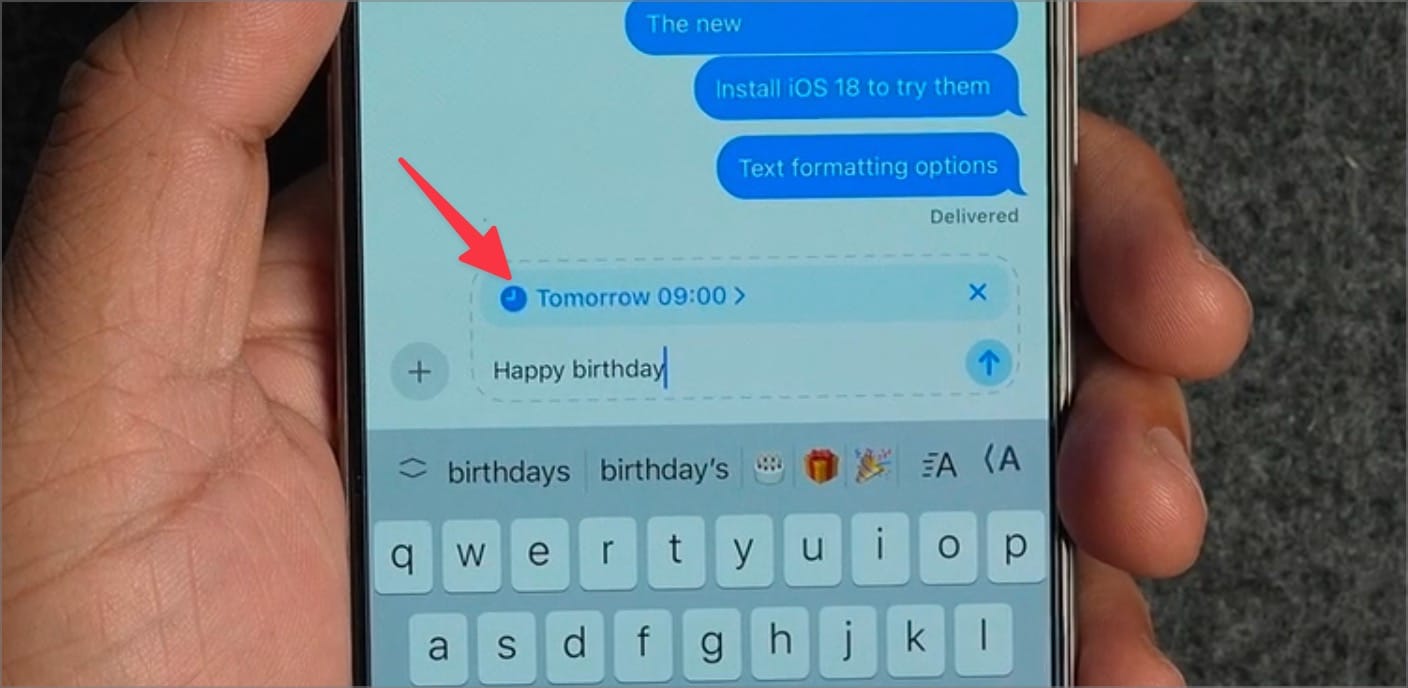
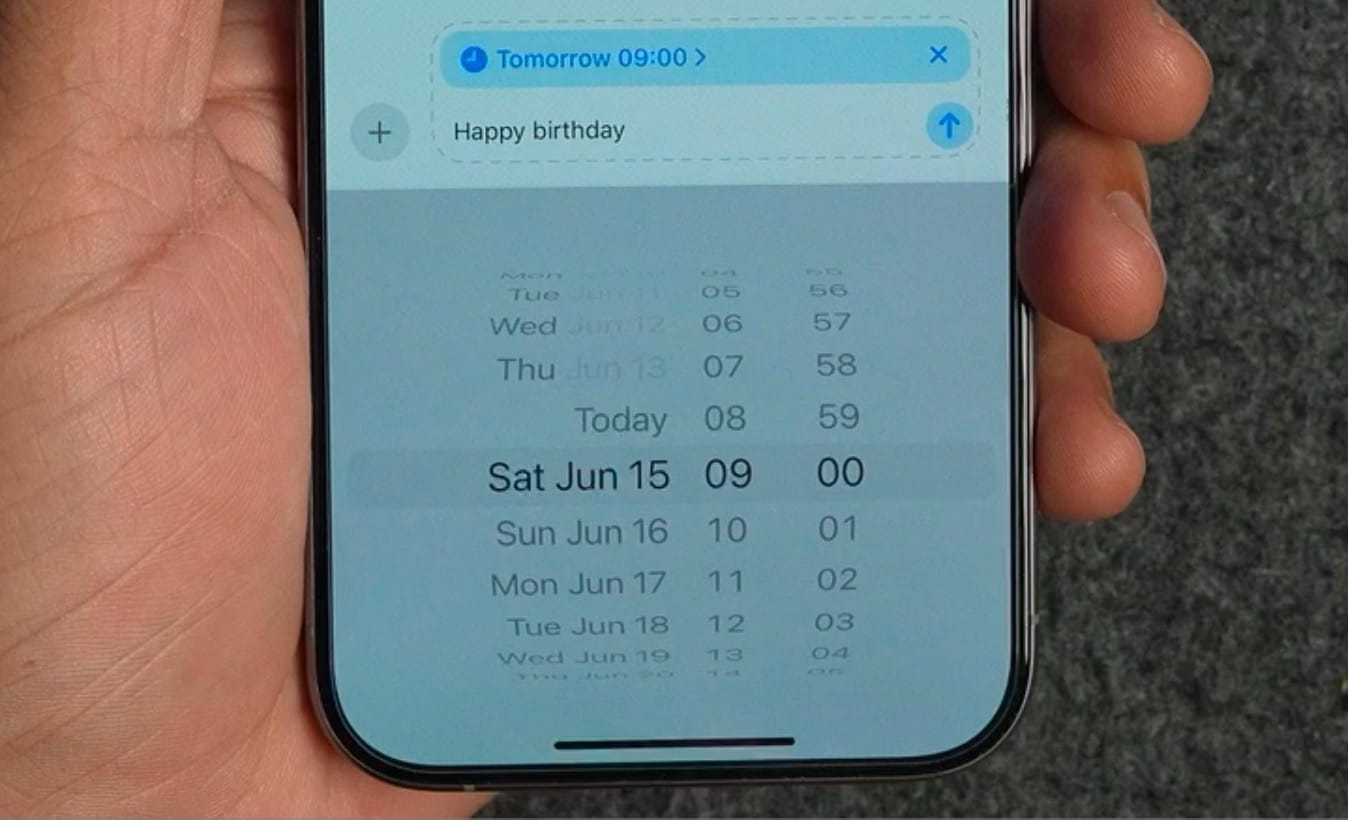
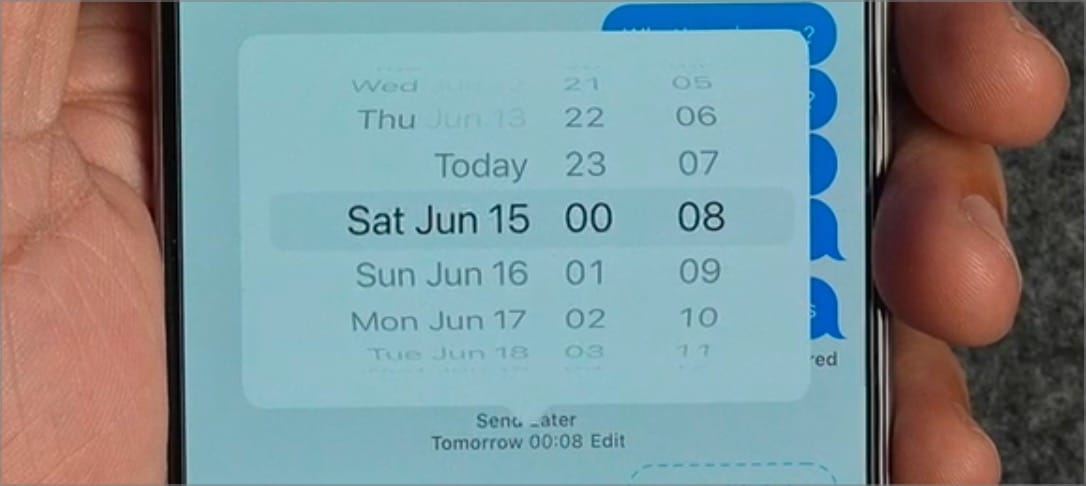
6. Use the scroll wheels to select the date and time. You can also tap on the scroll wheel to type the time manually.
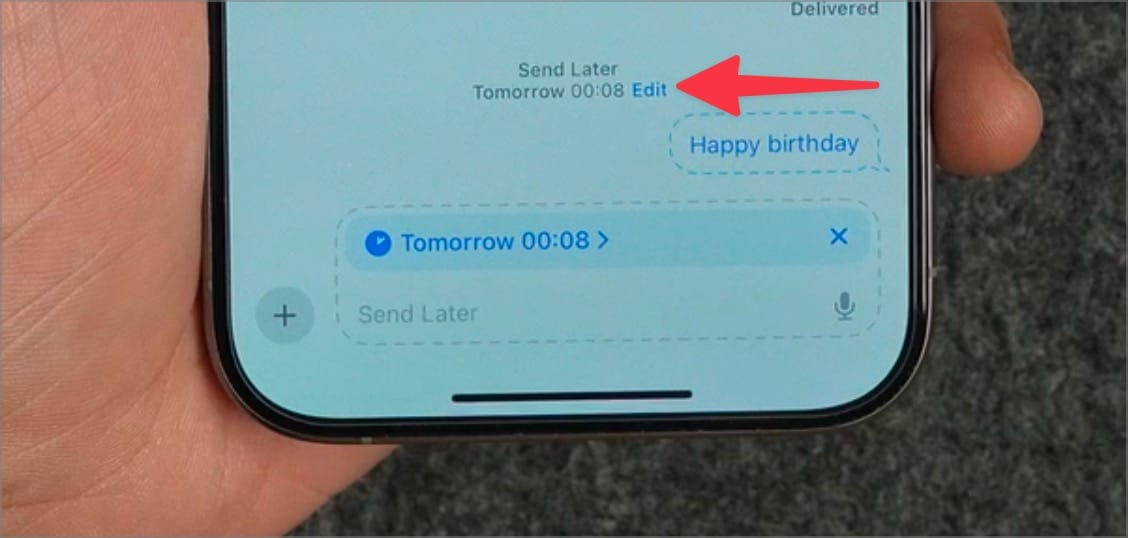
7. Finally, tap the send button to send the message. The scheduled messages will be marked with a dotted line around it. To reschedule or delete this message, tap the Edit button on top of it.
8. To reschedule the message, tap on Edit Time and use the scroll wheels to adjust the time. Tap out of the scroll wheel area to set the new time.
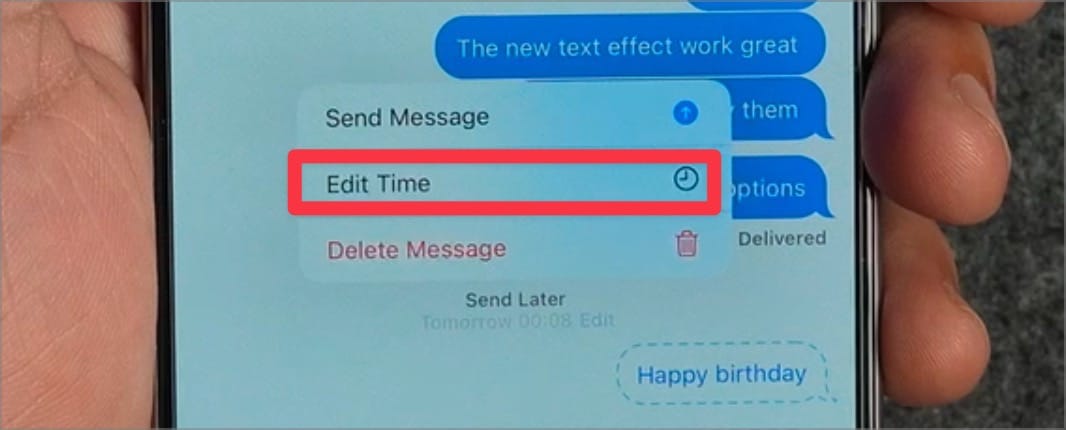
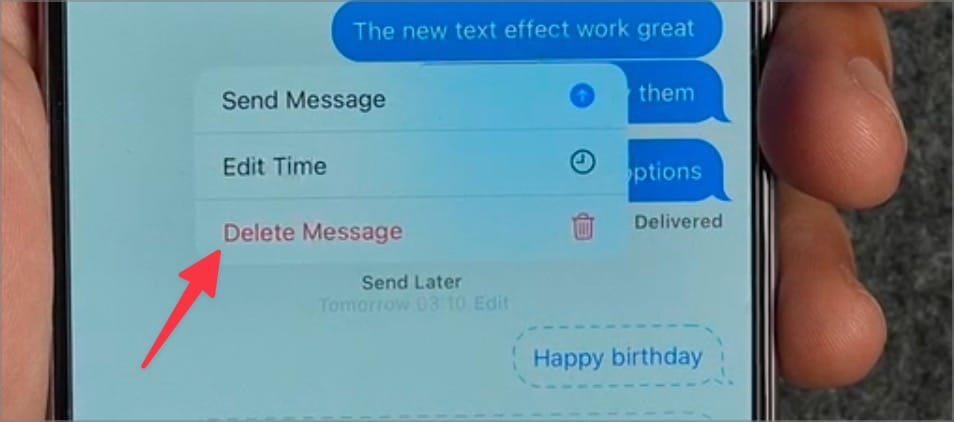
9. You can use the Delete Message option to delete the scheduled message.
You can use the same steps to schedule iMessage on your iPad.
How to schedule messages on Mac
The steps to schedule messages on Mac is similar to that on iPhone and iPad.
1. Launch the Messages app on your Mac and open the chat where you want to schedule the message.
2. Type your scheduled text and click the plus (+) button. Now, click on the Send Later option.

3. It will add a scheduling option on top of the message field. Clicking on the date section will open a calendar. You can use it to set the scheduled date for the message.
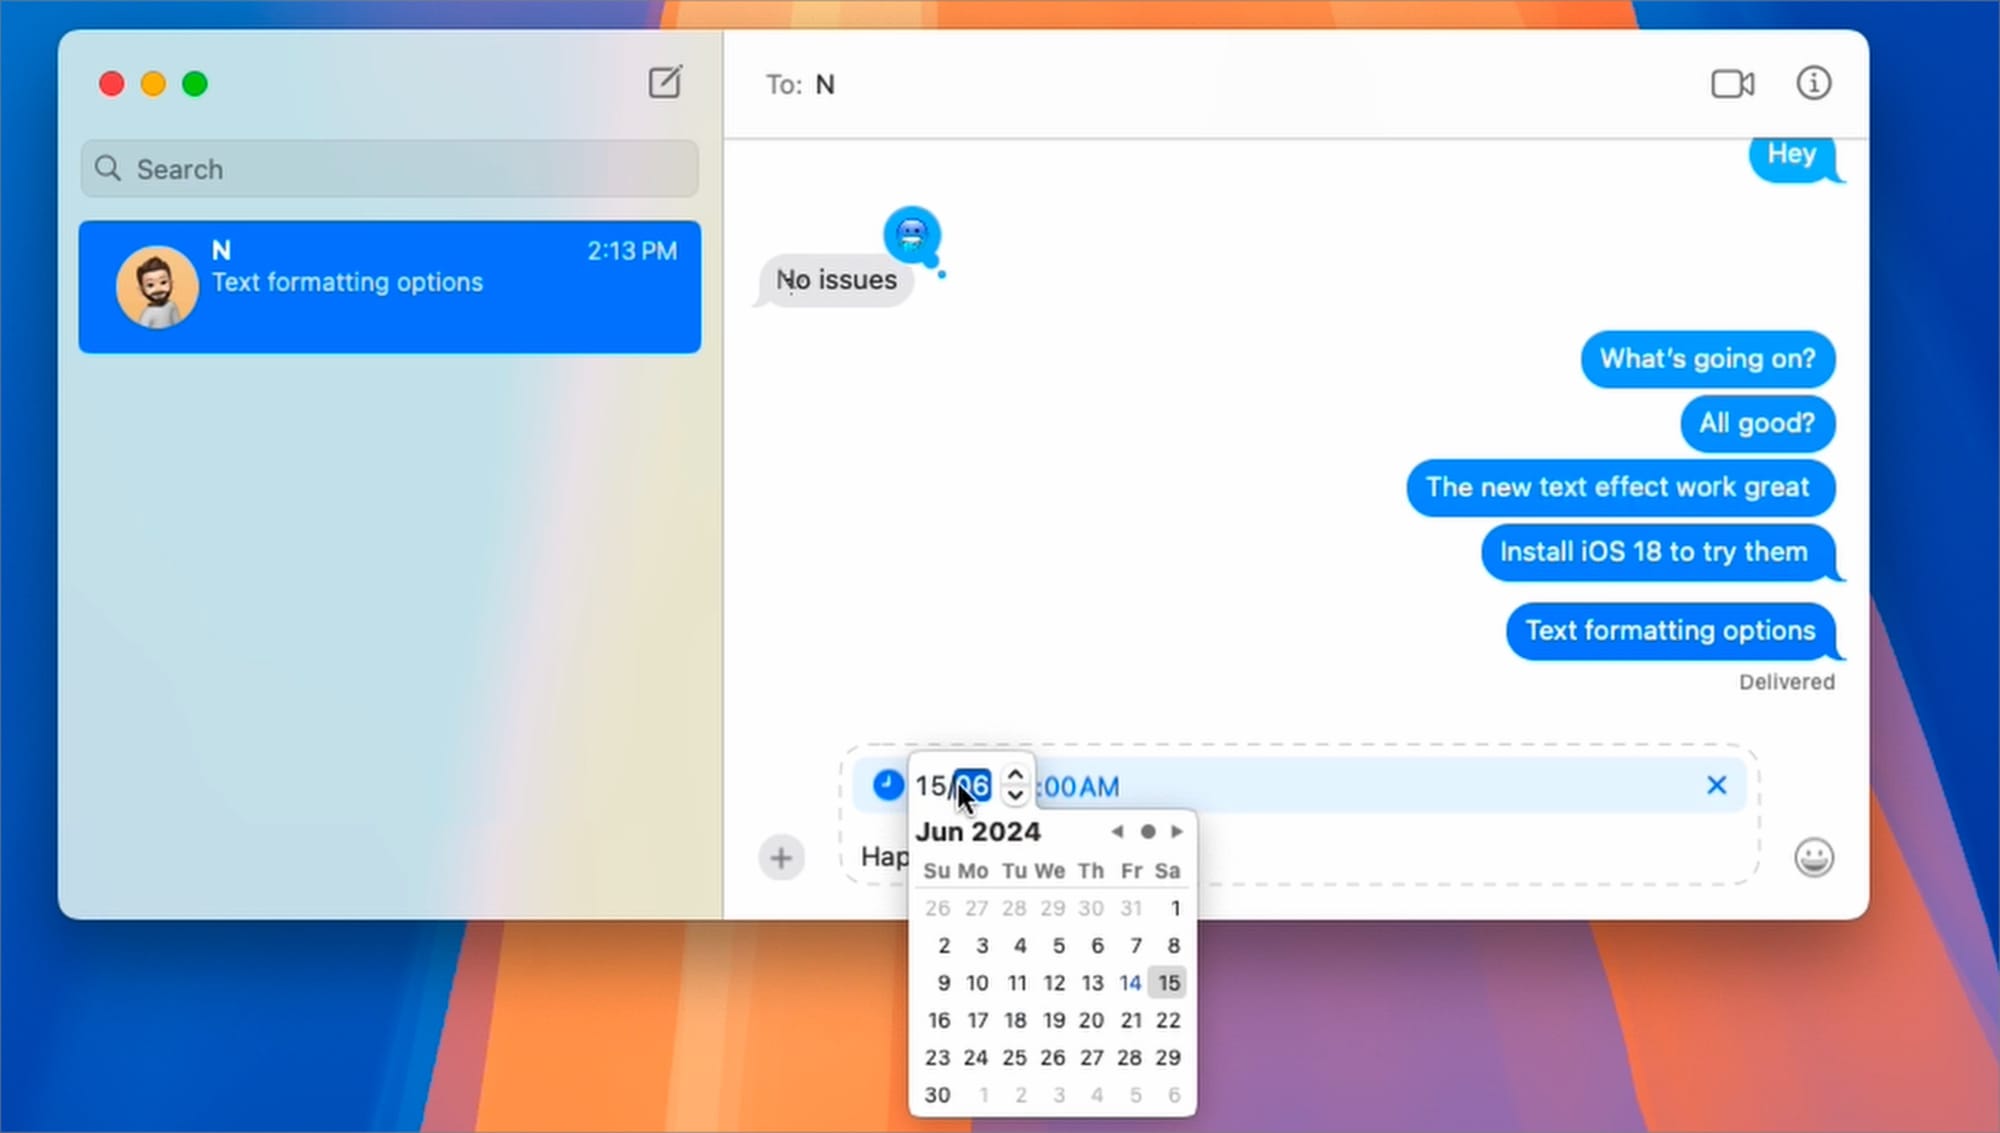
4. To adjust the time, click on it and use the keyboard to type the exact time. Use the A and P keys to change from AM to PM.
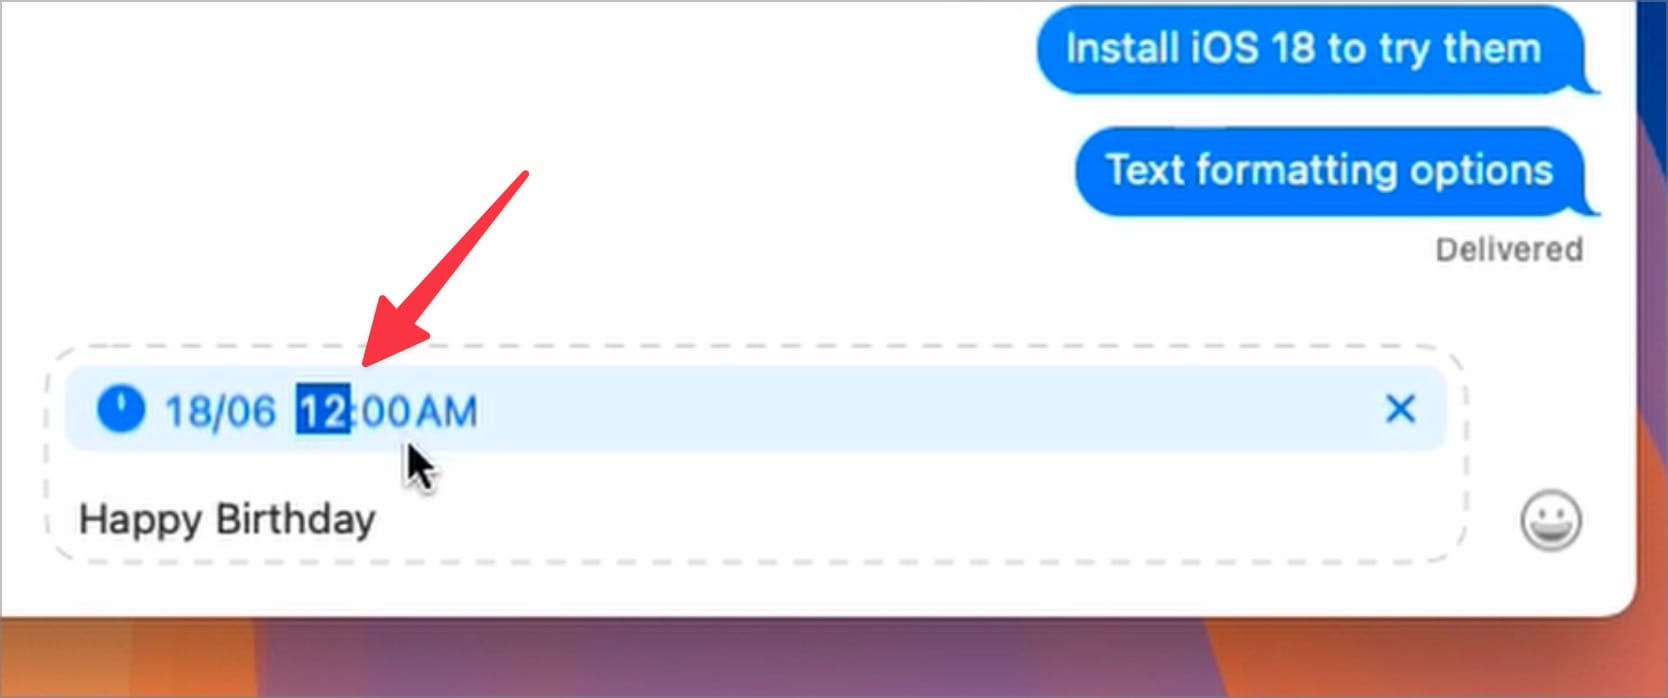
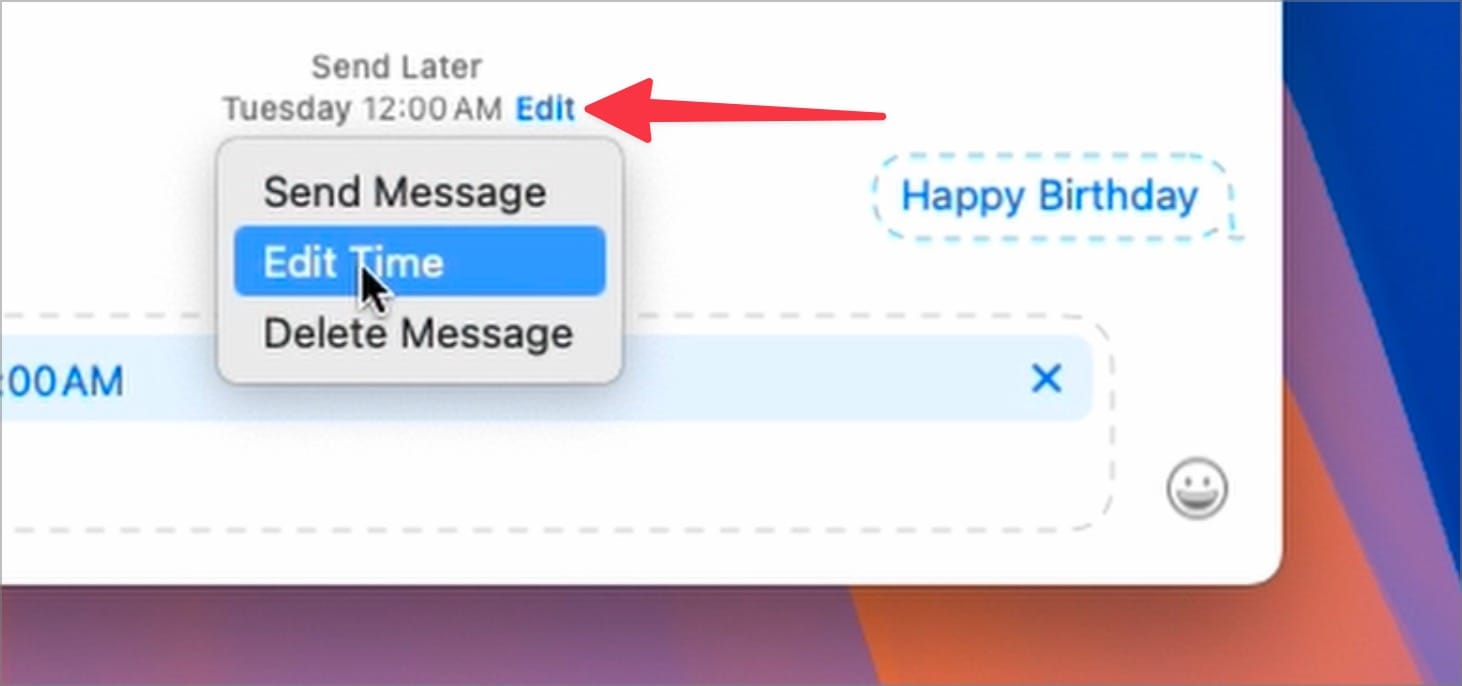
6. Hit enter/return to send the scheduled text message. Like on iPhone, you can use the Edit option to reschedule the text or discard it.
And that is how you can schedule text messages on your iPhone, iPad, and Mac. I love these new features on iOS 18, iPadOS 18, and macOS Sequoia. Let us know which features you want us to cover in detail in the comments below.