
How to Create and Use Templates in Roam Research
Roam Research has introduced a new templates feature to help automate repetitive tasks. Here is how you can create and use templates in Roam Research.

It isn’t hyperbole when I say that Roam Research has changed my life. It’s the first note-taking app that has worked for me, and I used it daily. I use it for creating notes, journaling, research, taking notes on podcasts and books, weekly planning, and more. Roam has brought a structure to unstructured thoughts and life. The new templates feature that Roam introduced with the last update helps you automate workflows and repetitive tasks. Previously, I used a text-expansion app to create my templates, but now you can do it in Roam itself. Here is how you can create and use templates in Roam Research without using any third-party app or plugin.
Create and Use Templates in Roam Research
Like most Roam users, I have a daily template, that I use every morning to get started. The new feature allows me to create that daily template once and use it every day with just a few keystrokes. The best part about the new templates feature in Roam Research is that you can create templates anywhere, and that too quit easily.
How to Create Templates in Roam Research
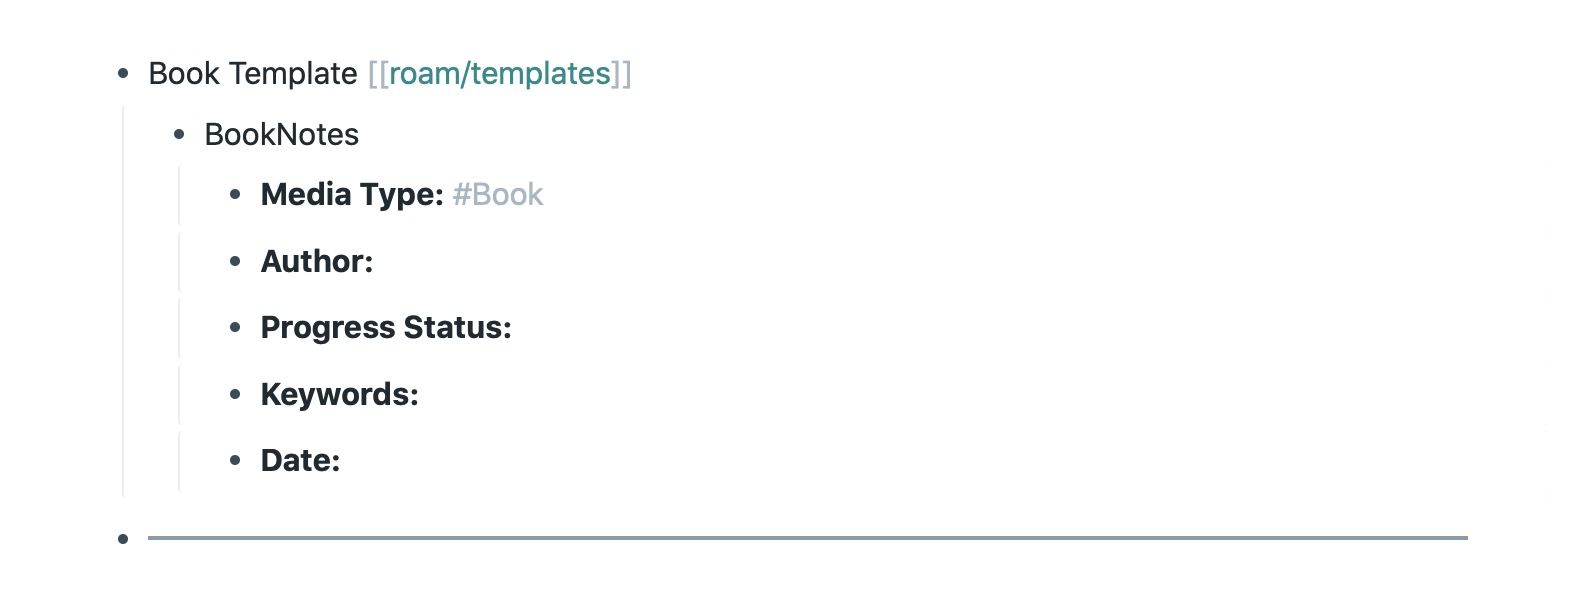
Here is how the structure of your template will look.
- Tempate Name [[roam/templates]]
- Template Title (Not Mandatory)
- Content of Your Template
- Template Title (Not Mandatory)
- Template Name → It’s the name that you will use to insert the template. For example, the morning template I use every morning is named Daily Note.
[[roam/templates]]→ This is the command that converts a block into a template. You can also use #roam/templates as both tags and links behave the same way in Roam Research.- Template Title → This is the first block that will be inserted. Everything else will be nested underneath it. You are not required to use it. You can directly add the template body underneath the template tag.
- Template Body → This is the main content of your template.
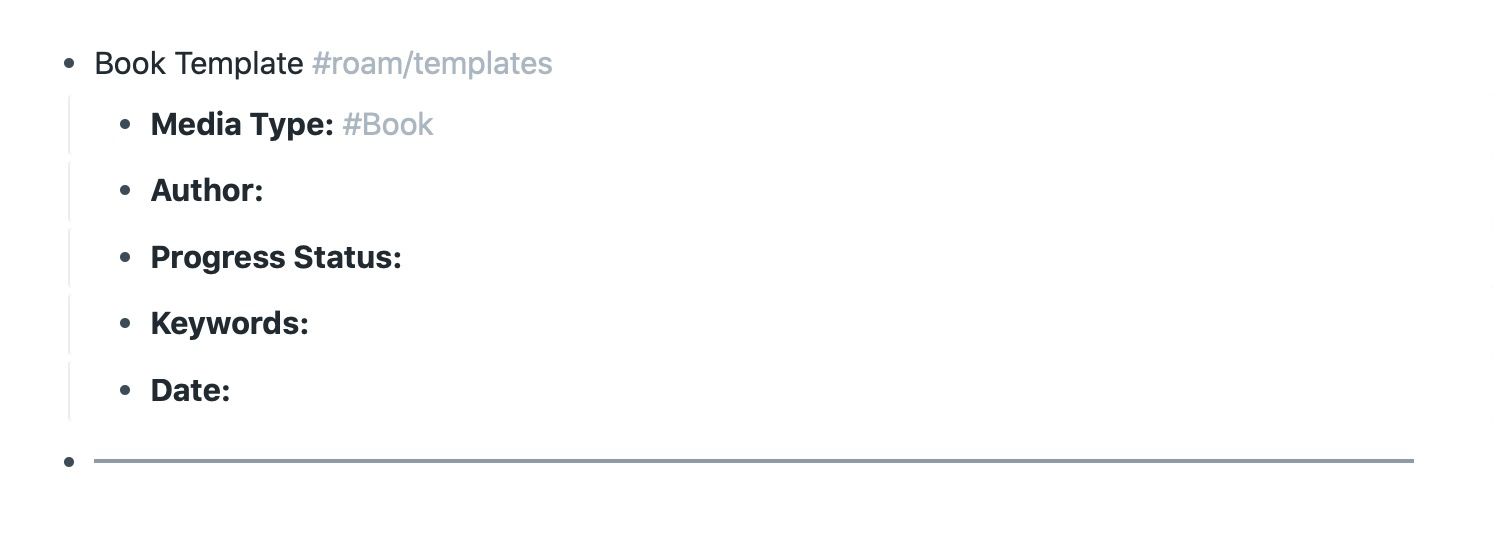
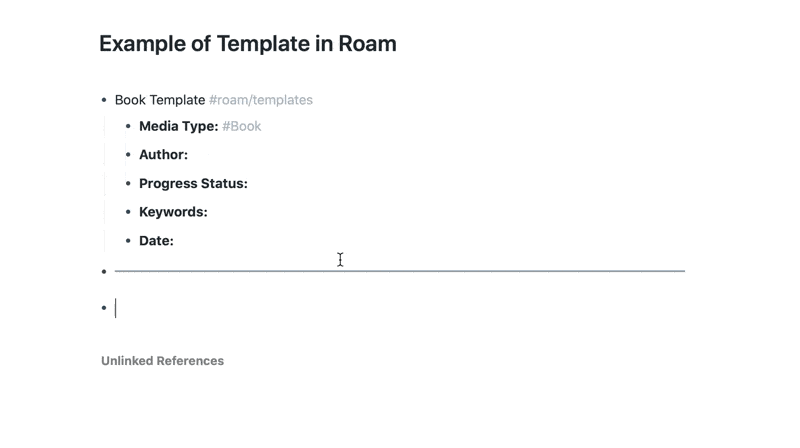
Below, you can find the screenshot of my book notes template. As you can see, it follows the structure I have shown above. So, go ahead and create your first template.
How to Use Templates in Roam Research
Now that you have created your first template, let’s see how you can use it. To insert a template, type ;; (two semicolons). It will open a search box. Here, start typing the name of your template until it appears in the drop-down list. Select the template using the up and down arrow, keys and hit enter to insert it.
Templates in Roam Research: Final Thoughts
The new templates feature in Roam Research is excellent. Now, you don’t need to use a third-party app or Javascript plugin to use them. You can create as many templates as you want and insert them anywhere, using the native feature.
I have created templates for my article notes, book notes, podcast notes, daily notes, and more. So, make your templates and start automating your note-taking process in Roam Research.


