
How to Double the Brightness of Your MacBook Pro Display
Here is how you can double the brightness on your MacBook Pro to unlock 1000 nits of sustained brightness.
The 14-inch and 16-inch MacBook Pro pack a beautiful Liquid Retina XDR display with Extreme Dynamic Range and a million-to-one contrast ratio. The display also comes with ProMotion support and can go up to a 120Hz refresh rate to give you silky smooth animation. One of its highlights is the ability to hit 1600 nits of peak brightness with 1000 nits of sustained brightness. However, if you are not looking at HDR content, the standard brightness is restricted to 500 nits. Here is how you can double the brightness on your MacBook Pro to unlock 1000 nits of sustained brightness.
Double the brightness on your 14-inch and 16-inch MacBook Pro
As we mentioned, the standard brightness of the 14-inch and 16-inch MacBook Pro is restricted to 500 nits. While it’s nothing to gawk at, you will still find it difficult to see the display in extreme sunlight. That’s a shame, considering that the MacBook Pro is capable of maintaining 1000 nits of sustained brightness across the entire screen. To utilize the full potential of the Liquid Retina XDR display, we will use a third-party app called Vivid. Here’s how you can use the app to double the brightness on your MacBook Pro.
1. Download the Vivid app from its official website. You get a free trial, so you can test the app for free. Buying the full version will cost you €20 or about $20.47 (as per current rates).
2. Find the downloaded Zip file on your MacBook Pro and double-click on it to unzip the file.

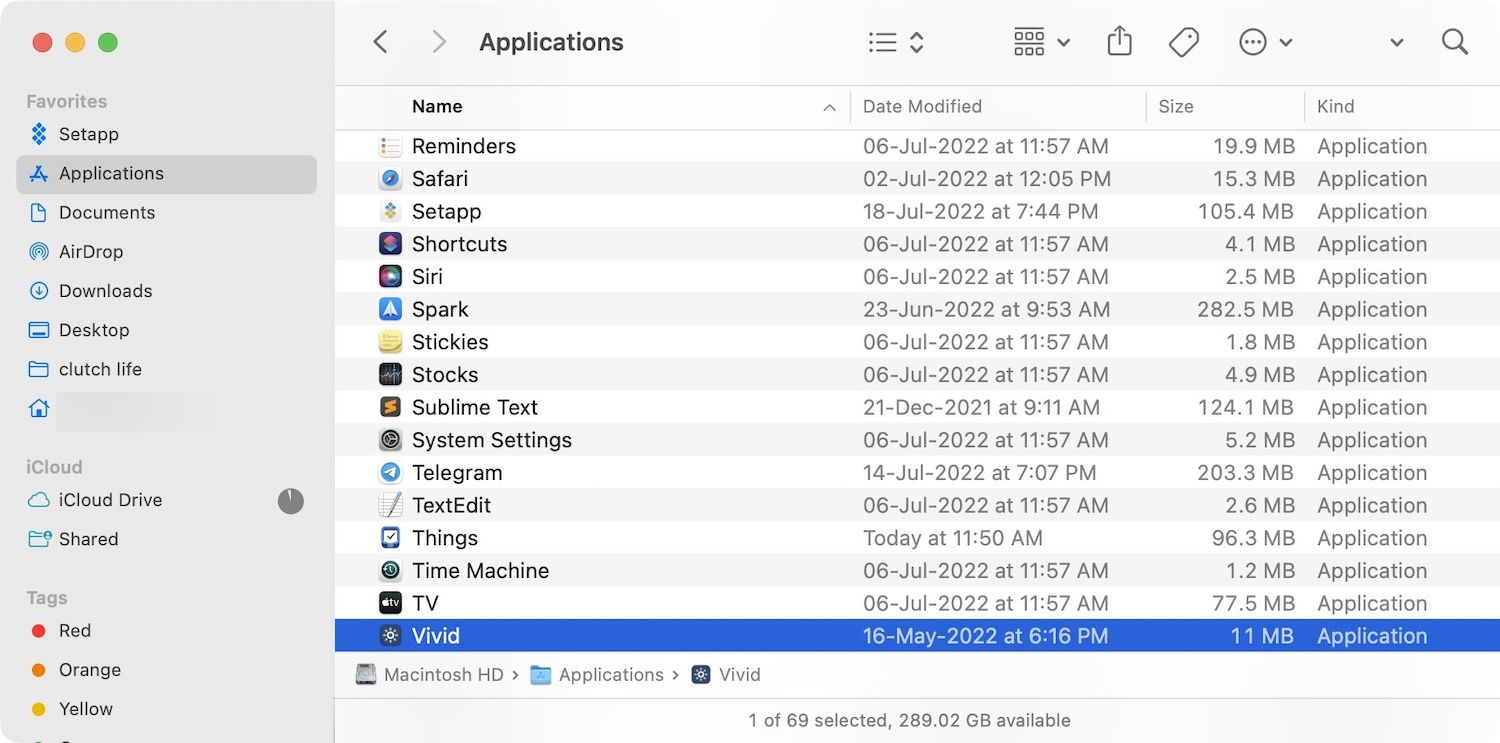
3. Drag the app into the Application folder on your Mac.
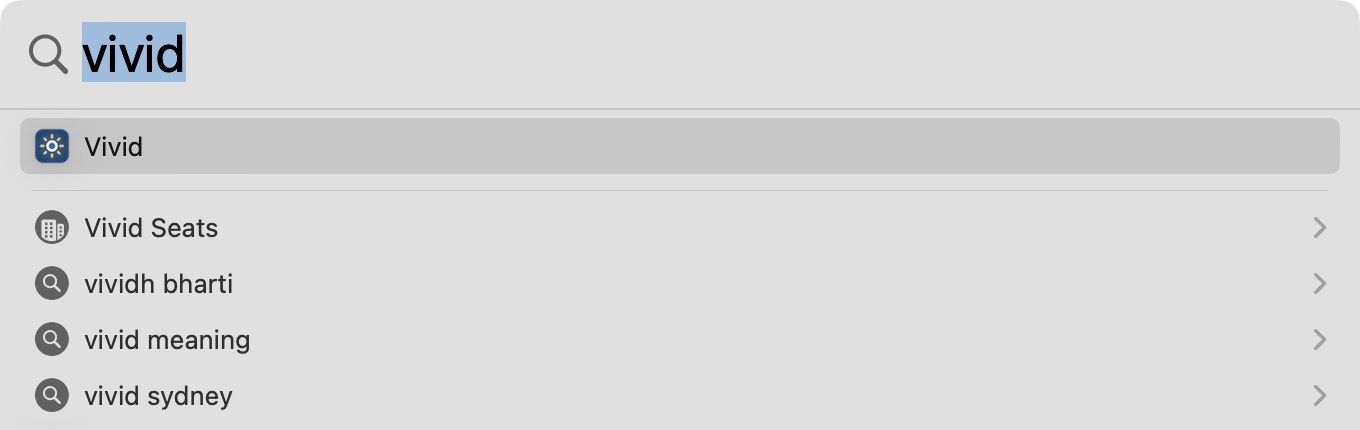
4. Double-click on the app to Launch it. You can also use Spotlight to search and launch the app.
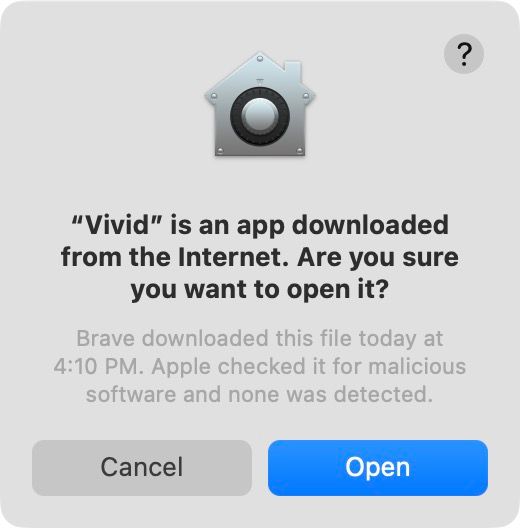
5. macOS will ask permission to launch the app as you have downloaded it from a third-party website. Click on the Open button to allow the app.
6. Now, you should see the Vivid app in the Menu Bar on your Mac.

7. To use the app, click on its Menu Bar icon and select the Enable Vivid option. Alternatively, you can use the keyboard shortcut ⌃⌥⌘V(Ctrl+Opt+CMD+V).
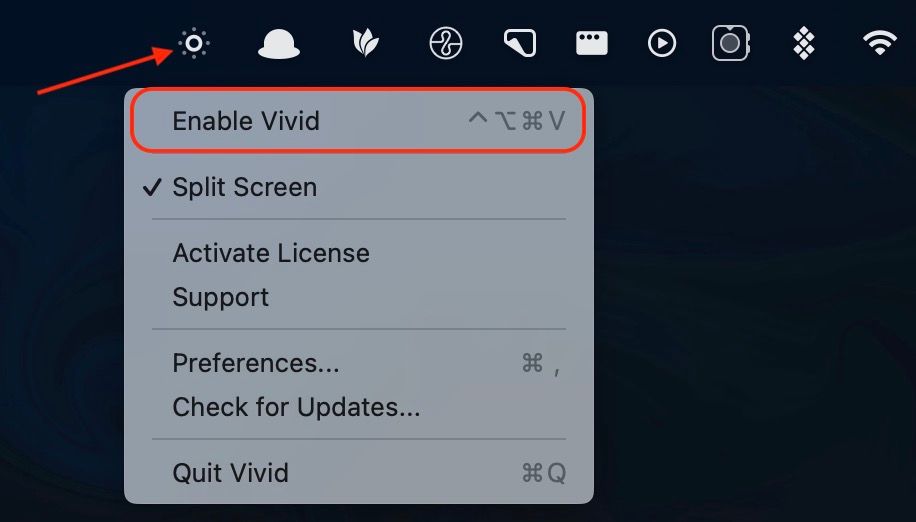
8. If you have not purchased the license, Vivid will only brighten up half the display to show you the difference. If you are satisfied with the enhancement, you can buy the license to unlock the app.
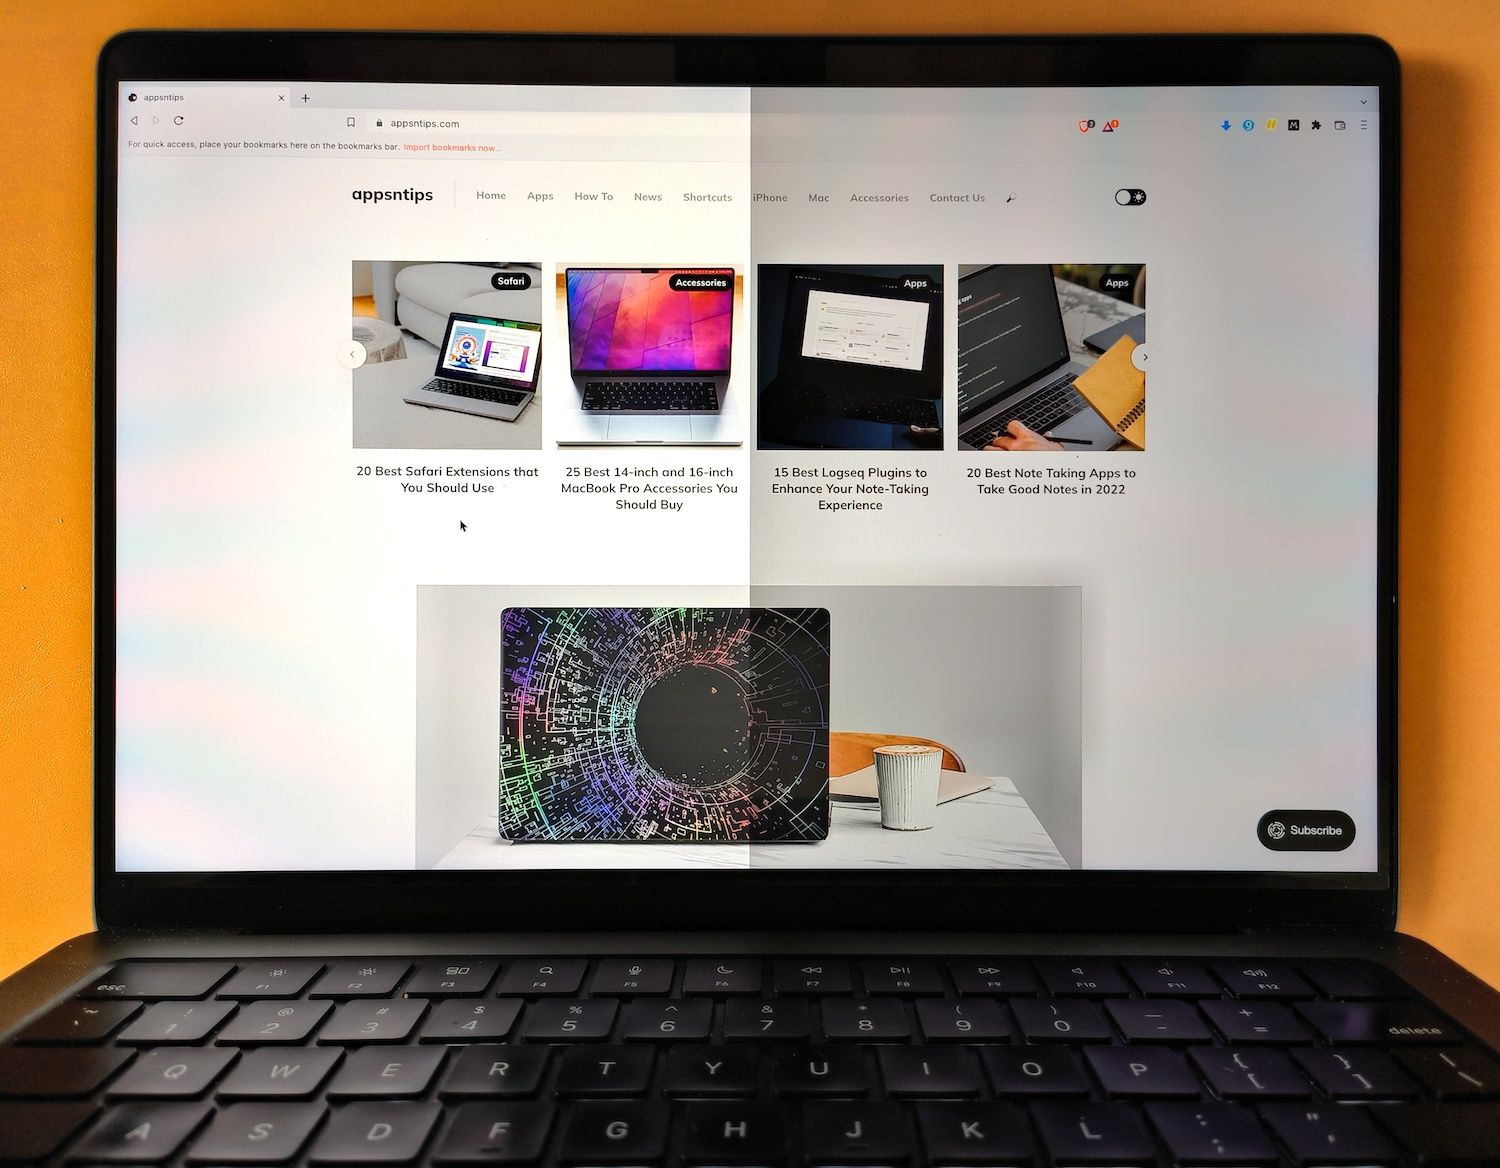
Once you install the app, the display can reach 1000 nits of brightness, allowing you to work in direct sunlight without any issues.
Is it safe to use Vivid on Mac?
Apple mentions that the Liquid Retina XDR display on your MacBook Pro can maintain 1000 nits of sustained brightness without any issues. That means, it should be perfectly safe to use Vivid. That said, just to be on the safe side, ensure that you are using this app only when you need the extra brightness. That will not only ensure the safety of the display but also reduce battery drain.
Unlock 1000 nits of brightness on MacBook Pro
Our favorite feature of Vivid is that it works with the macOS keyboard shortcut for increasing and decreasing the brightness. It will just double the brightness for each increment. If you want to minutely adjust the brightness, hold down the option and the shift key, and then use the brightness keys to make the adjustment. This is a native macOS feature, and you can learn more Mac tips and tricks by clicking on the link and heading over to the article.


