
How to Draw on Photos on Mac
In this guide, we will show you how to draw on Photos on Mac using the Photos and Preview apps.
The Photos app on your Mac has built-in editing tools that let you remove unwanted subjects, repair photos, adjust the color, brightness, and white balance, and much more. You can also connect your Photos app with the built-in Markup tool in macOS to draw on photos on Mac. You can add free-hand drawings, shapes and arrows, and text. You can access the same tools in the Preview app on Mac. In this guide, we will show you how to draw on Photos on Mac using the Photos and Preview apps.
Draw on photos on Mac
To draw on photos on Mac, you can use both the Preview and the Photos apps. Both apps will use macOS’ built-in Markup tool. It’s a bit hidden in the Photos app and might not appear as default. So, we will show you how to access and use it to draw on images on Mac.
How to draw on images on Mac using the Photos app
The Photos app on Mac has a built-in basic photo editor. While it cannot compete with the best photo editing apps for Mac, it packs enough features to help you get the basic editing done. One of the lesser-known features of the Photos app is its support for extensions. You can use Photos extensions to use features from other photo editing apps right inside the photos app. We will use this feature to access the Markup tool.
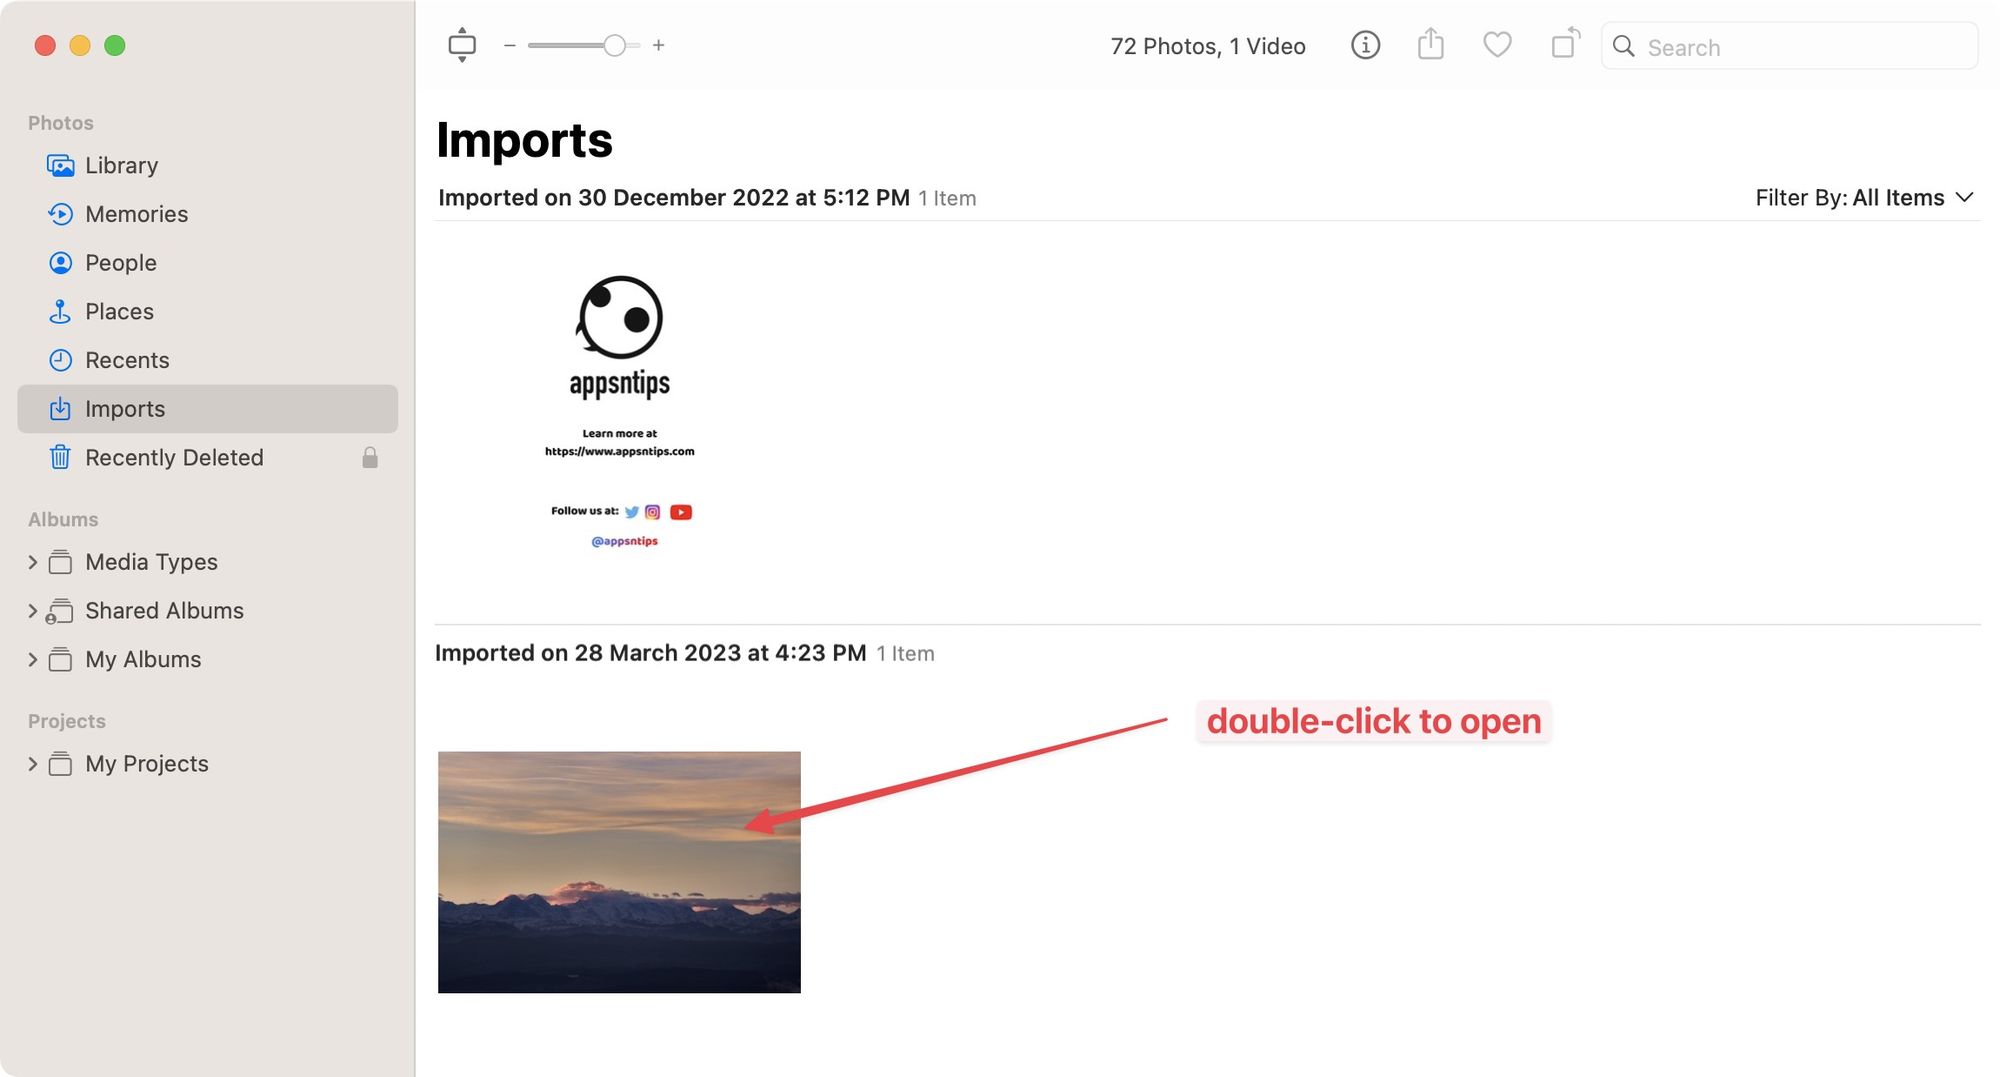
1. Launch the Photos app on your Mac and doubt-click to open the photo you want to edit.
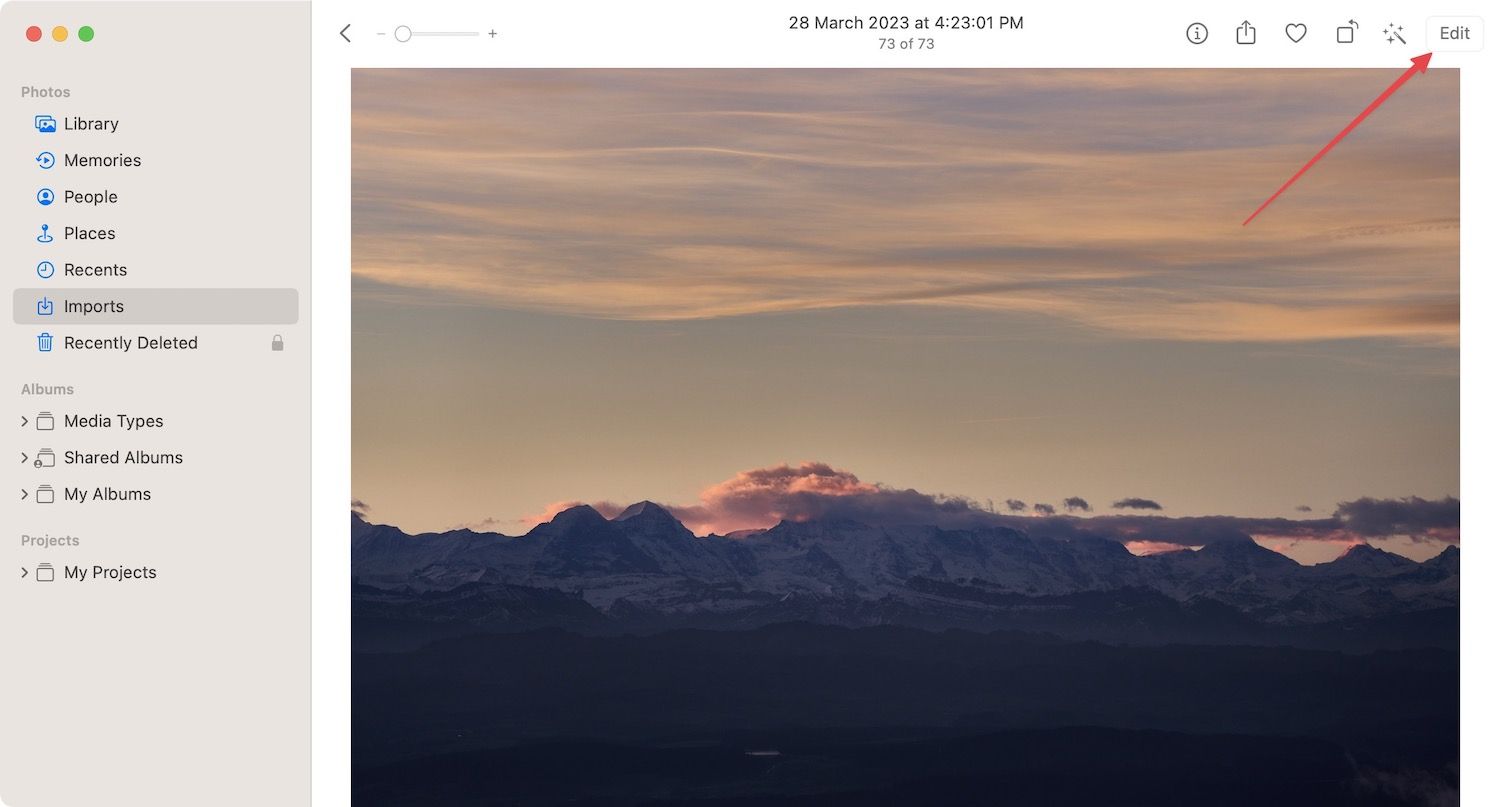
2 Now, click the Edit button in the top-right corner.
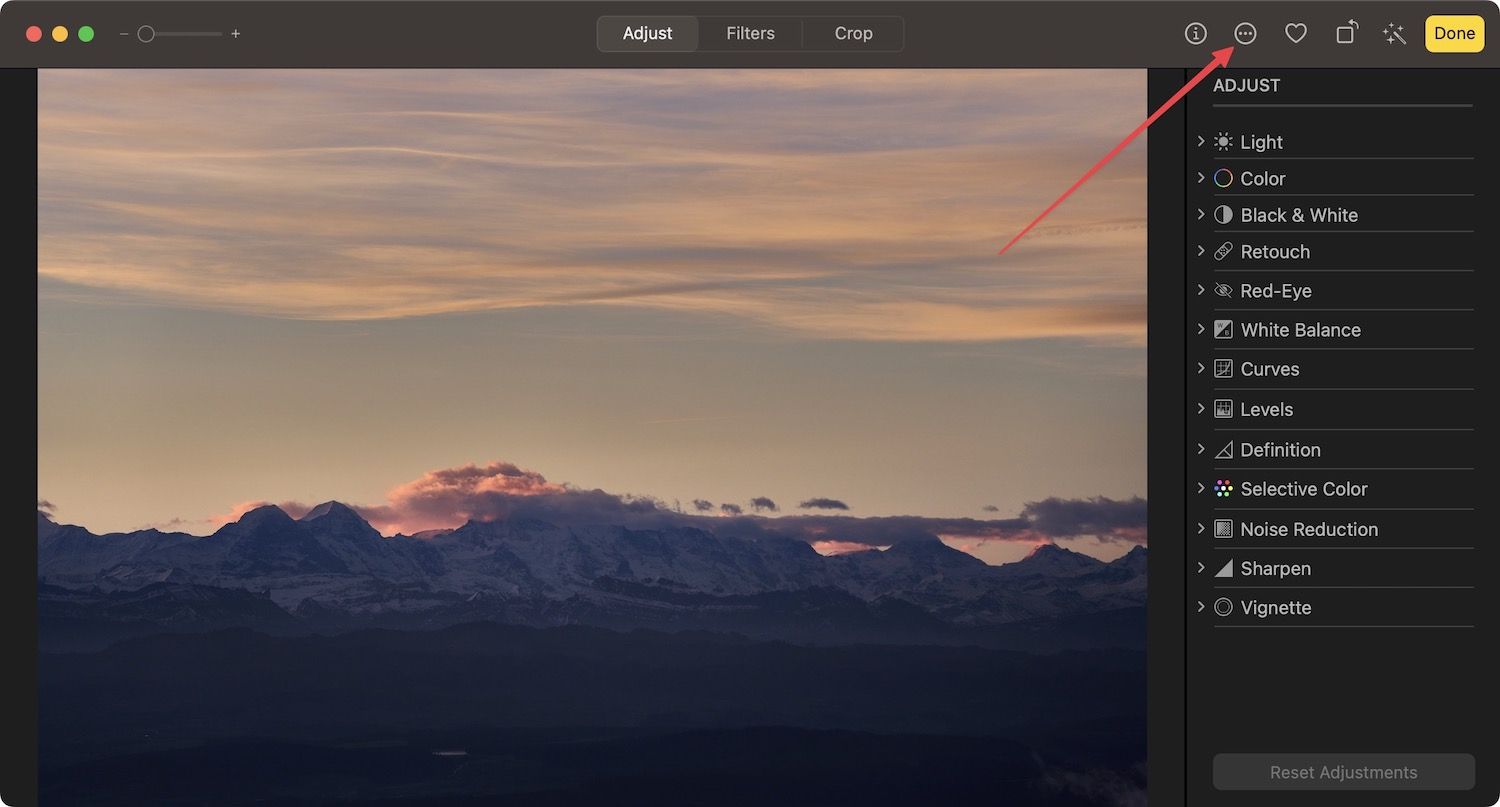
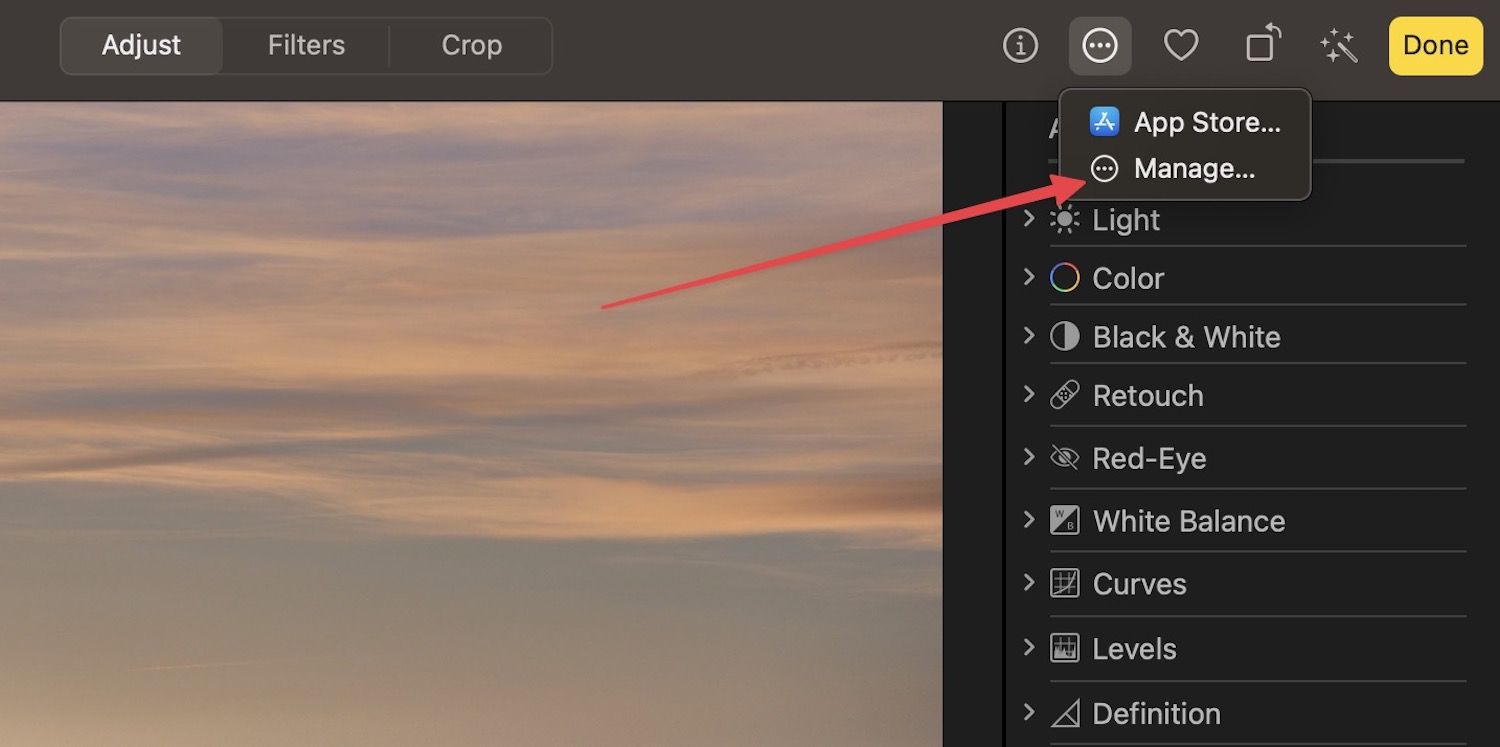
3. Click on the three-dot menu to reveal the extension options.
4. You should see the Markup tool in the menu. If you don’t see it, click the Manage… button.
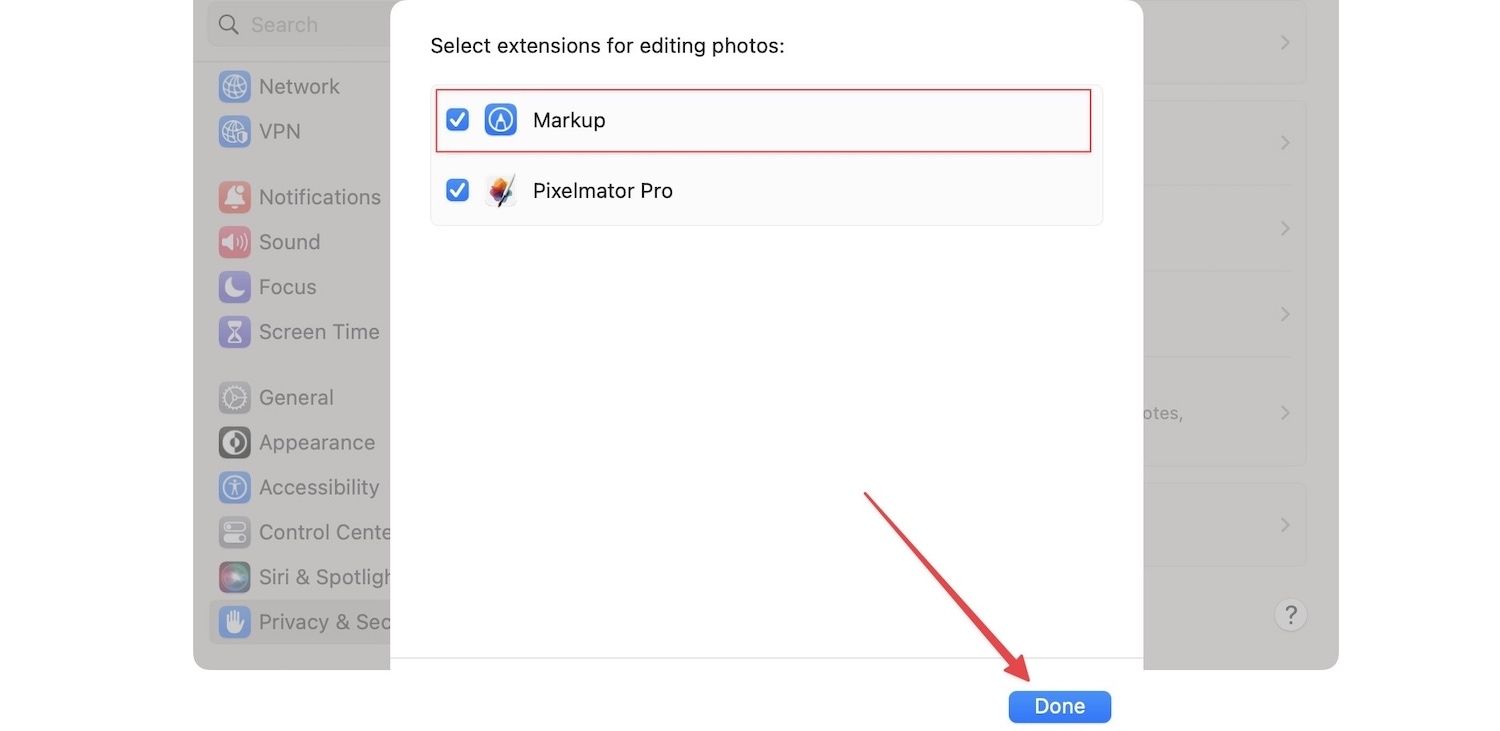
5. Enable the checkbox next to Markup and click the Done button.
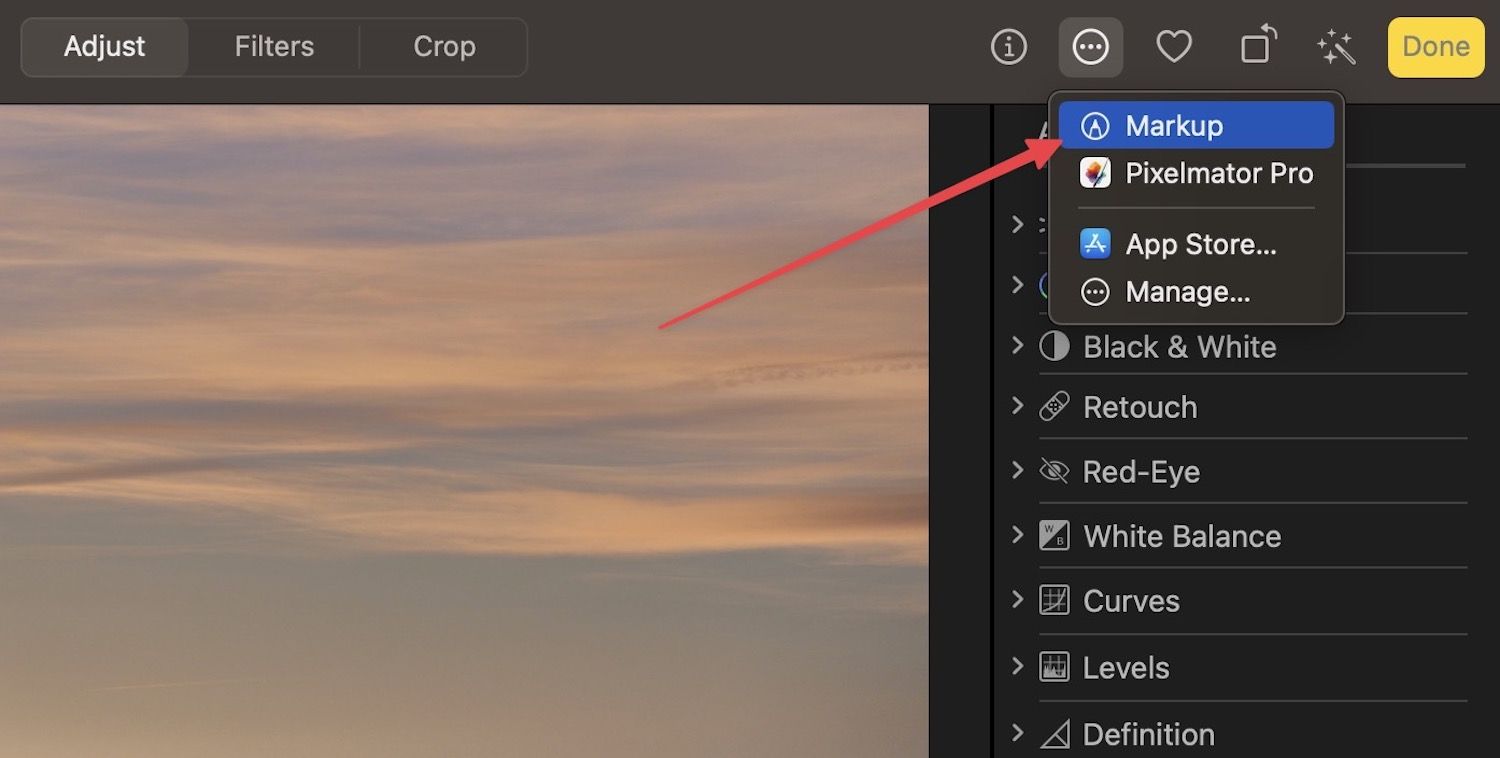
6. Now, quit and relaunch the Photos app, and the Markup button will appear in the three-dot menu. Click to open it.
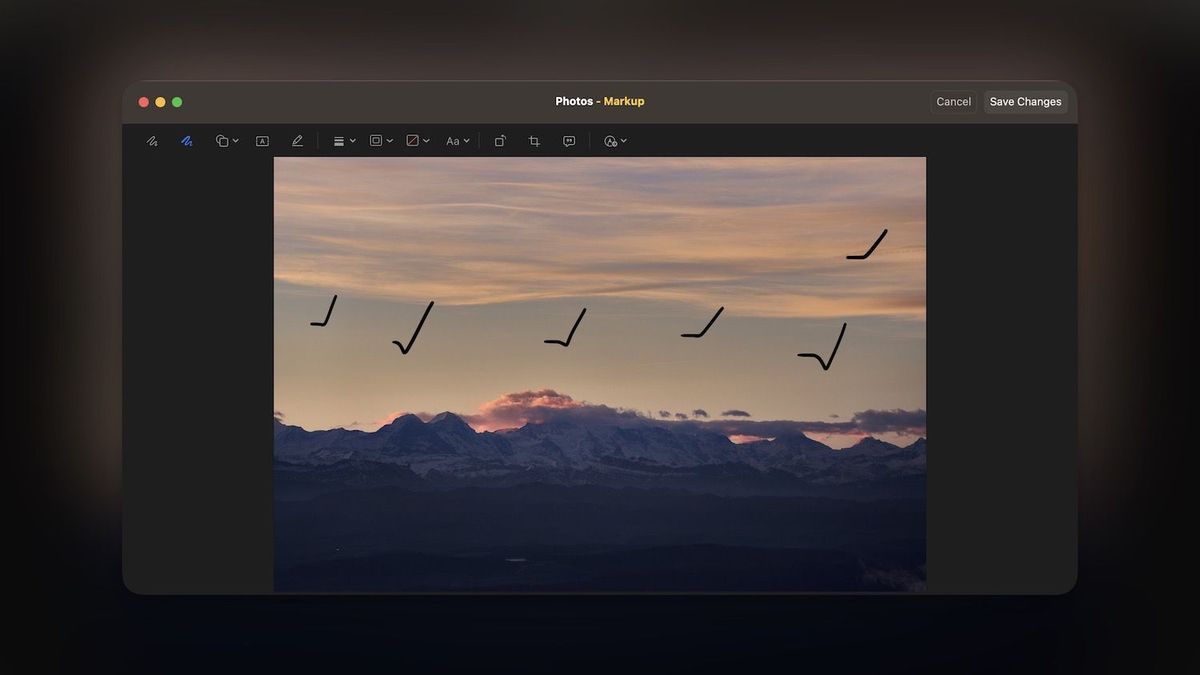
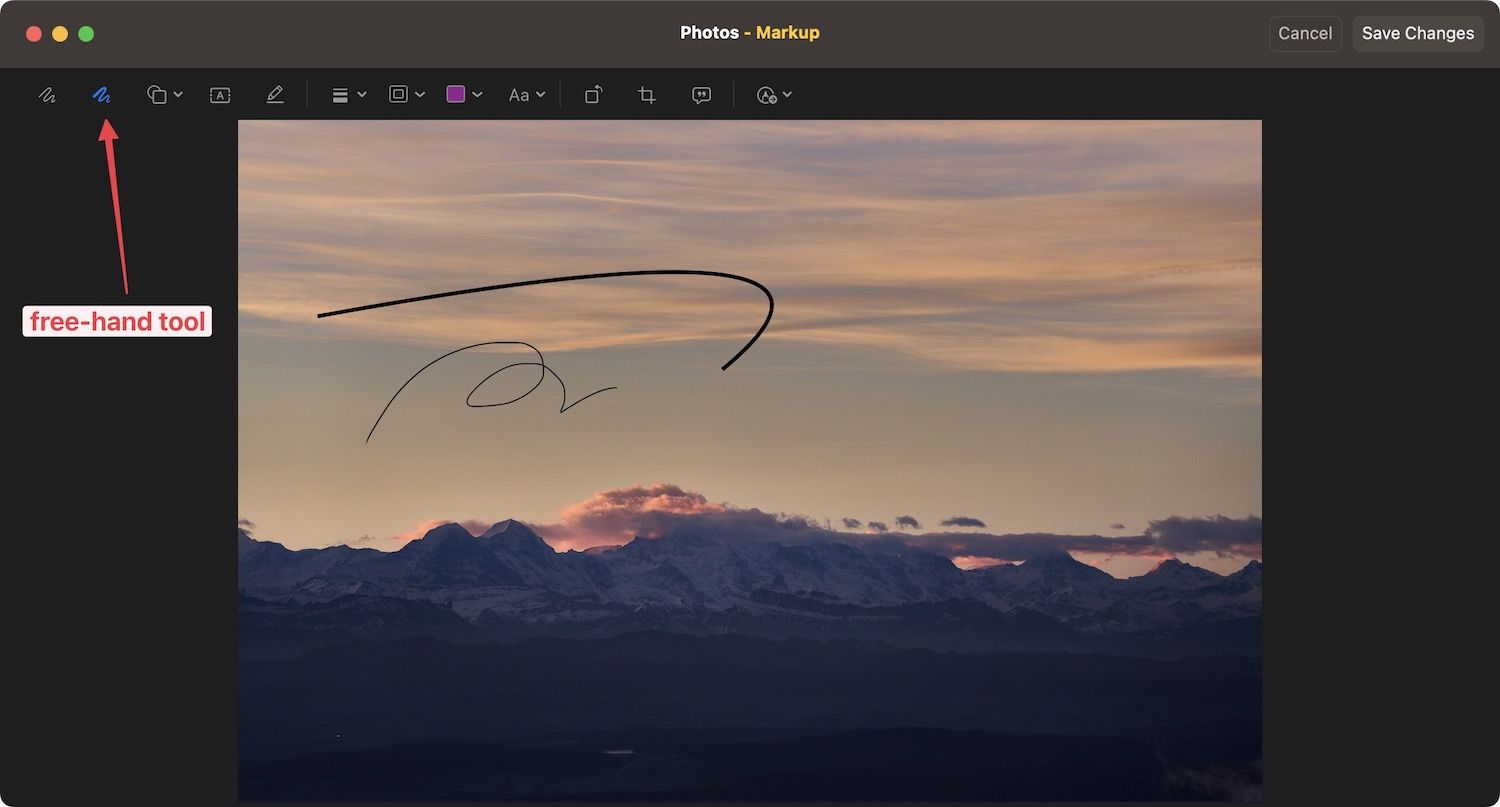
7. To draw on the photo, choose the free pen tool (2nd from left). If you want your drawing to change to the shape you are trying to draw, choose the left-most pen too.
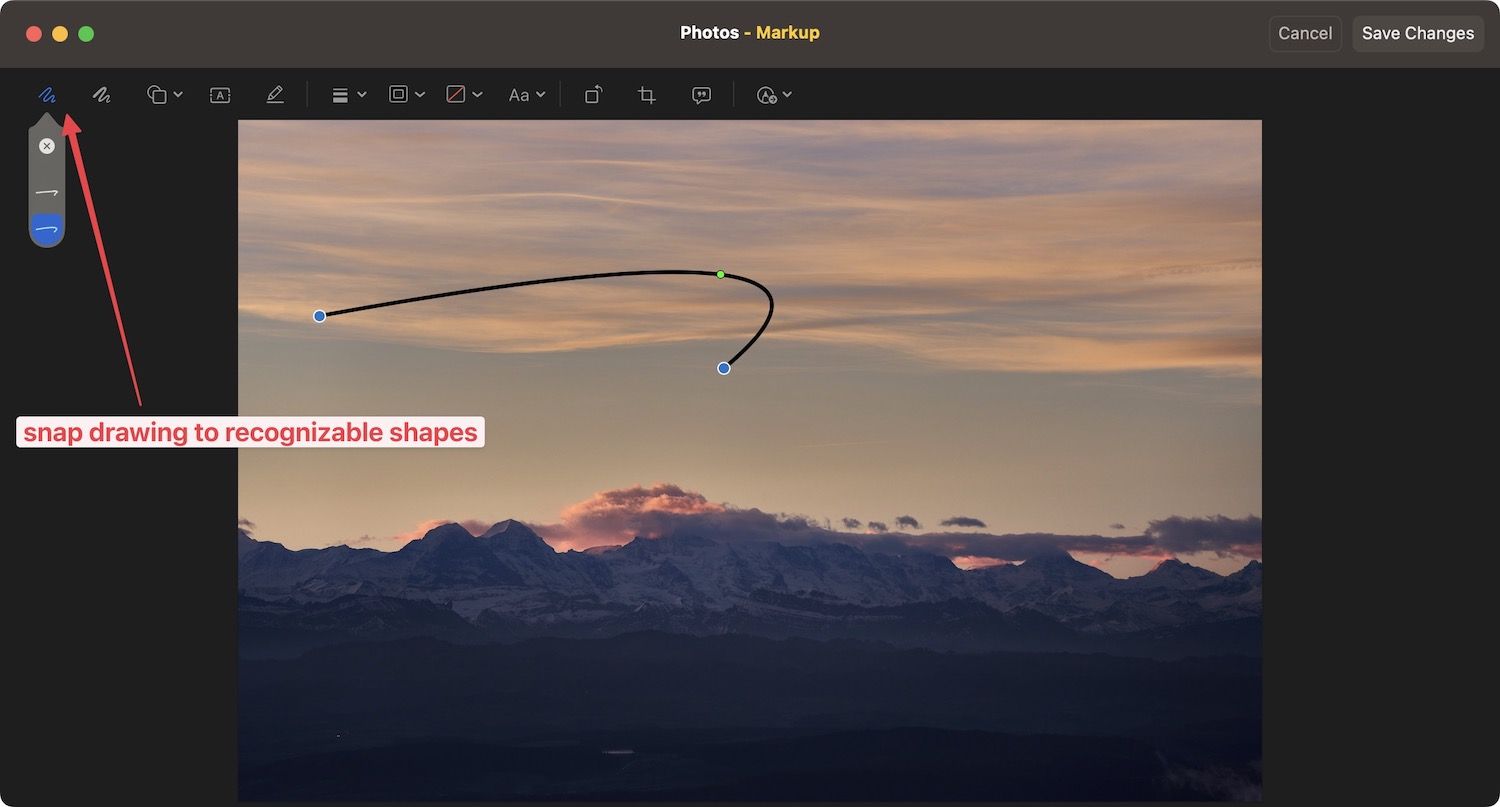
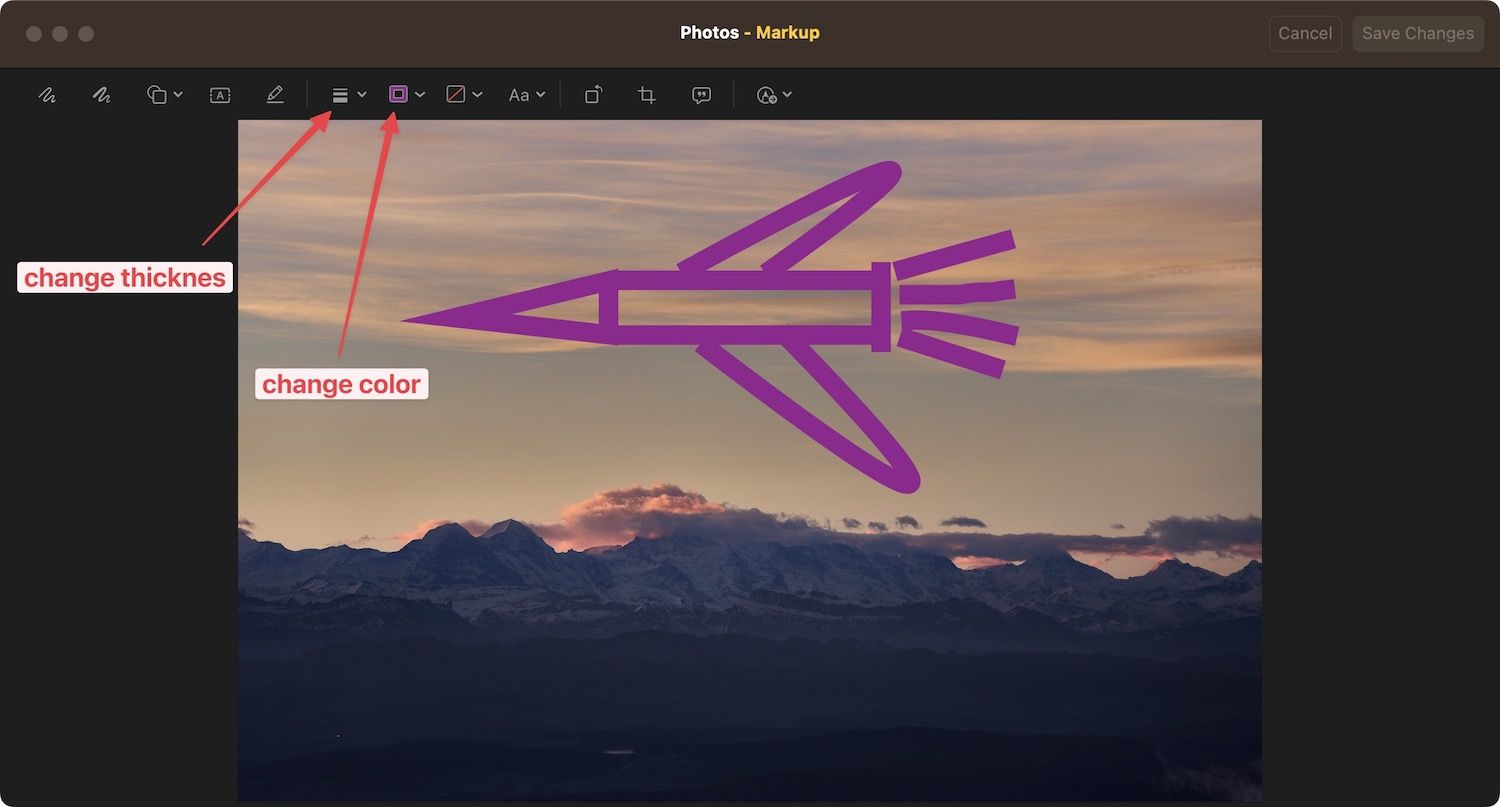
8. You can change the brush thickness and colors using the options in the toolbar. There are also other tools that let you add text, shapes, and more.
How to draw on photos using the Preview app
If the image you want to draw on is saved in Finder or iCloud Drive, you can use the Preview tool to add shapes and drawings.
1. To edit the photo, double-click to open it in the Preview app.
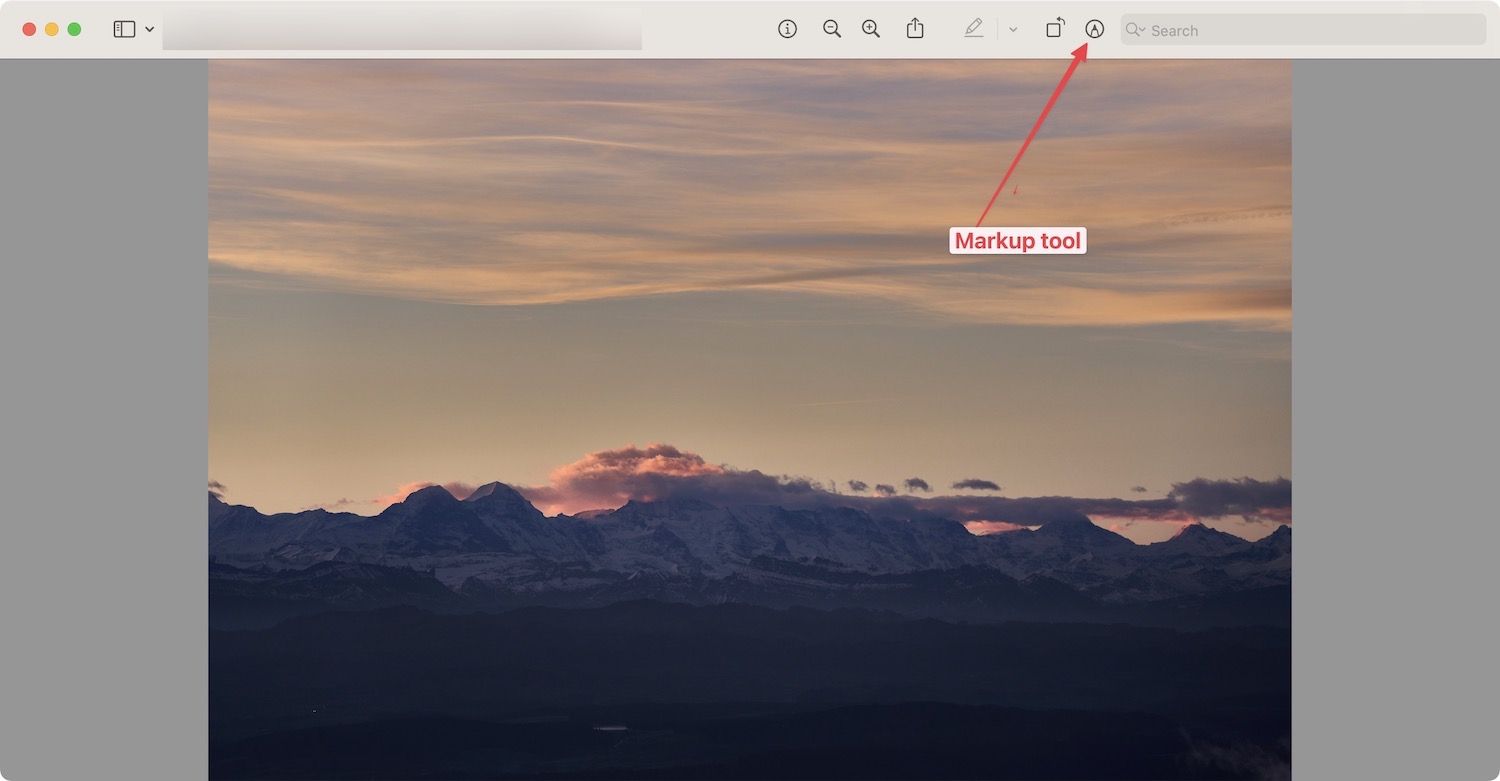
2. Click the Markup tool in the top-right corner.
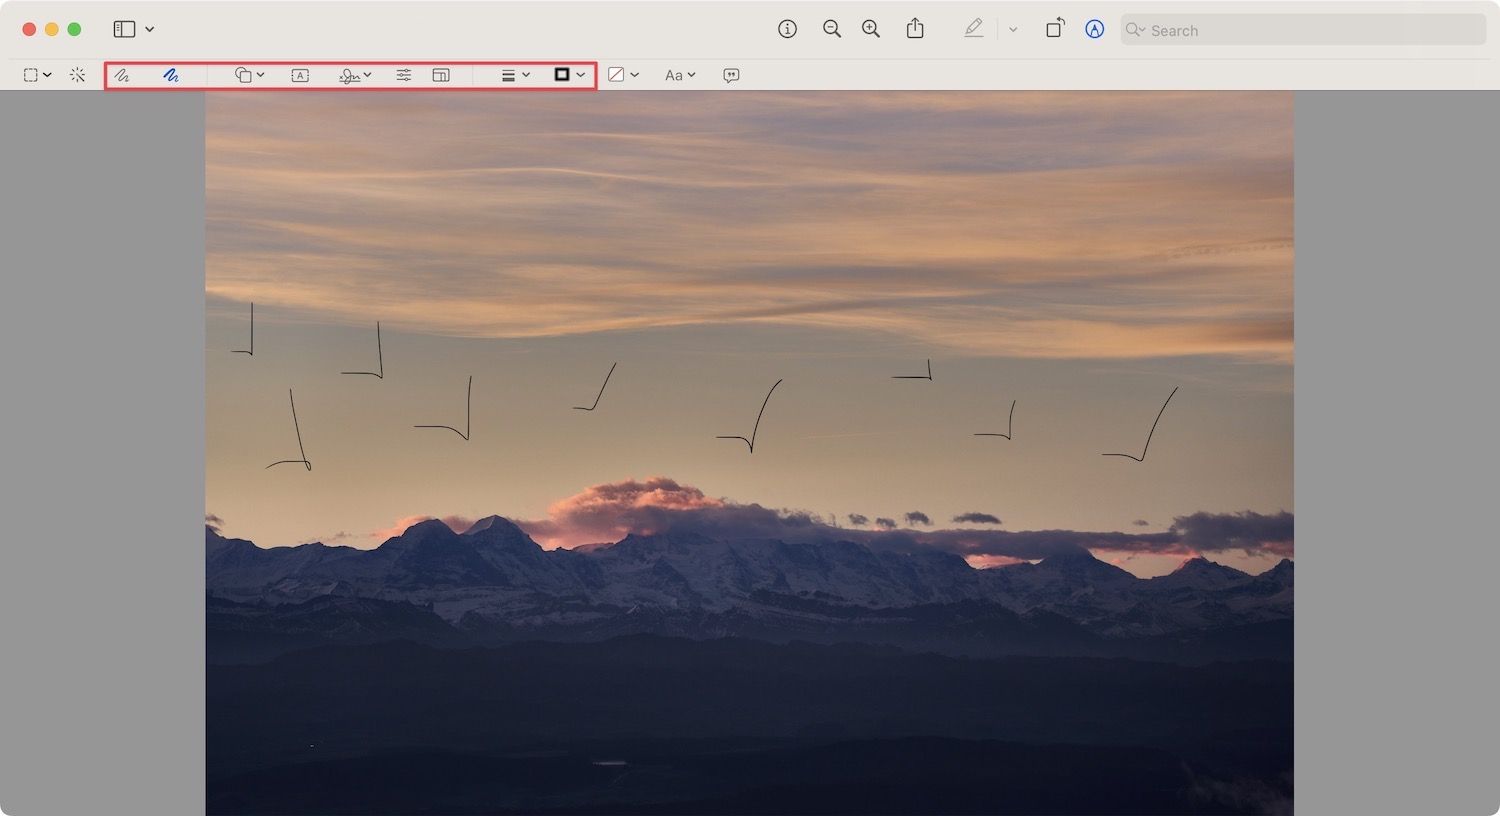
3. As you can see, you get access to all the markup tools that you had in the Photos app. Use them to add your drawing to the photo.
Add drawings and shapes to photos on Mac
We hope that this guide was able to help you draw on photos on Mac. If you have any questions regarding this guide, drop them in the comments, and will answer them. Also, don’t forget to check out our guide on editing PDFs using Preview on Mac.


