
How to Use the New Groceries List Feature in Apple Reminders
In this guide, we will show you how to use the new Groceries list feature in Apple Reminders to auto-categorize your shopping items on iPhone and Mac.

Apple Reminders app has received several quality-of-life improvement updates with iOS 17 and macOS Sonoma. We have already covered how you can create a Kanban view in Apple Reminders using the new sections feature and columns view in Apple Reminders. In this guide, we will show you how to use the new Groceries list feature in Apple Reminders to auto-categorize your shopping items on iPhone and Mac.
Use the Reminders Groceries list feature to sort items into categories
In our Apple Reminders guide, we show how the built-in Reminders app is more than capable of becoming a good task manager for most iPhone users. One of the missing features we wanted Apple to include was a way to organize our tasks into sections. With the latest update, Apple allows users to create Sections in Reminders Lists to help users organize their to-do items.
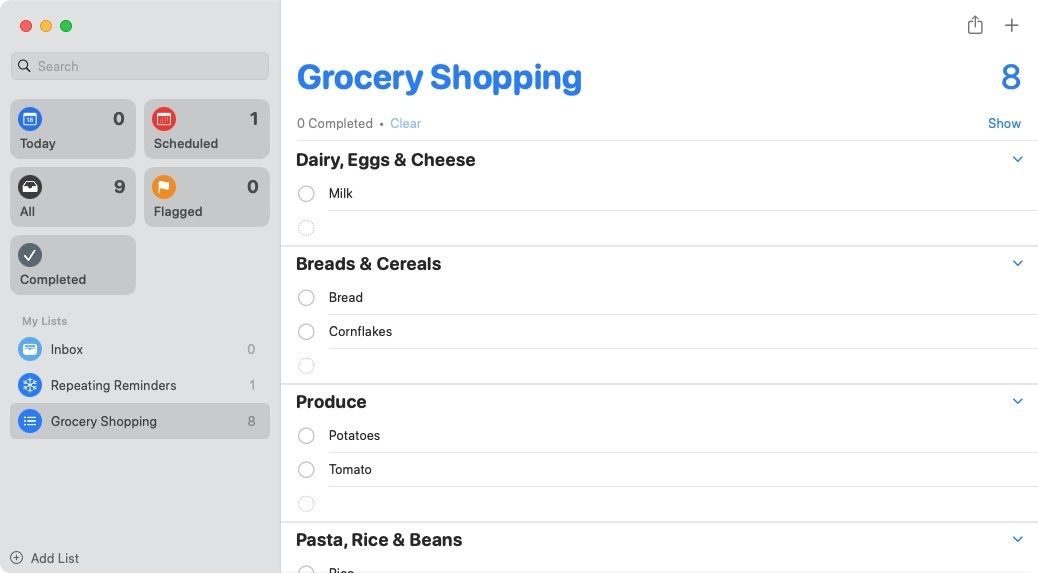
There’s also a new Groceries list that auto-categorizes grocery items into different sections, including Breads & Cereals, Frozen Foods, Bakery, Baking Items, Household Items, Snacks & Candy, Meat, Dairy, Eggs & Cheese, and more. While the app does a good job, if you find some items are not categorized correctly, you can drag and drop them into the correct categories. Also, you can add your own sections.
Use the Reminders Groceries list feature on iPhone
Follow the steps below to create and use the new Reminders Groceries list feature on iPhone.
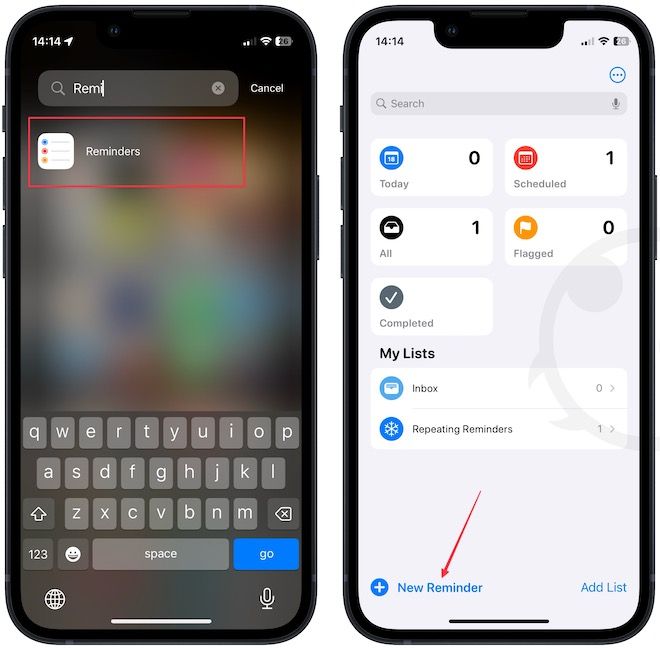
1. Launch the Reminders app and tap the Add List button in the bottom-right corner.
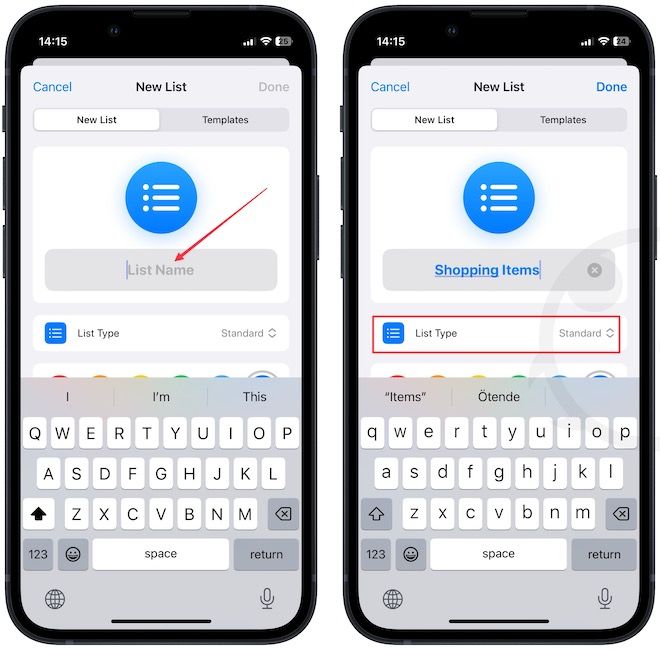
2. Name the list and tap the dropdown menu next to the List Type option.
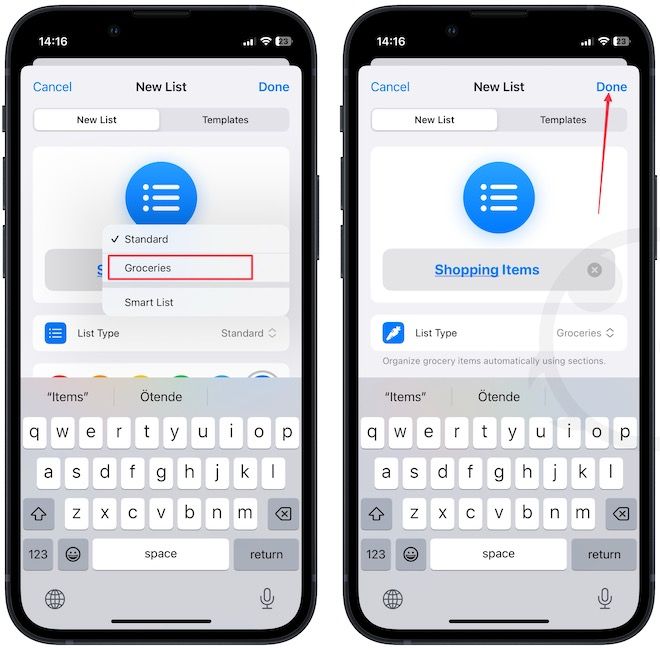
3. Choose Groceries and tap the Done button to save changes.
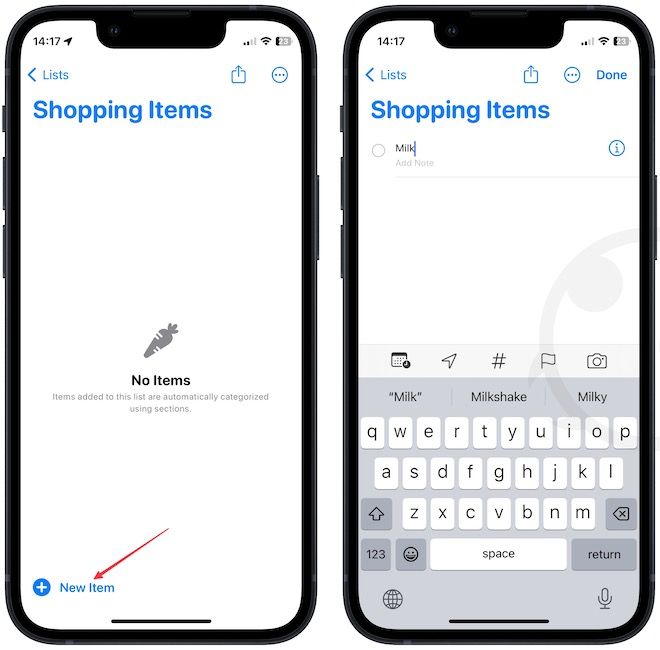
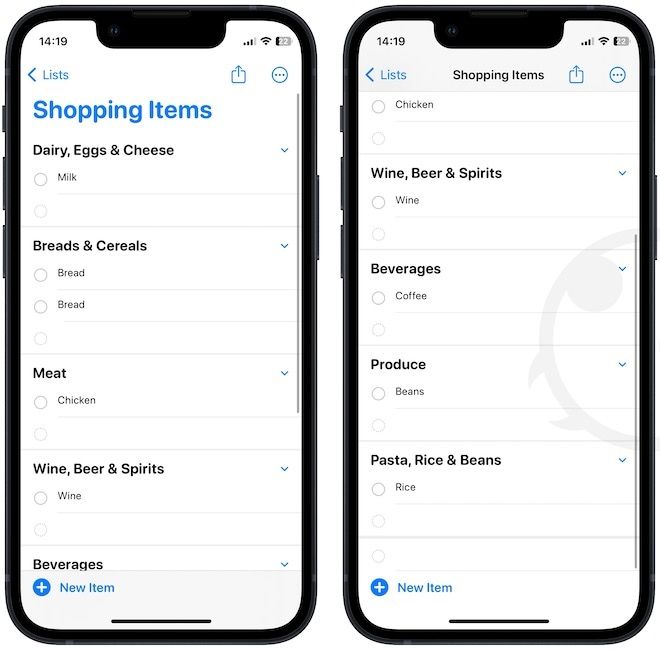
4. Tap the New Item button to add an item, and you will see that Reminders will sort it into sections. For example, let’s try adding milk to our shopping list.
5. Similarly, add all your shopping items and hit the Done button to save.
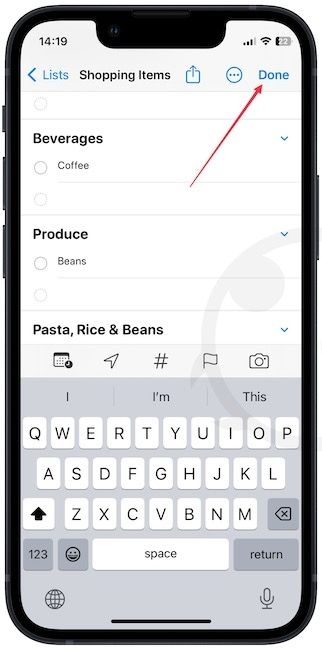
6. As you can see, Reminders has automatically sorted our items into different categories.
7. To move an item from one section to another, tap and drag it to the section you want.

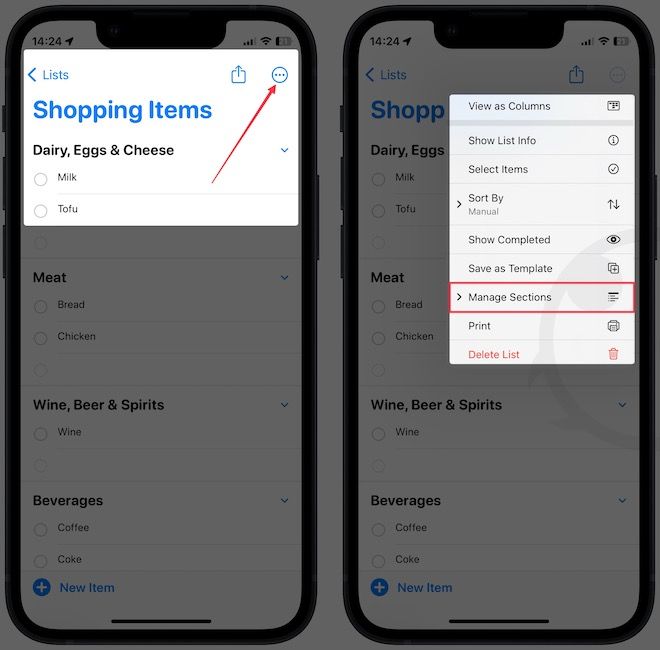
8. To add a custom section, tap the three dots menu and choose the Manage Sections option.
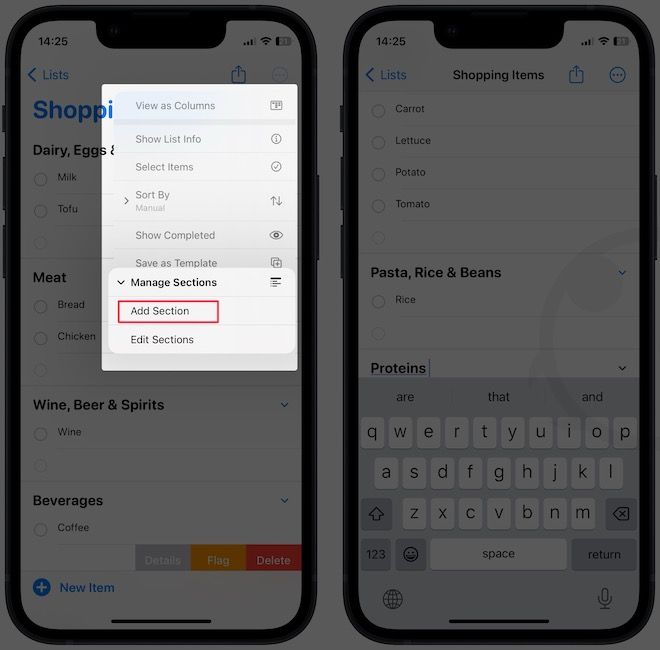
9. Tap on Add Section and give it a name.
Use the Reminders Groceries list feature on Mac
You can also create a Groceries list in Apple Reminders on your Mac.
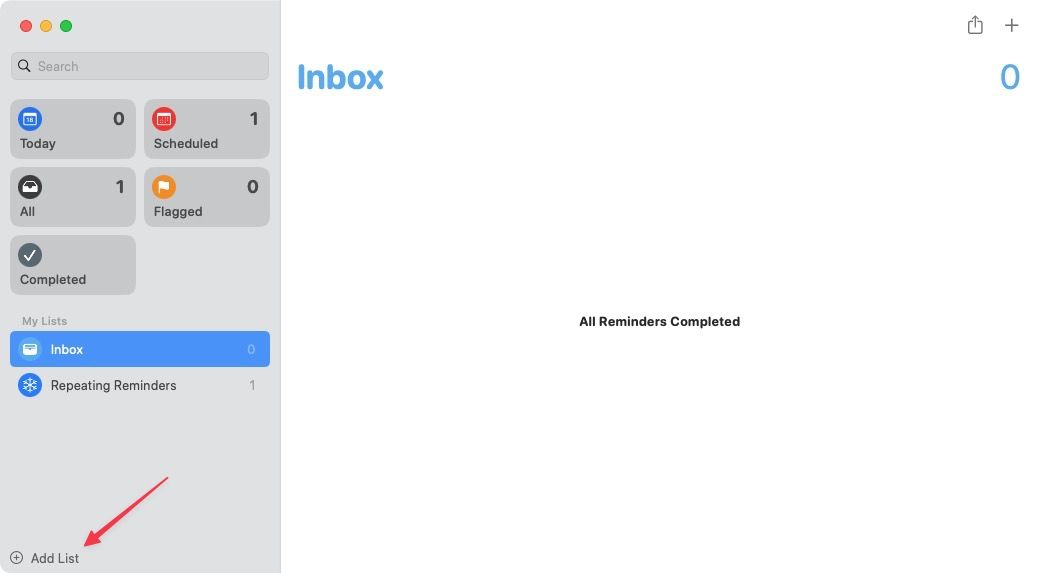
1. Launch the Apple Reminders app and click the Add List button in the bottom-left corner.
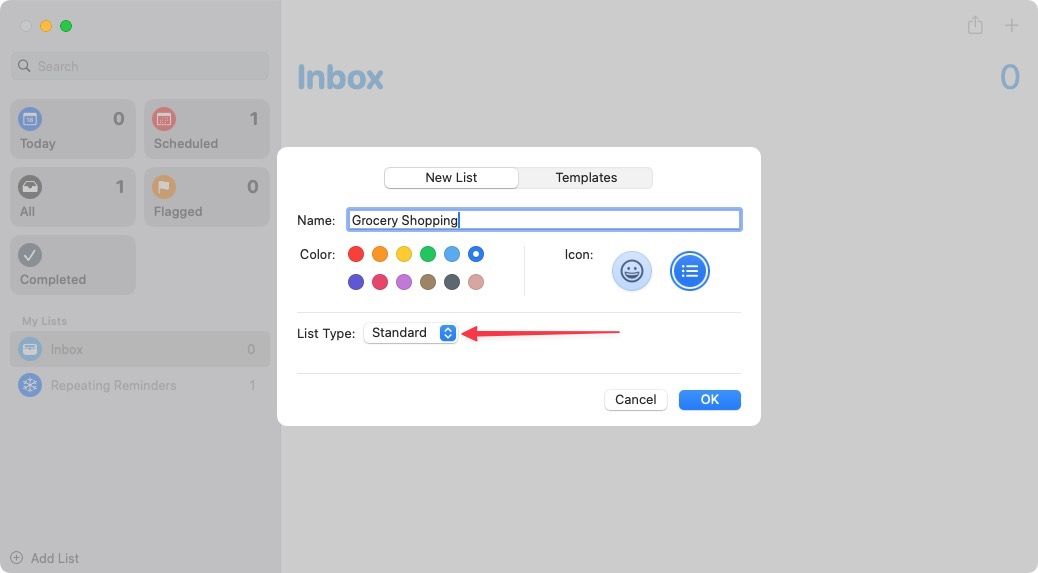
2. Give the list a name and click the dropdown menu next to List Type.
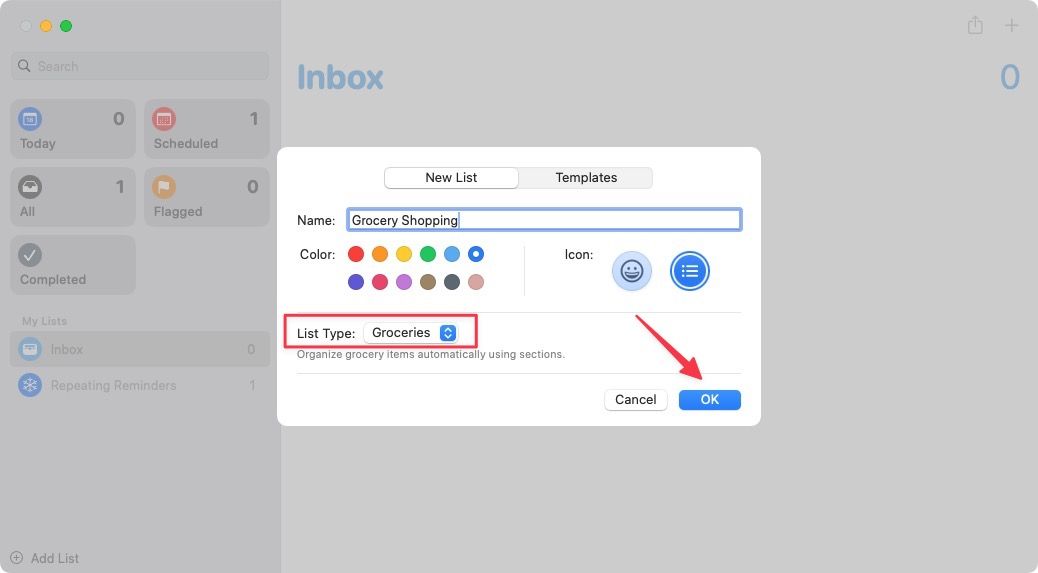
3. Pick the Groceries option and click the OK button to save your changes.
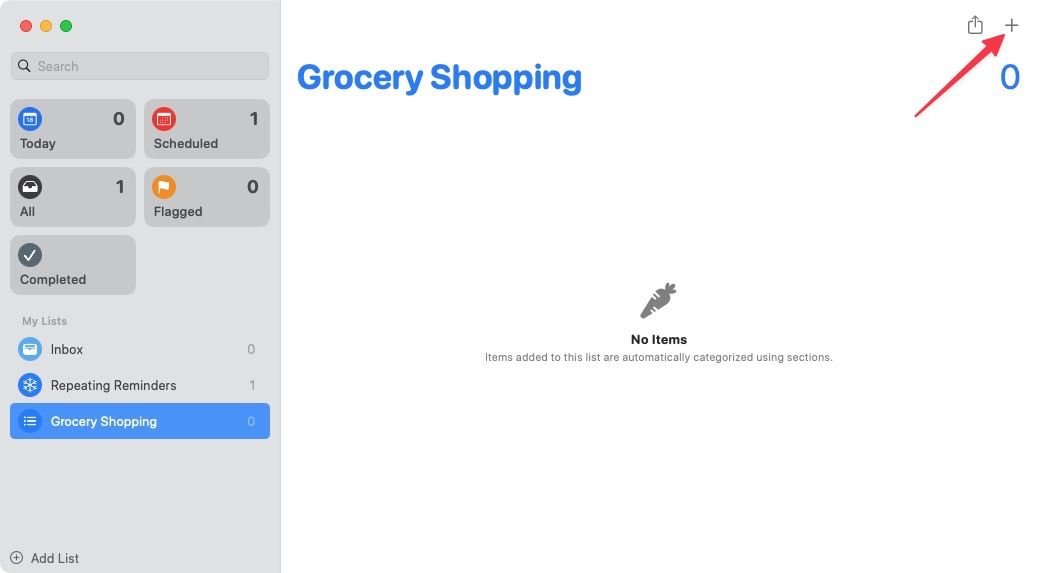
4. Now hit the (+) button in the top-right corner or use the ⌘N keyboard shortcut to add your shopping list items.
5. You will see that Reminders is sorting all the items as you add them. Like on iPhone, you can click and drag on items to rearrange them.
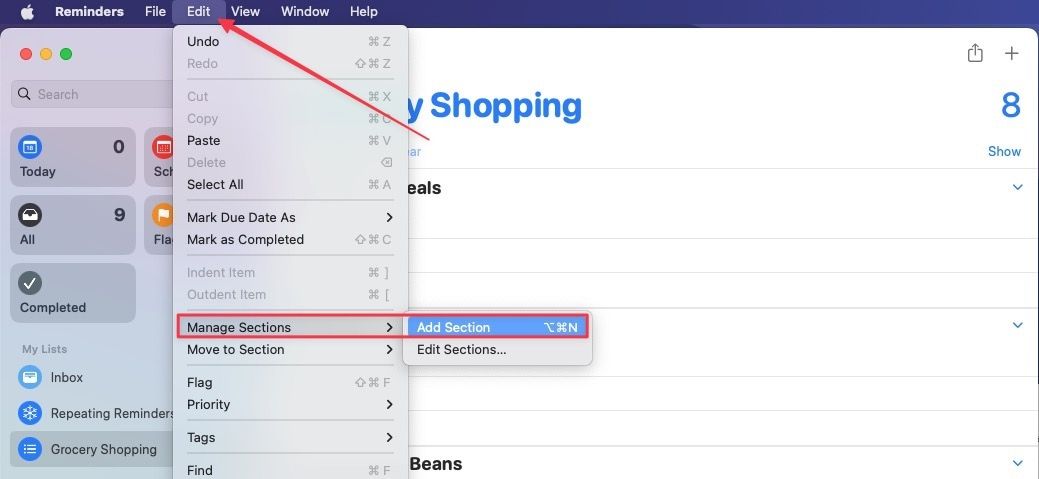
6. To add a new list, go to Edit→ Manage Sections → Add Sections or hit the ⌘⌥N keyboard shortcut.
Shop better with Reminders grocery list feature
The new Groceries list feature in Reminders makes shopping easier for users. Before you go, check out our favorite Reminders tips and tricks article to learn more tips to get the best out of the Reminders app. Also, If you liked this guide, share the article on your socials so more people can benefit from it.


