
How to Use Parallels Desktop to run Windows 11 on M1 Macs
We have tested the latest version of Parallels Desktop 17 on our Macs, and the experience has been phenomenal. Here is how you can use Parallels desktop to run Windows 11 on M1 Macs.

The Apple Silicon transition for the Macs that Apple kicked off in 2020 has been great for the macOS platform and Mac users. The new Apple Silicon Macs are more powerful and energy efficient than their Intel counterpart. We have been using M1 MacBook Air and 14-inch M1 MacBook Pro since they went on sale, and we have nothing but good things to say about them. The only adverse effect of this change is that Apple M1 Macs no longer support Bootcamp. So, if you want to run Windows 11 on M1 Macs, you will have to do so in a virtualized environment.
Parallels Desktop for Mac is a virtualization software that allows users to run Windows 11 on their Apple silicon Macs. We have tested the latest version of Parallels Desktop 17 on our Macs, and the experience has been phenomenal. Here is how you can use Parallels Desktop to run Windows 11 on M1 Macs.
Use Parallels Desktop to run Windows 11 on M1 Macs
You can use the Parallel Desktop app to run Windows 11 on all M1 Macs, including the M1 MacBook Air, M1 MacBook Pro, 14-inch and 16-inch MacBook Pros, M1 iMac, M1 Mac mini, and Mac Studio. You can also use Parallels Desktop to run Windows 11 on the latest M2 MacBook Air and M2 MacBook Pro machines.
In this guide, we will show you how to install Parallels Desktop 17, Download the correct Windows 11 setup file, and install Windows 11 on M1 Mac. You can use the table of content below and skip to any section you want, but we recommend following the step-by-step guide so you don’t face any issues.
- How to install Parallels Desktop on M1 Mac
- How to download Windows 11 on ARM for M1 Macs
- Install Windows on M1 Macs using Parallels Desktop
How to install Parallels Desktop on M1 Mac
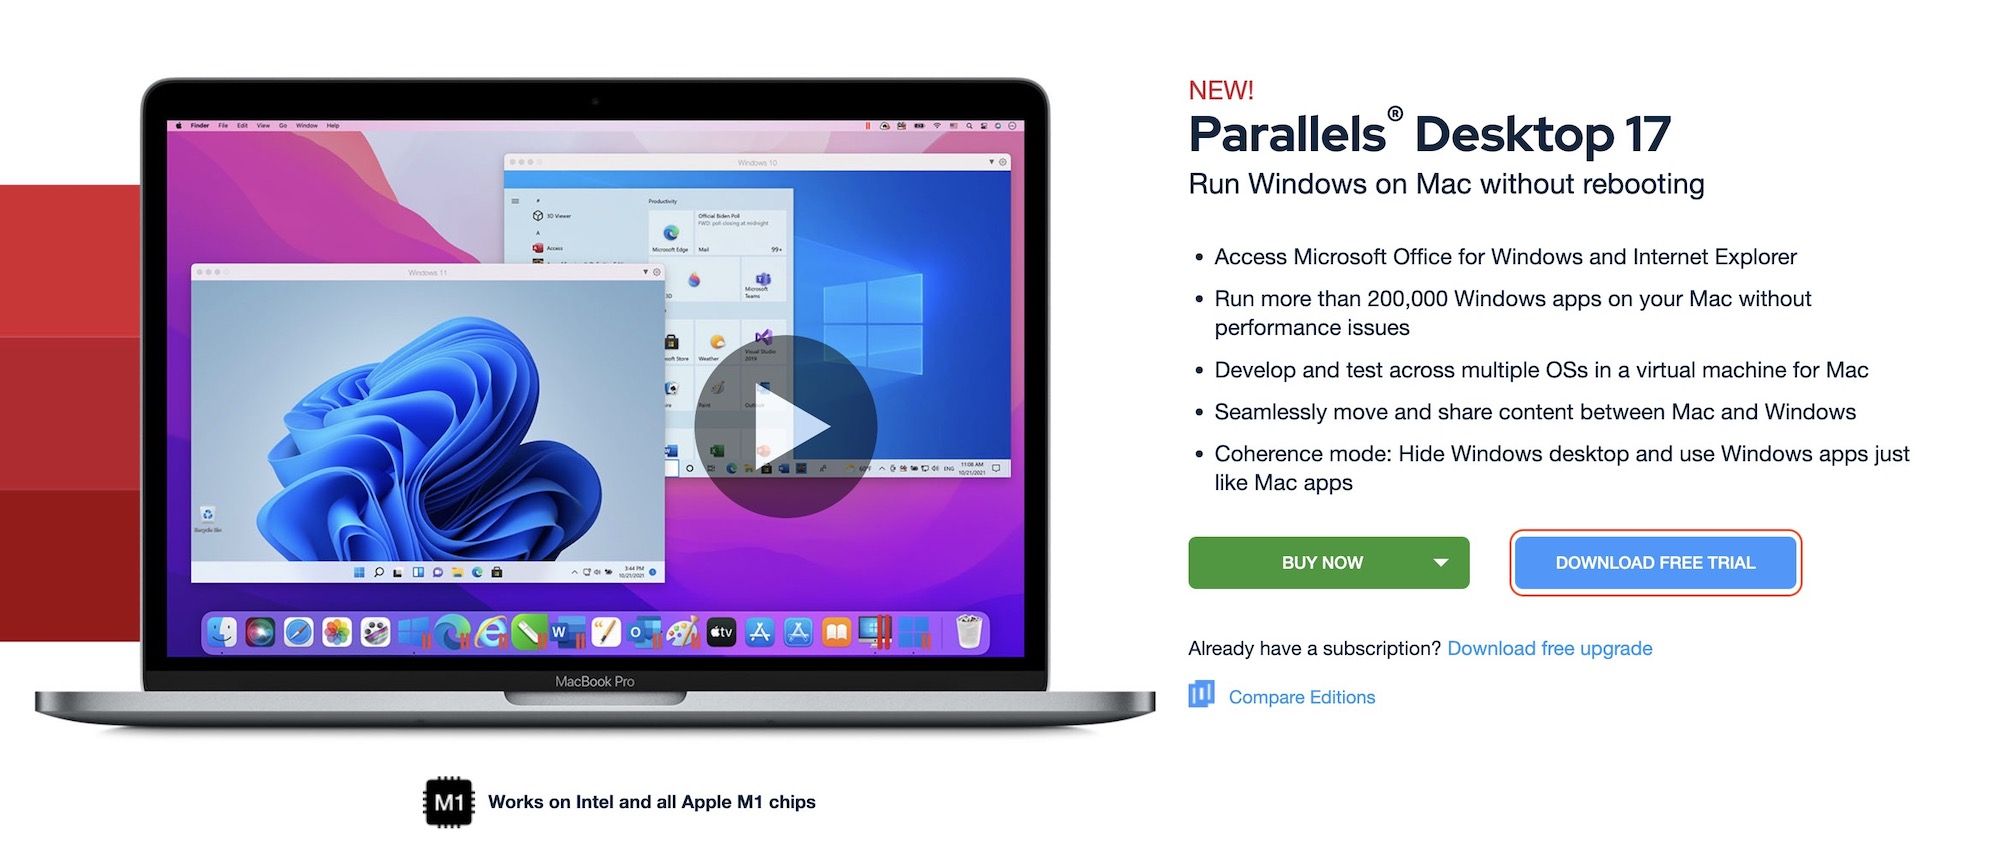
To run Windows 11 on your M1 Mac, you will have to download and install Parallels Desktop 17 app from its official website. The app comes with a 14-day free trial, after which you will have to get its paid version to use it. The app costs $79.99 for the Standard Edition and $99 for the Pro Edition. For most users, a standard license will be enough. That said, you should check the feature comparison chart on the official website to see which edition is best suited for your needs.
1. Click on the link to visit Parallels Desktop's official website. On the website, click on the Download Free Trial button.
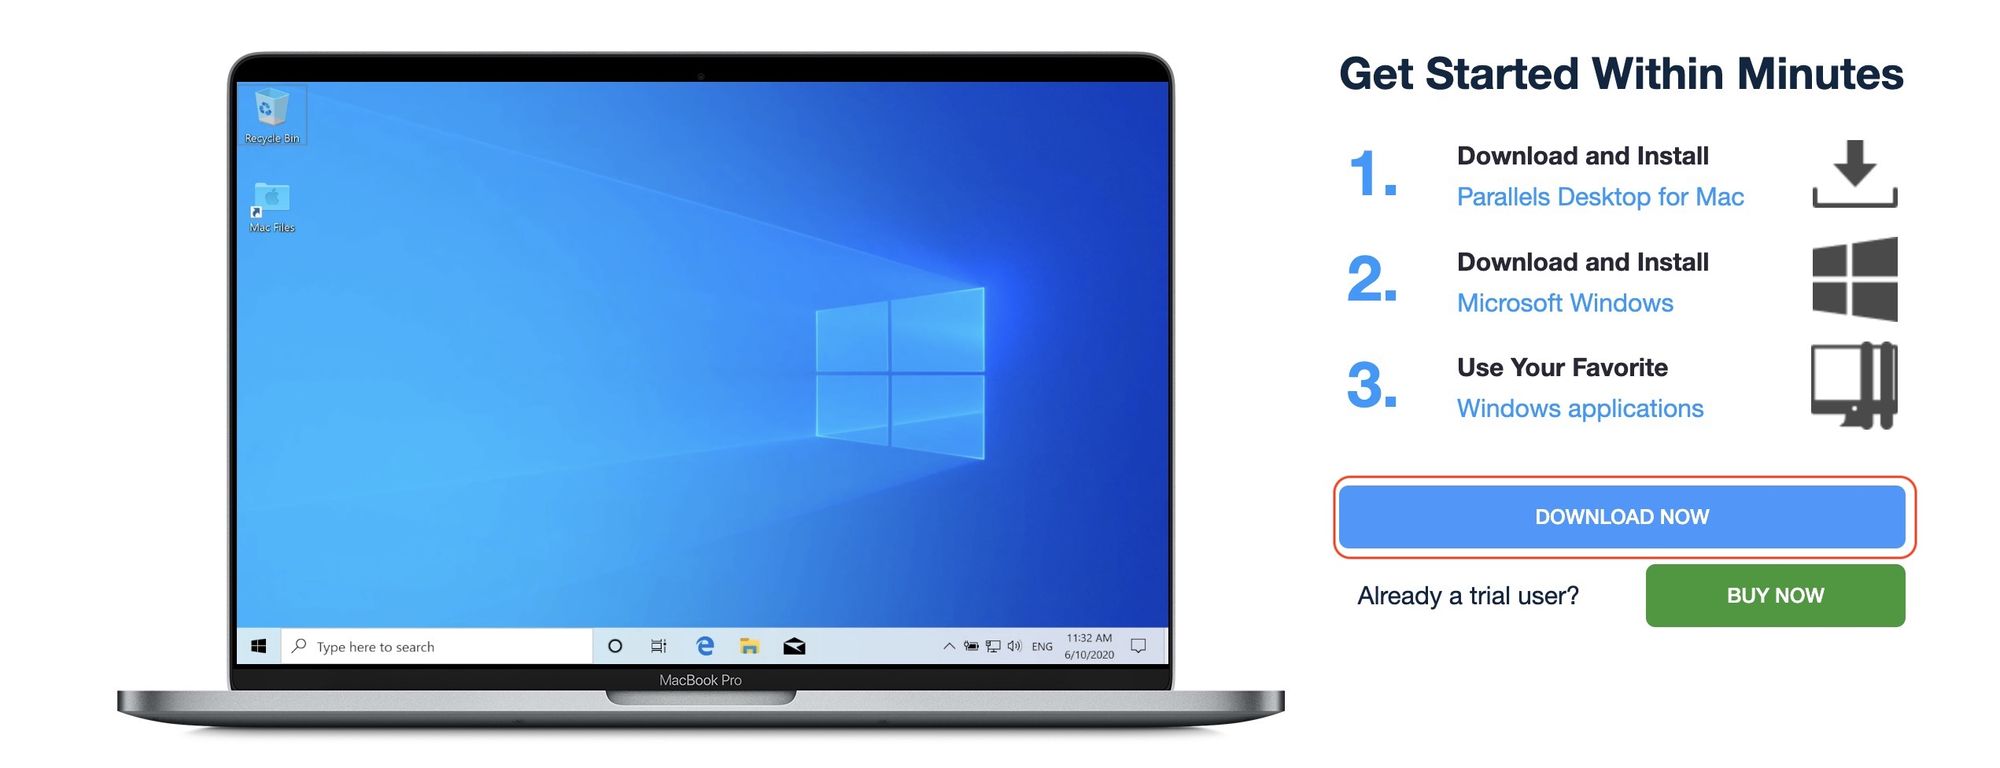
2. Now, click on the Download Now button to start downloading the app.
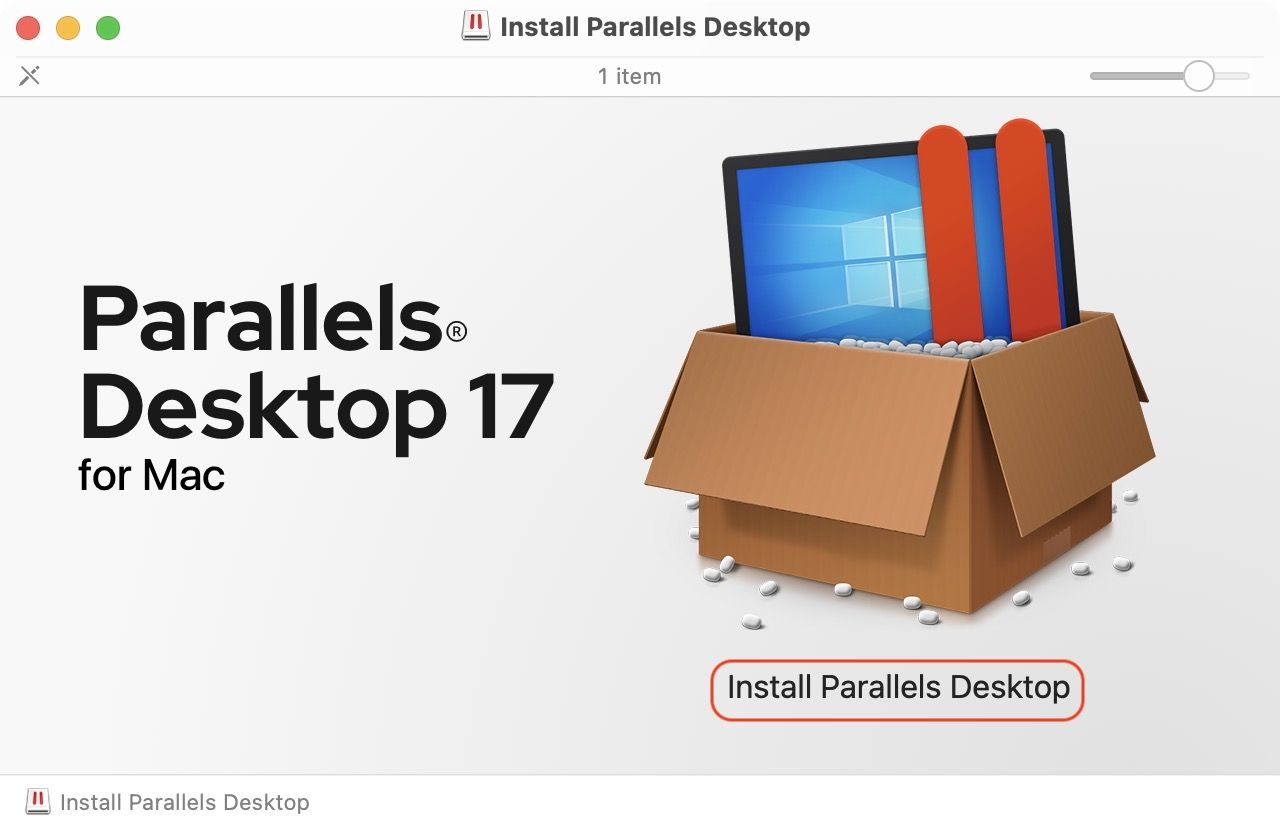
3. Locate the downloaded DMG file on your Mac and double-click on it to open it.

4. Now, double-click on the Install Parallels Desktop button.
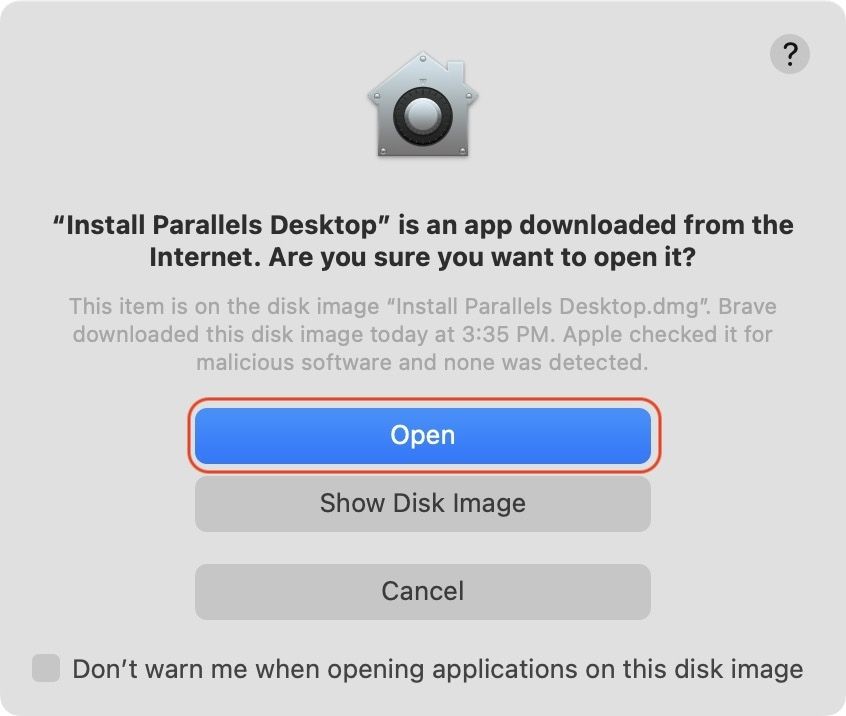
5. macOS may ask you to confirm the installation process as the app is downloaded from a third-party website. Click on the Open button.
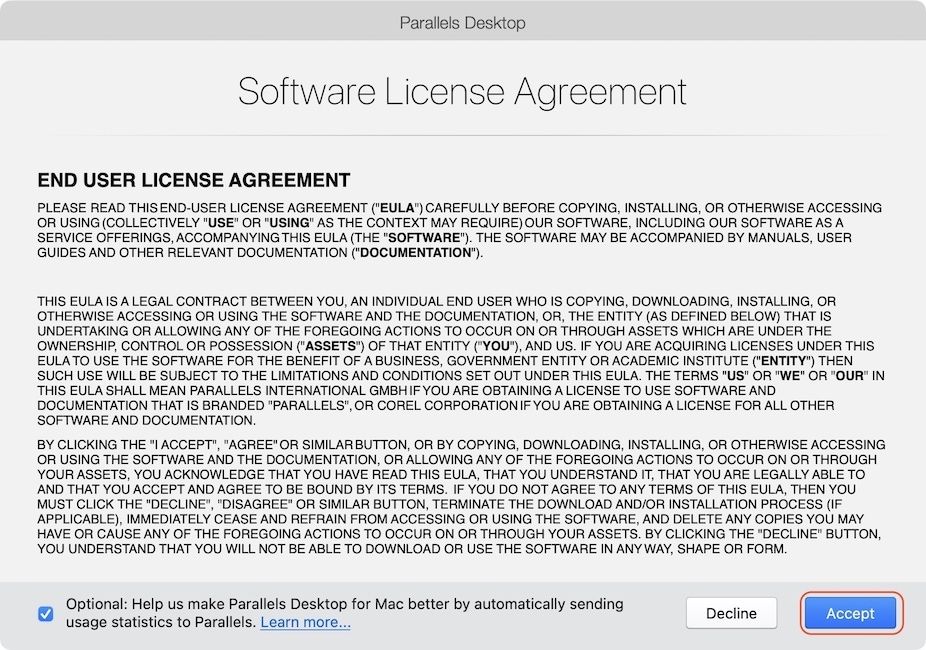
6. Now, the installer will download and install the app on your Mac. Click on the Accept to accept the end user license agreement.
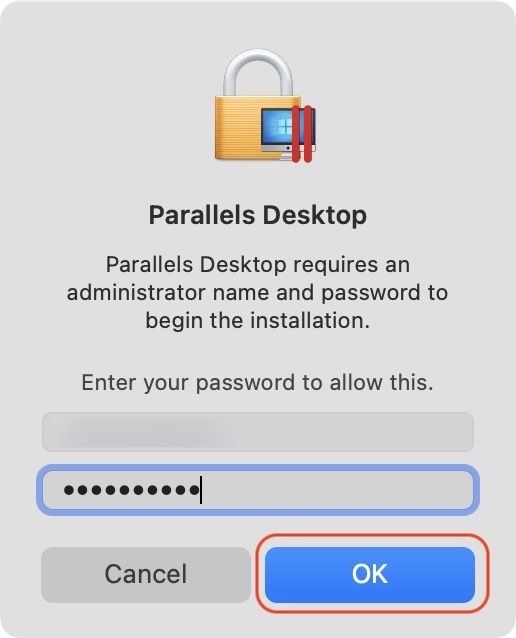
7. Finally, approve the installation with your M1 Mac login password.
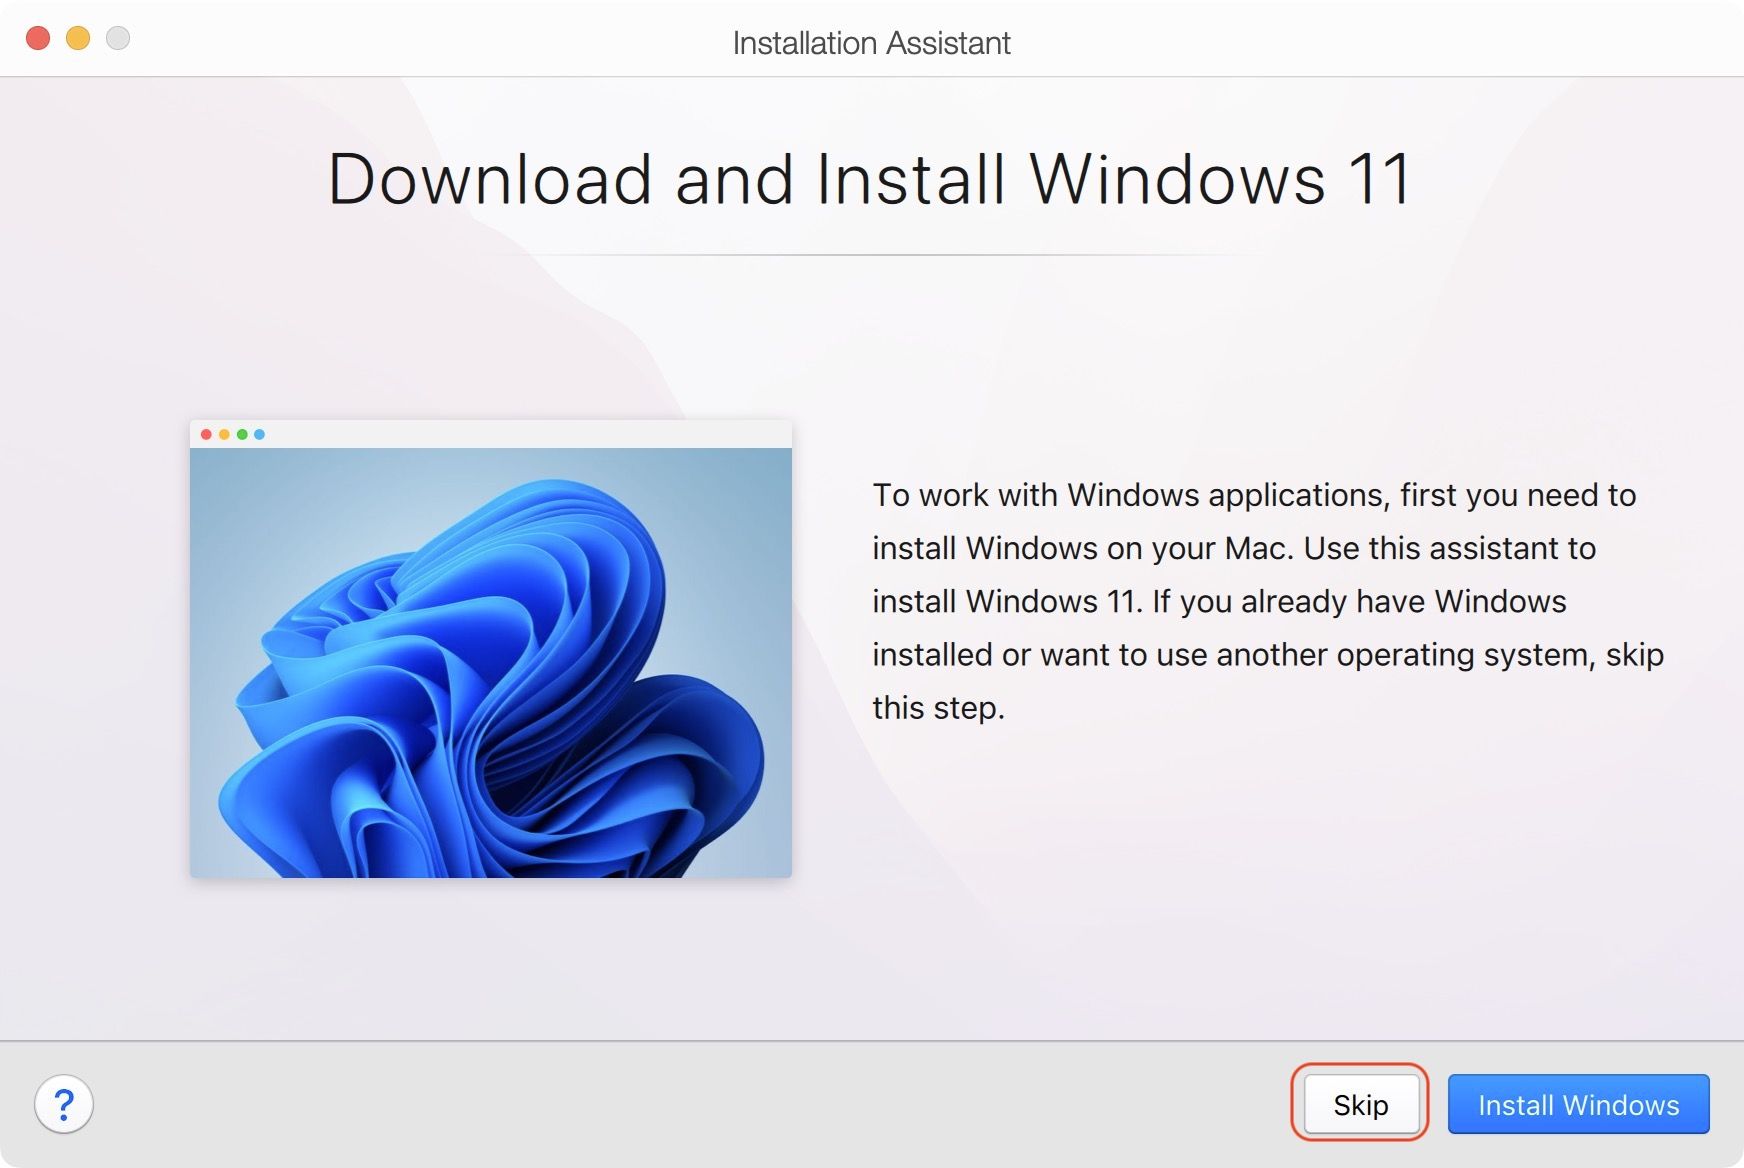
8. After the installation finishes, Parallels Desktop will launch on Mac, giving you an option to install Windows. Click on the Skip button, as we will download the Windows 11 installer file manually.
How to download Windows 11 on ARM for M1 Macs
Now that we have installed the Parallels Desktop 17 app, we will need to download Windows 11 ARM version. The reason you cannot run the regular x86 version of Windows 11 on M1 Macs is that the Apple Silicon chipsets are based on ARM architecture.
Also, currently, the Windows 11 ARM version is under Microsoft’s Insider Build program. So you will have to register for the Windows Insider Program to download the file.
You will need to set up a Microsoft account to register for the program if you don’t already have one. If you already have a Microsoft account, you can skip the first five steps.
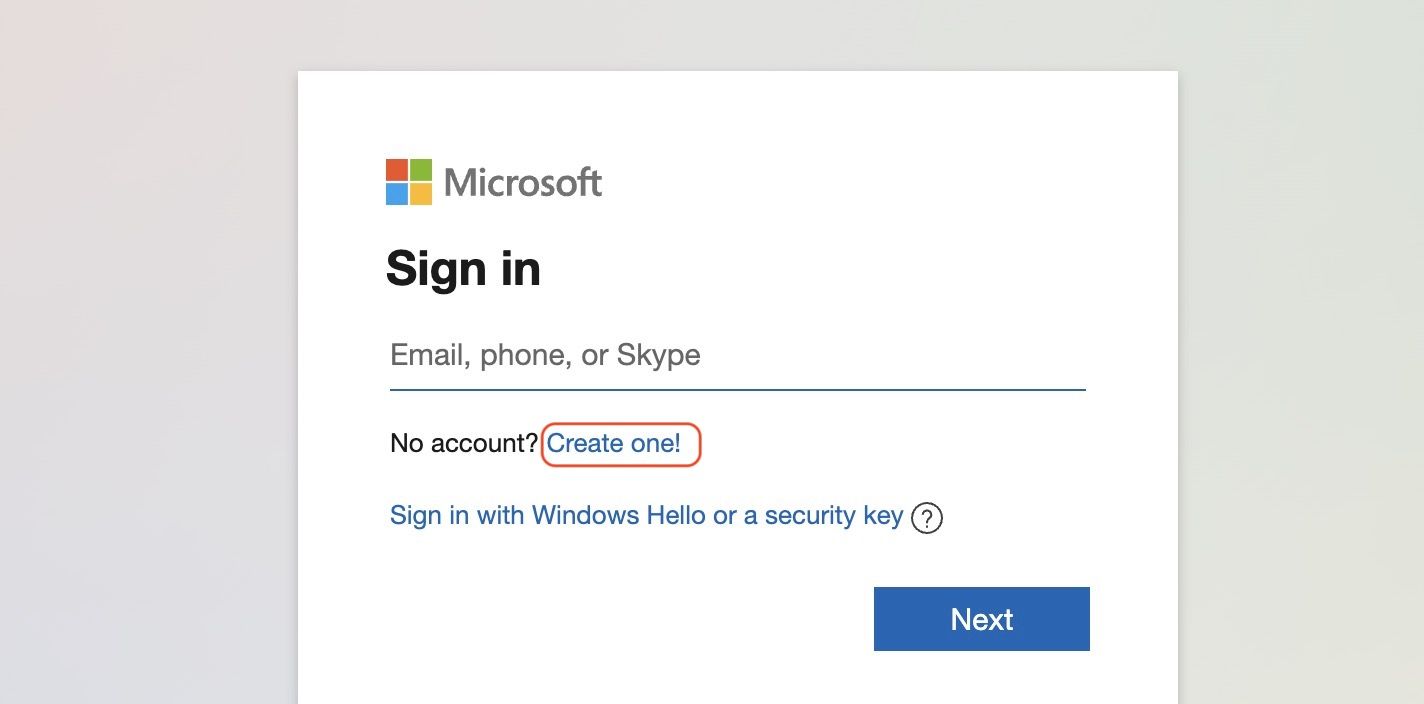
1. Visit Microsoft’s website and click on the Sing in button.

2. On this page, click on the Create one! button.
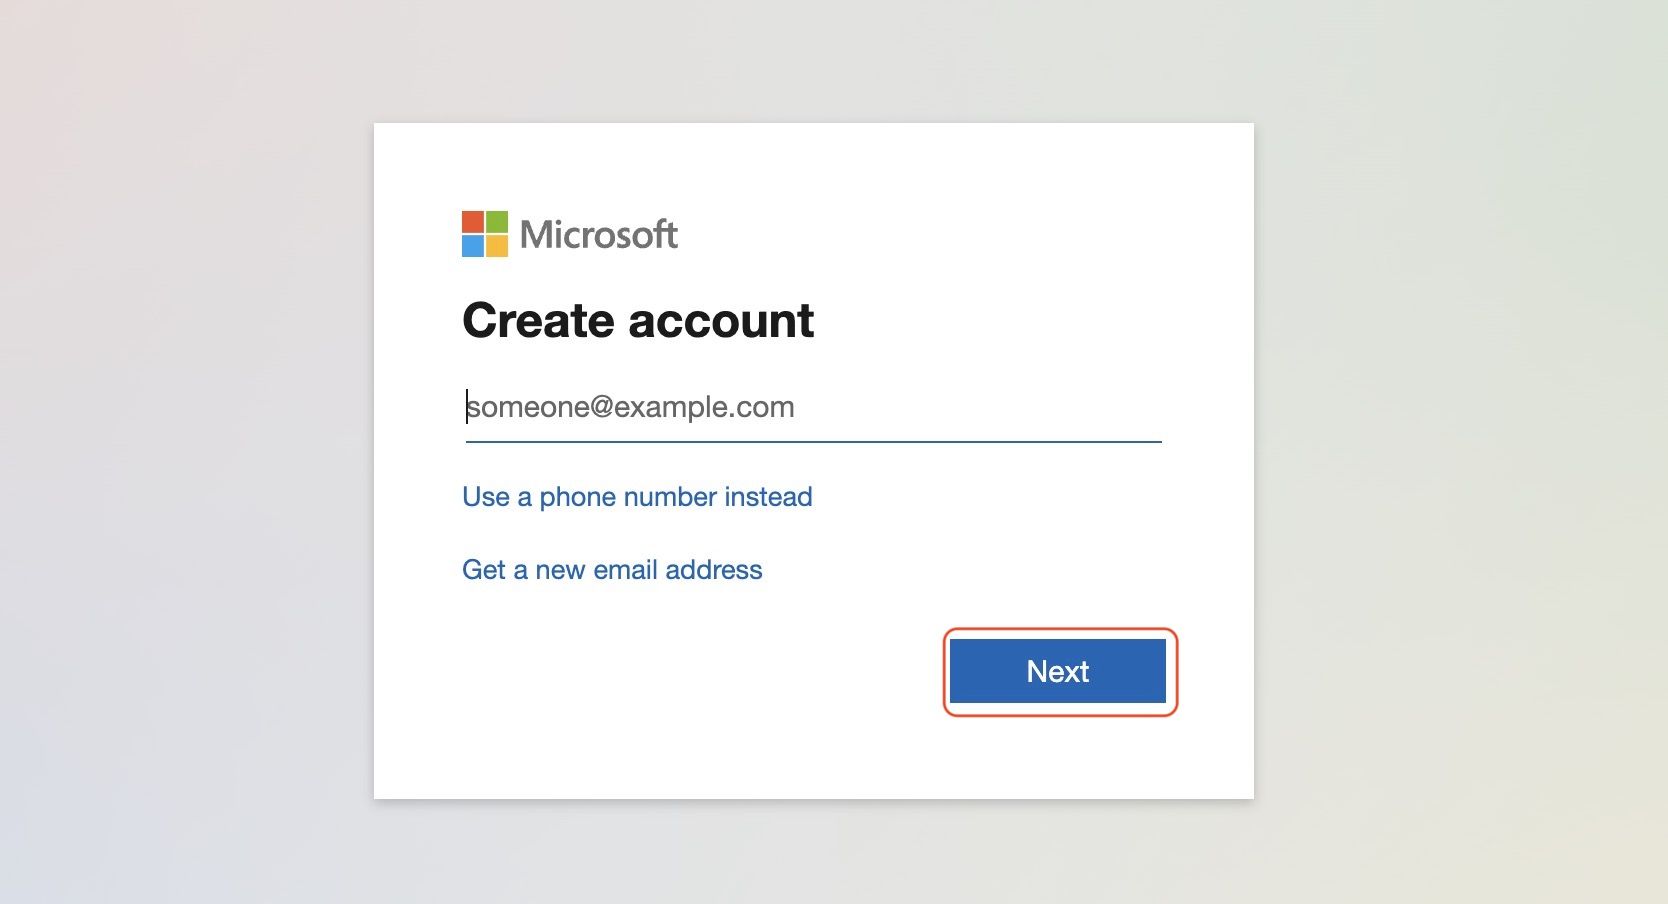
3. Enter your email address and click on Next.
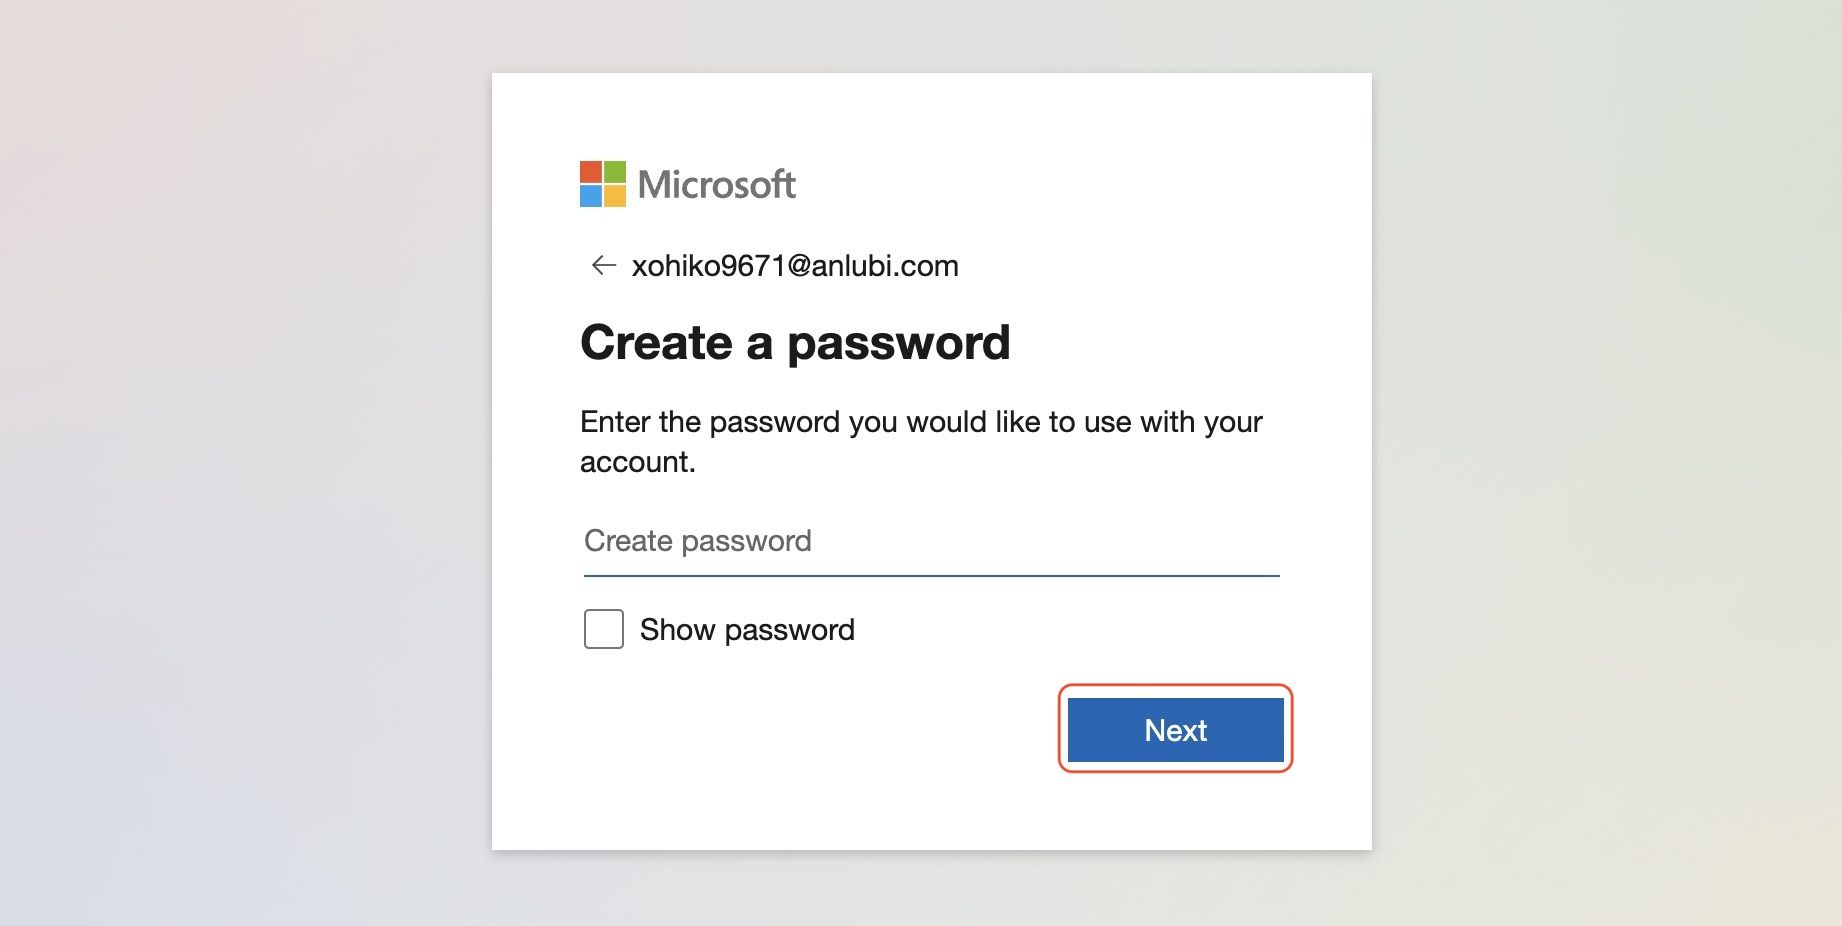
4. Create a strong password and click on Next.
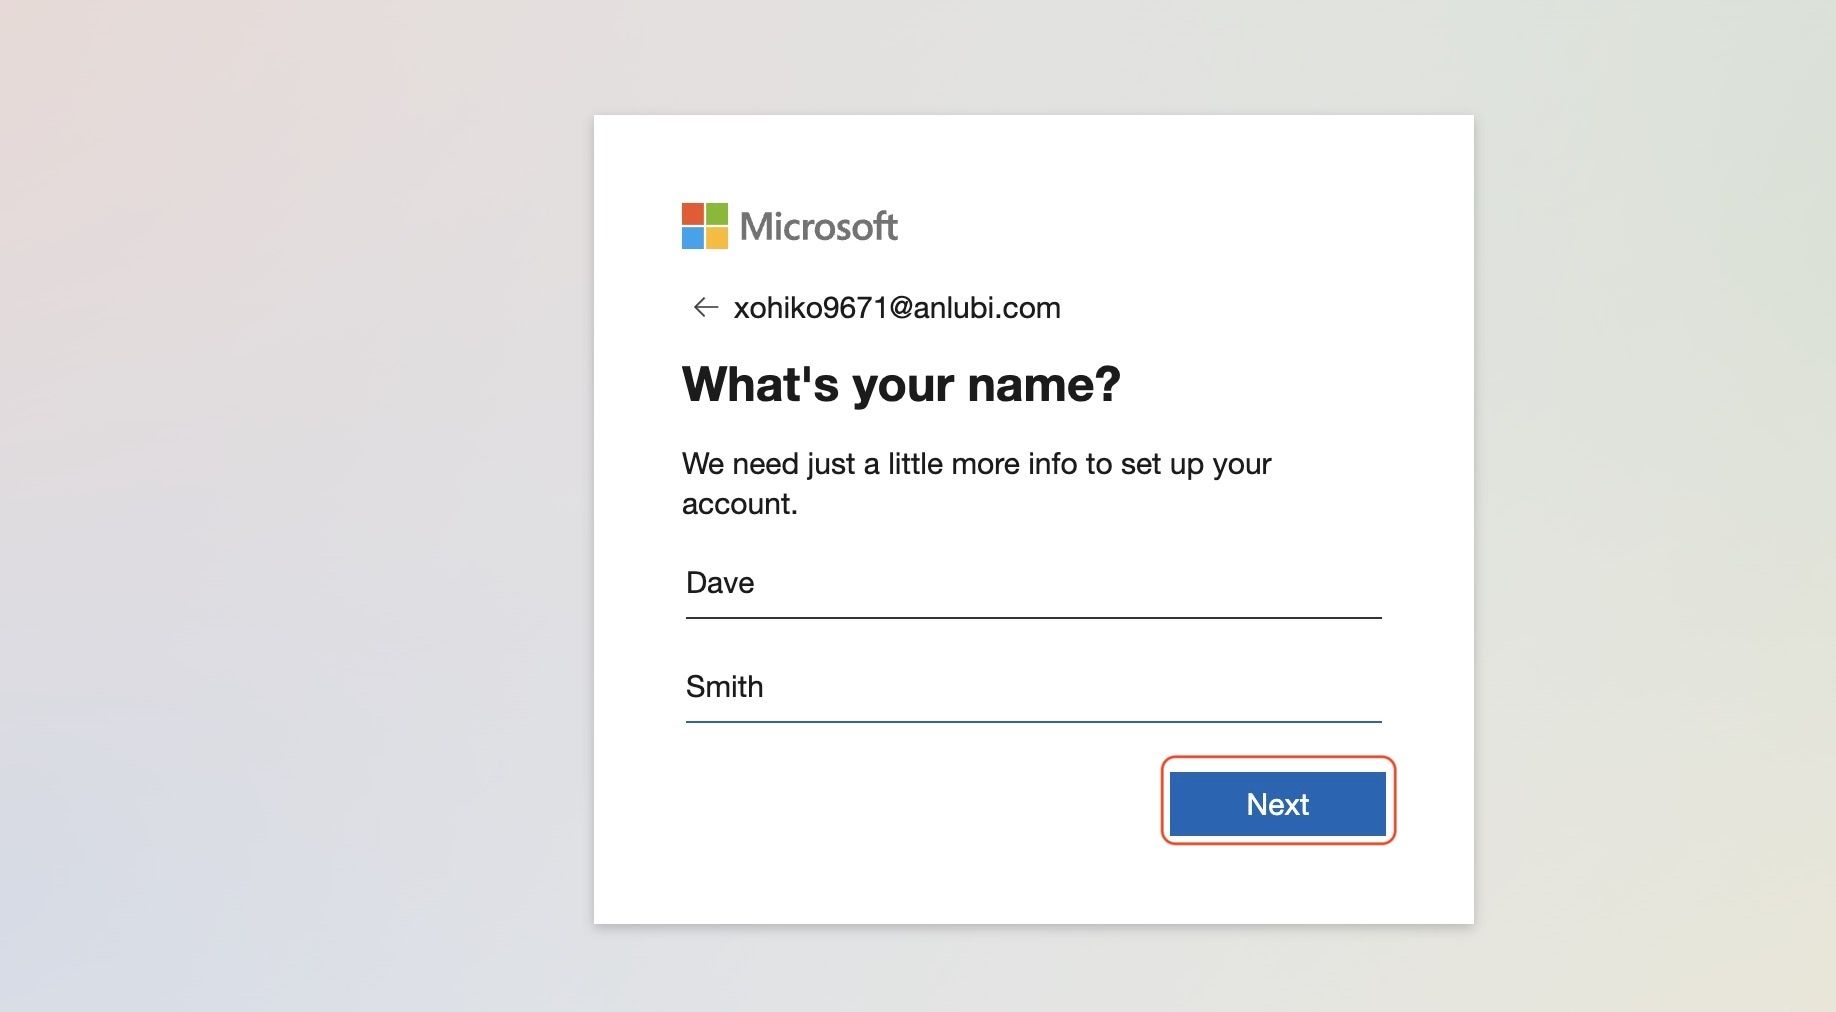
5. Now, enter your name and birthday and follow the on-screen instructions to create your Microsoft account.
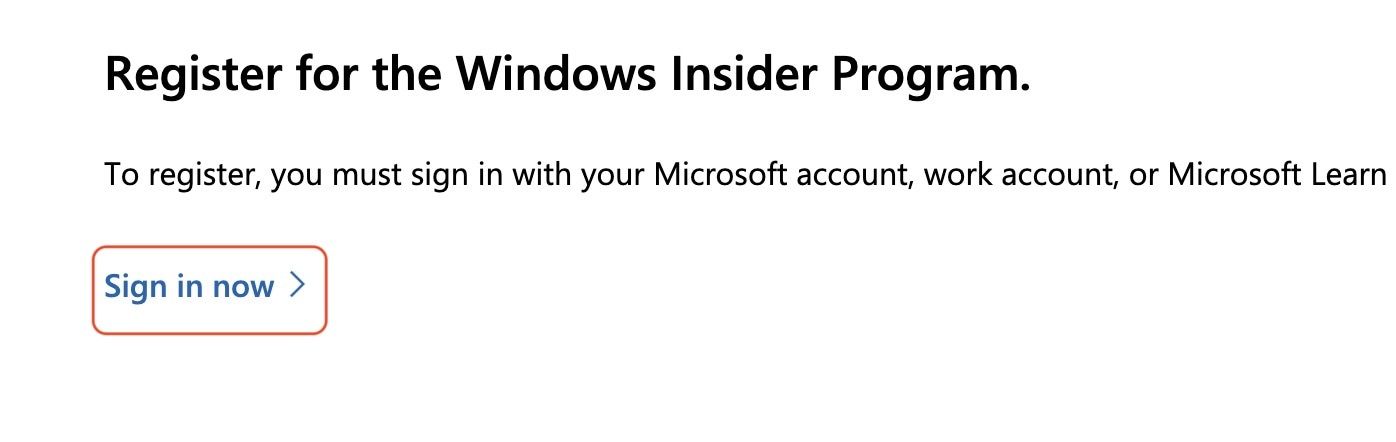
6. Now, you will need to register for the Windows Insider Program. Click on the link and click on the Sign in now button.
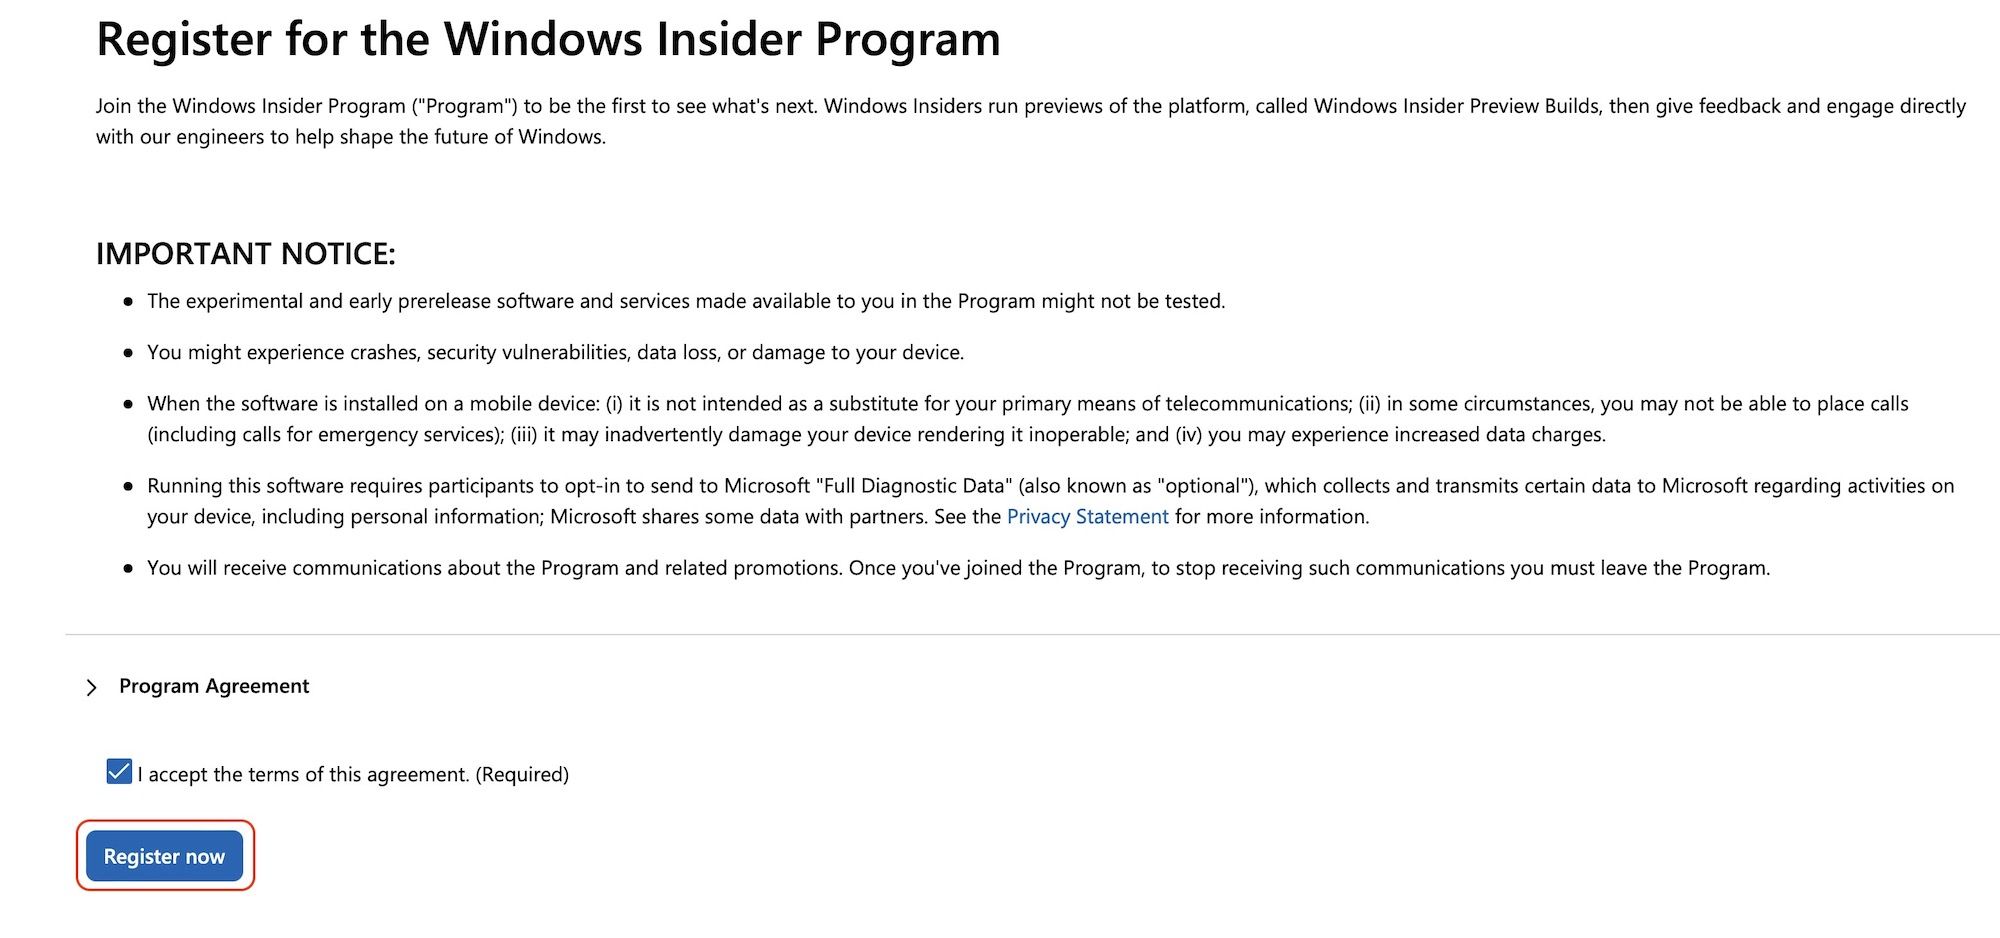
7. Sign in with your Microsoft account and enable the checkbox to accept the terms of the agreement. Finally, click on Register now.
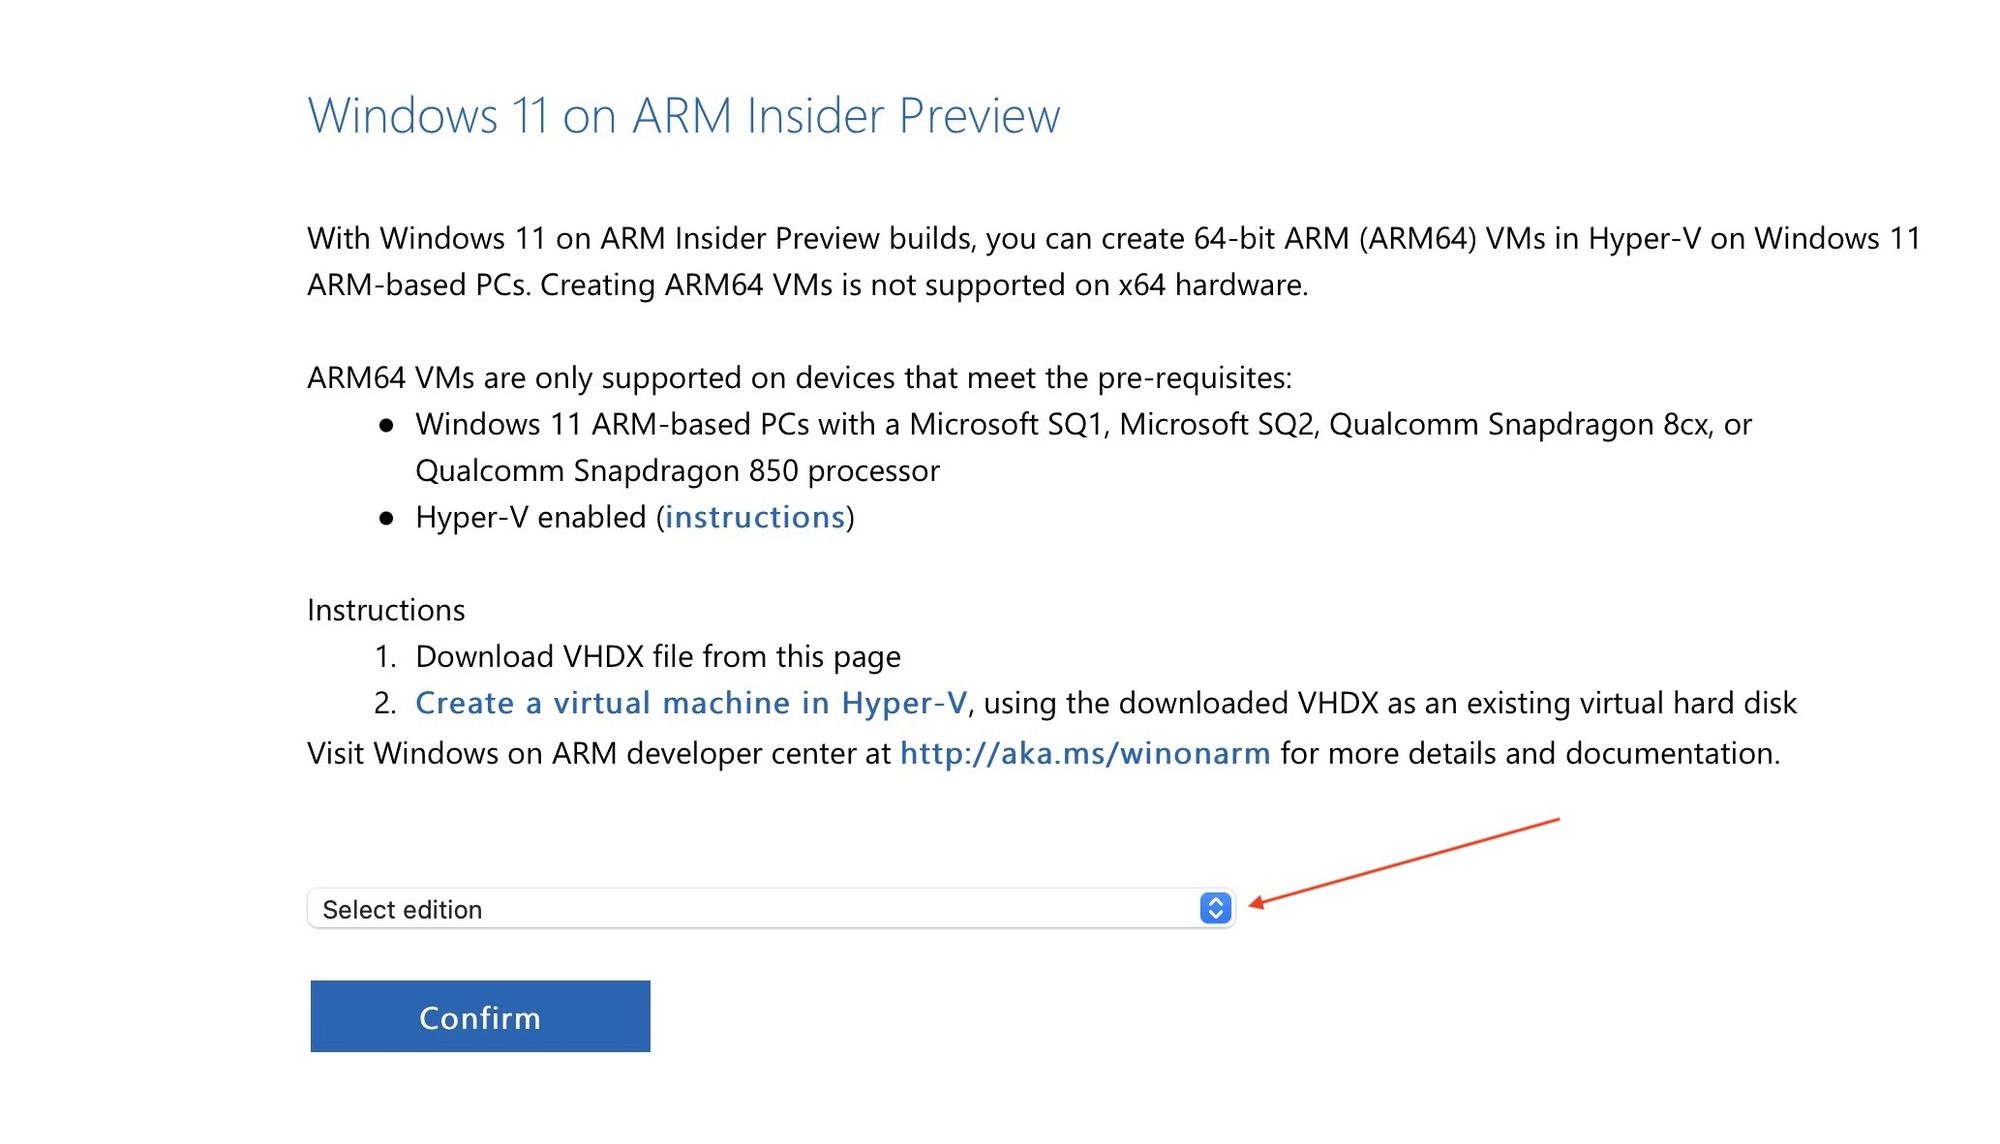
8. Now, visit the Windows ARM64 Insider Preview installation file download page and click on the Select edition dropdown menu.
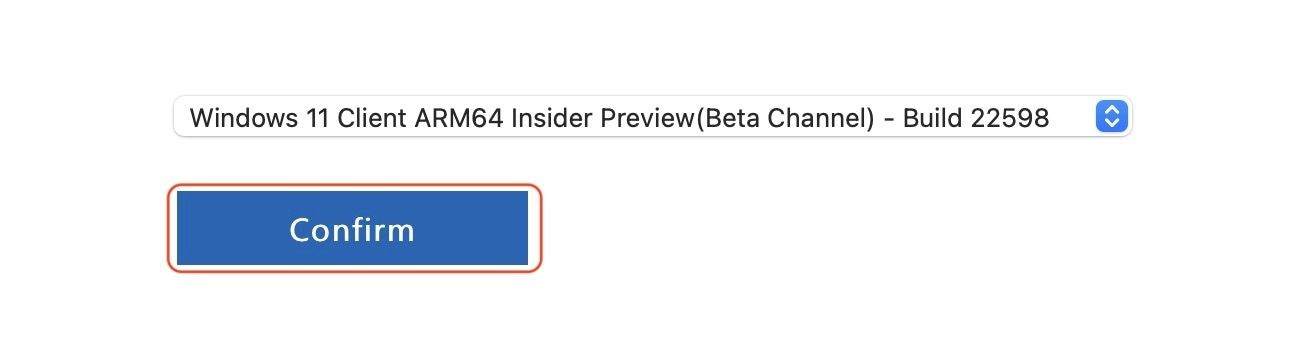
9. Select the Beta channel as it’s more stable and click on the Confirm button.
10. Now, select the product language and click on the Confirm button.

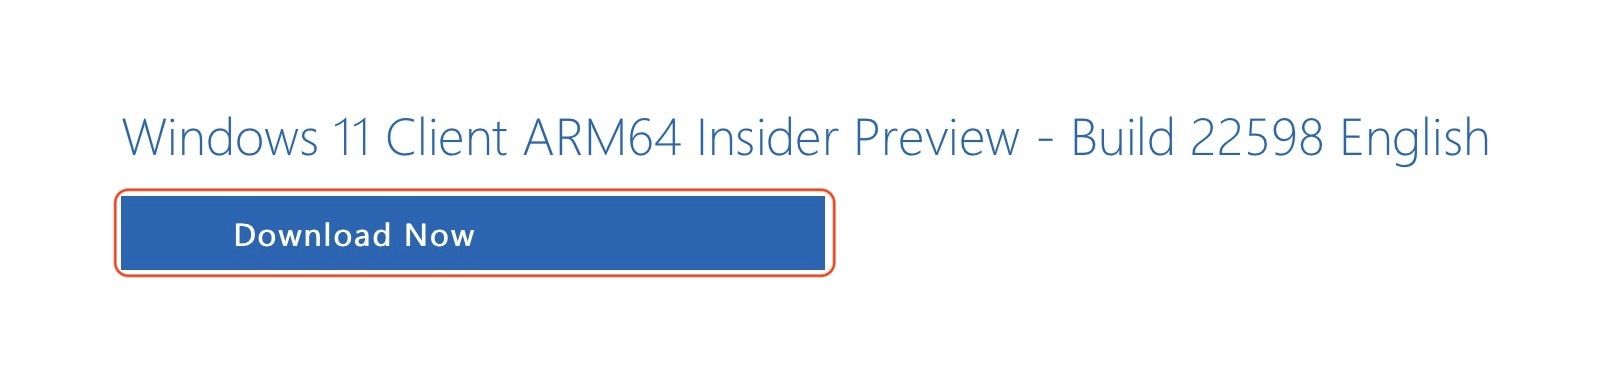
11. Finally, click on the Download Now button to start the download. The installer file is 10.4GB in size, so it might take a while, depending on your internet speed.
Install Windows on M1 Macs using Parallels Desktop
Once the Windows 11 on ARM file finishes downloading, you will have everything you need to proceed with the installation steps.
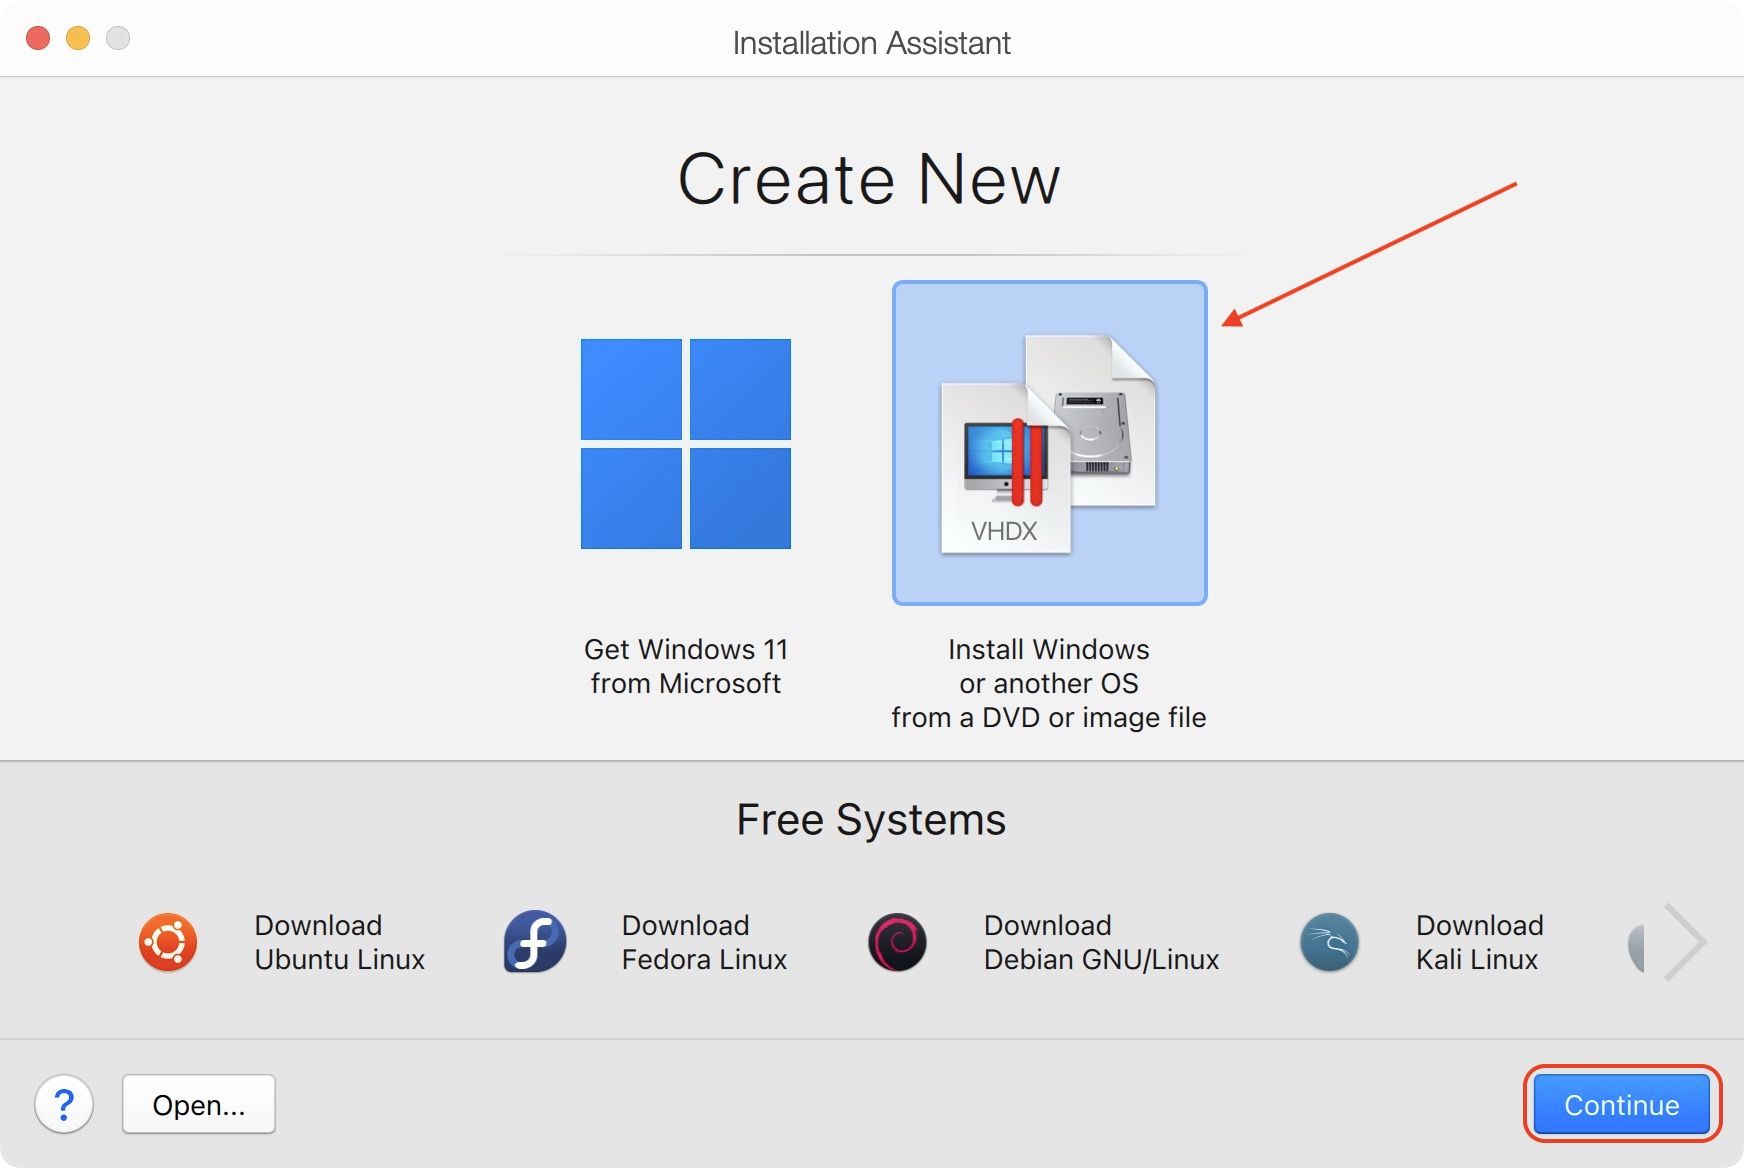
1. Select the Install Windows option and click on the Continue button.
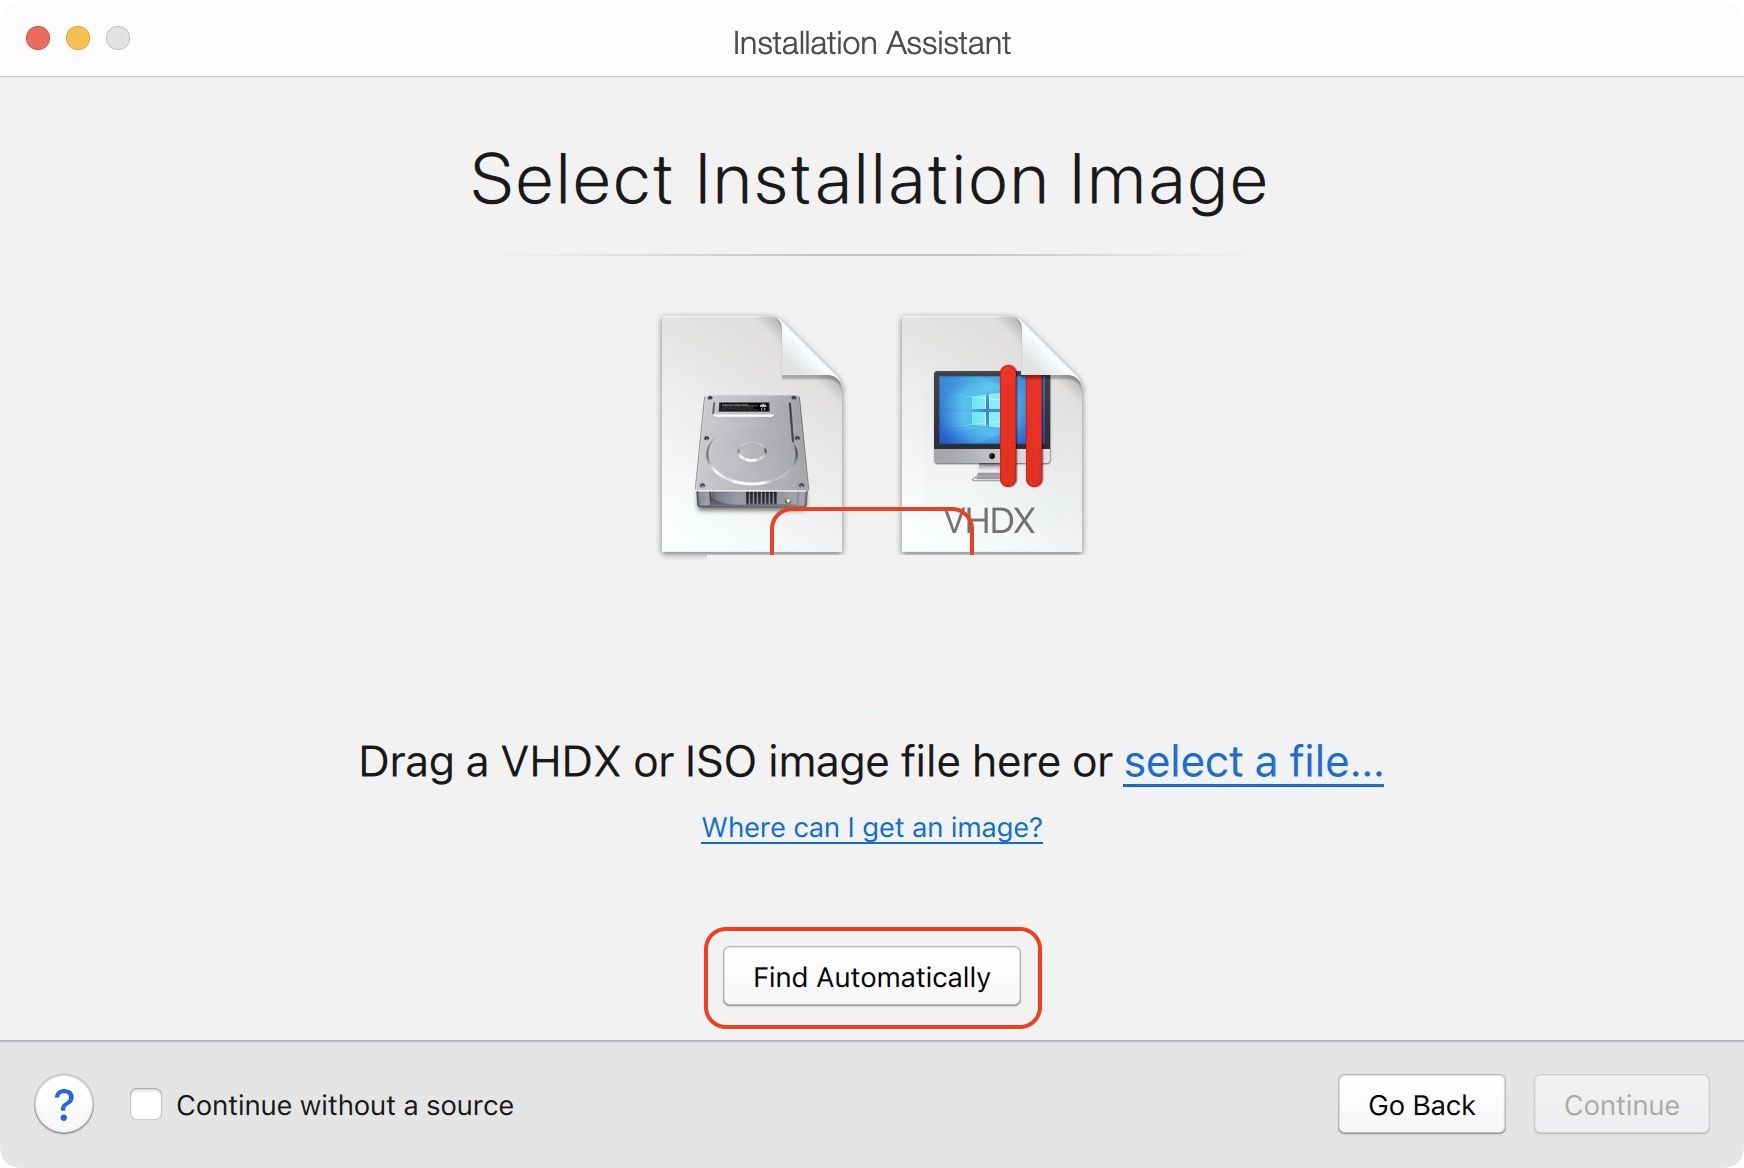
2. Click on the Find Automatically button and Parallels Desktop will locate the installer file on your system.
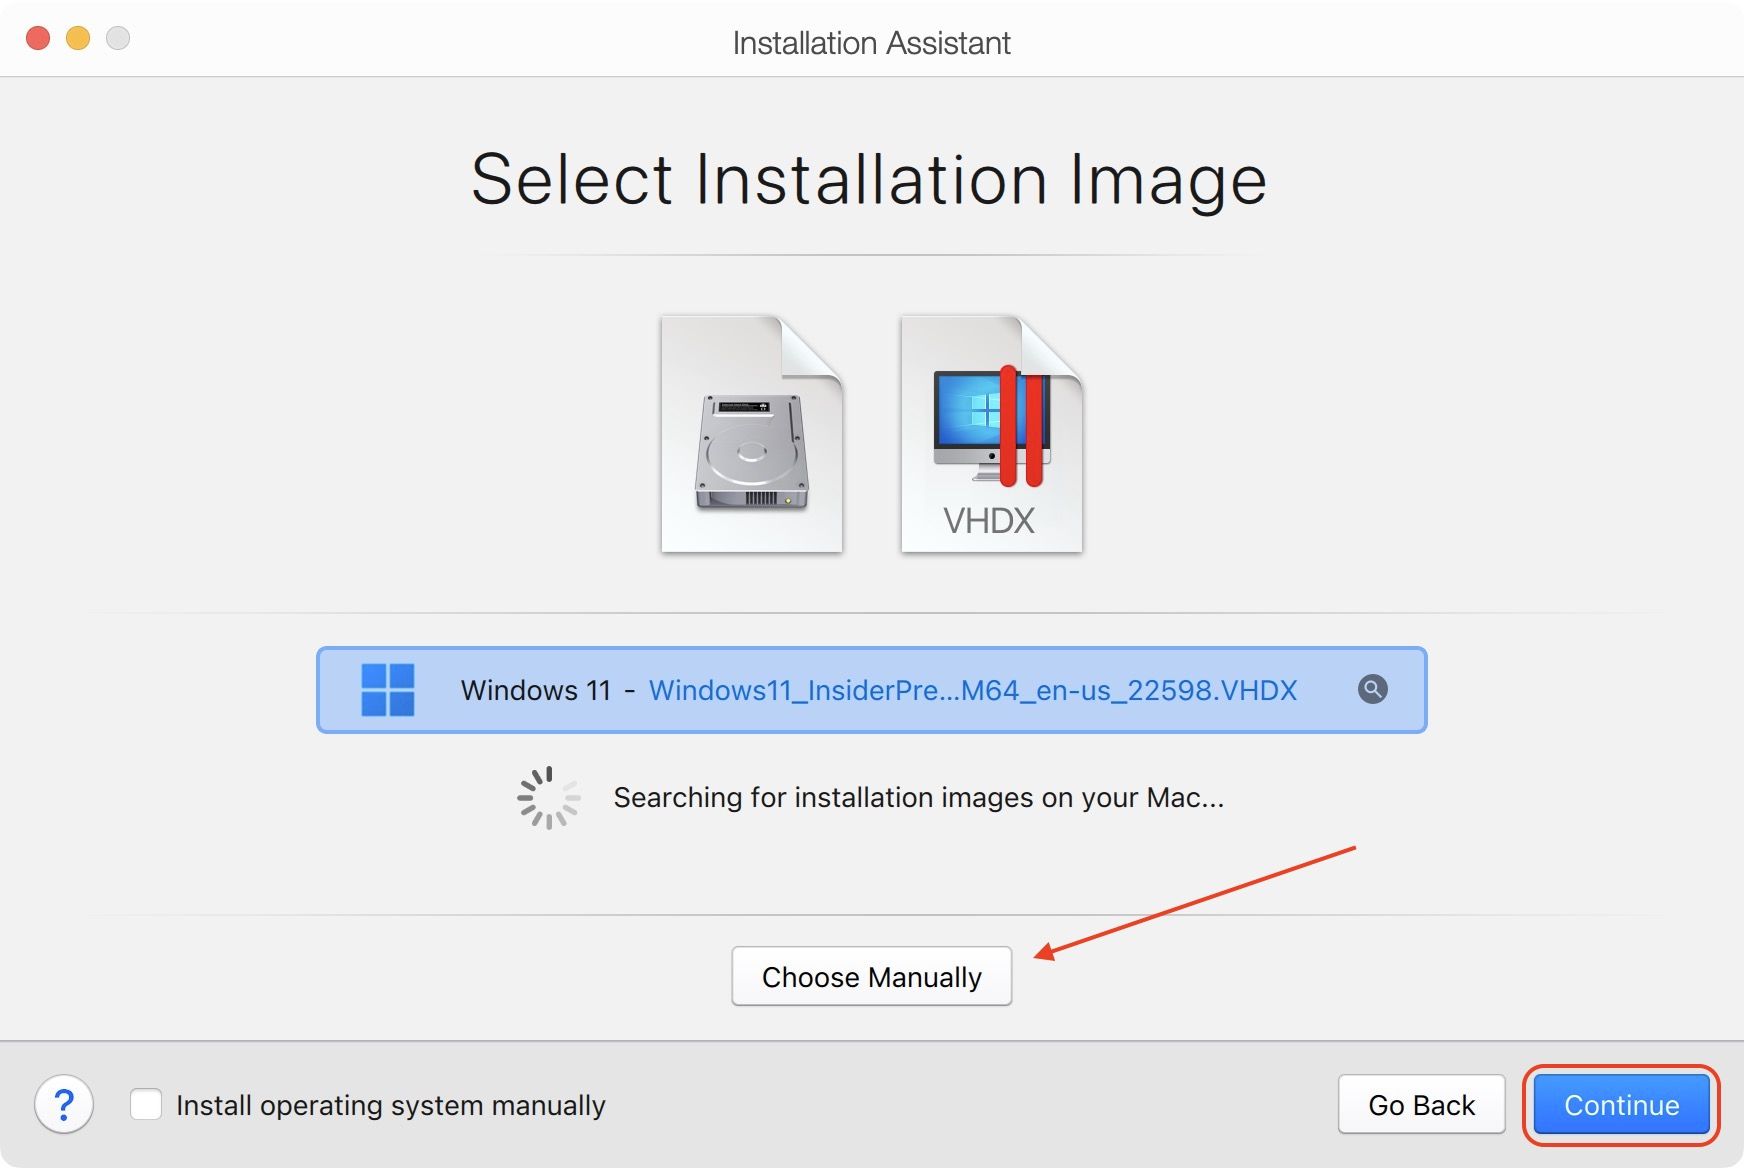
3. If the app cannot find the file or finds the wrong file (in case you have multiple Windows installer files on your computer), you can use the Choose Manually to select the correct file.
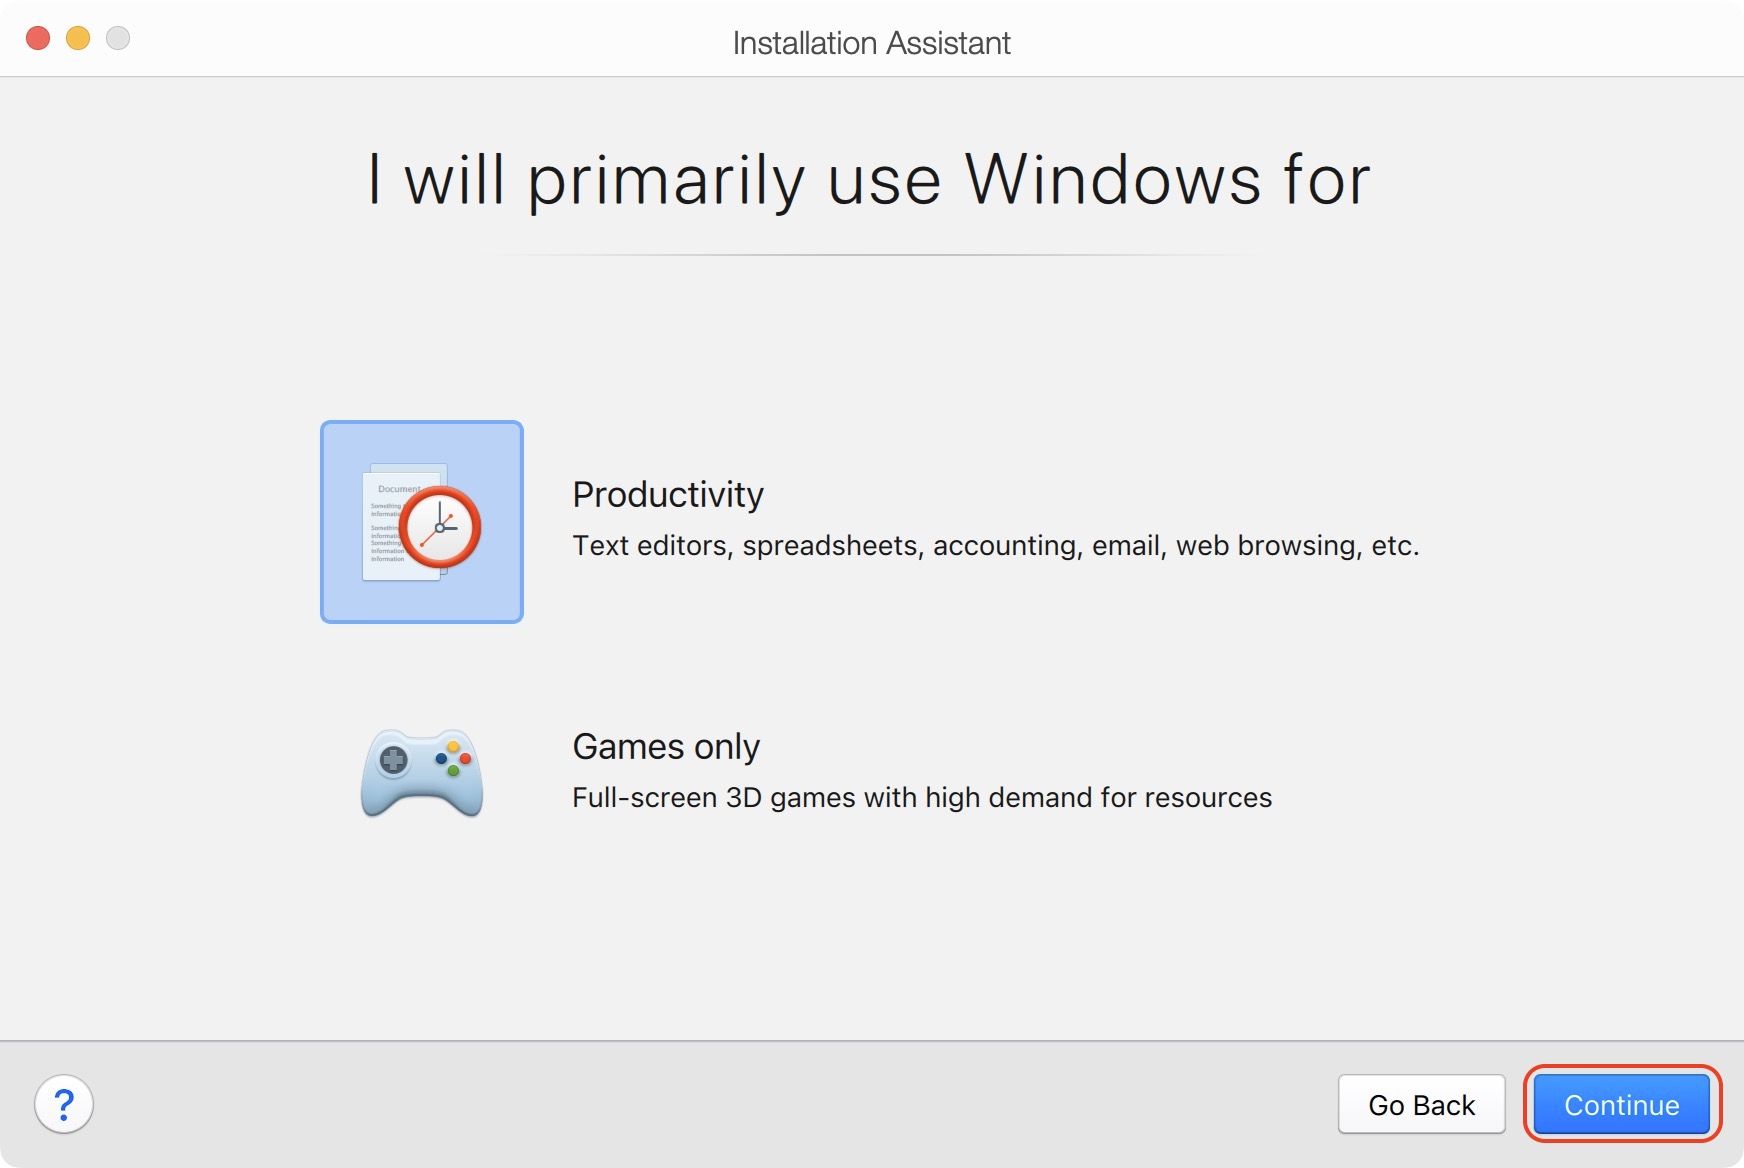
4. Now, select your preference of use and click on the Continue button.
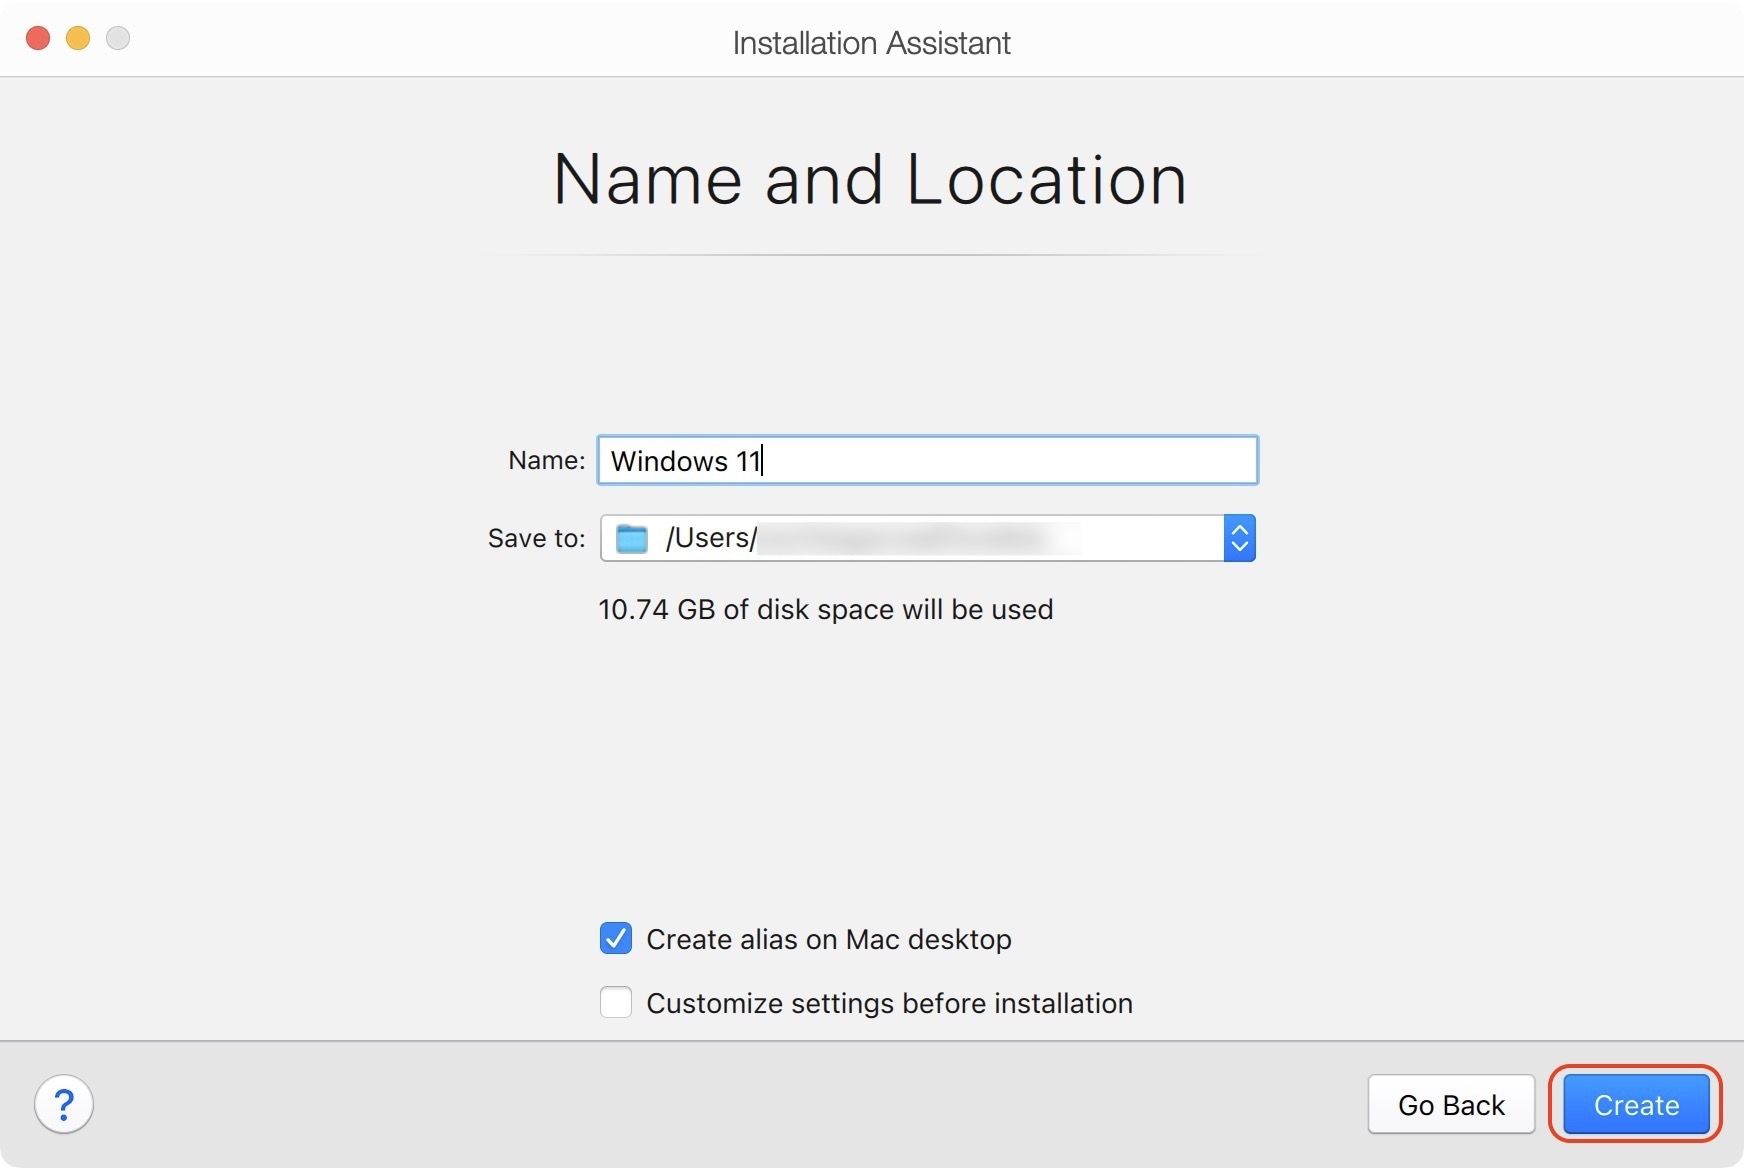
5. On this page, you can change the name and installation location. Click on Create to start the installation.
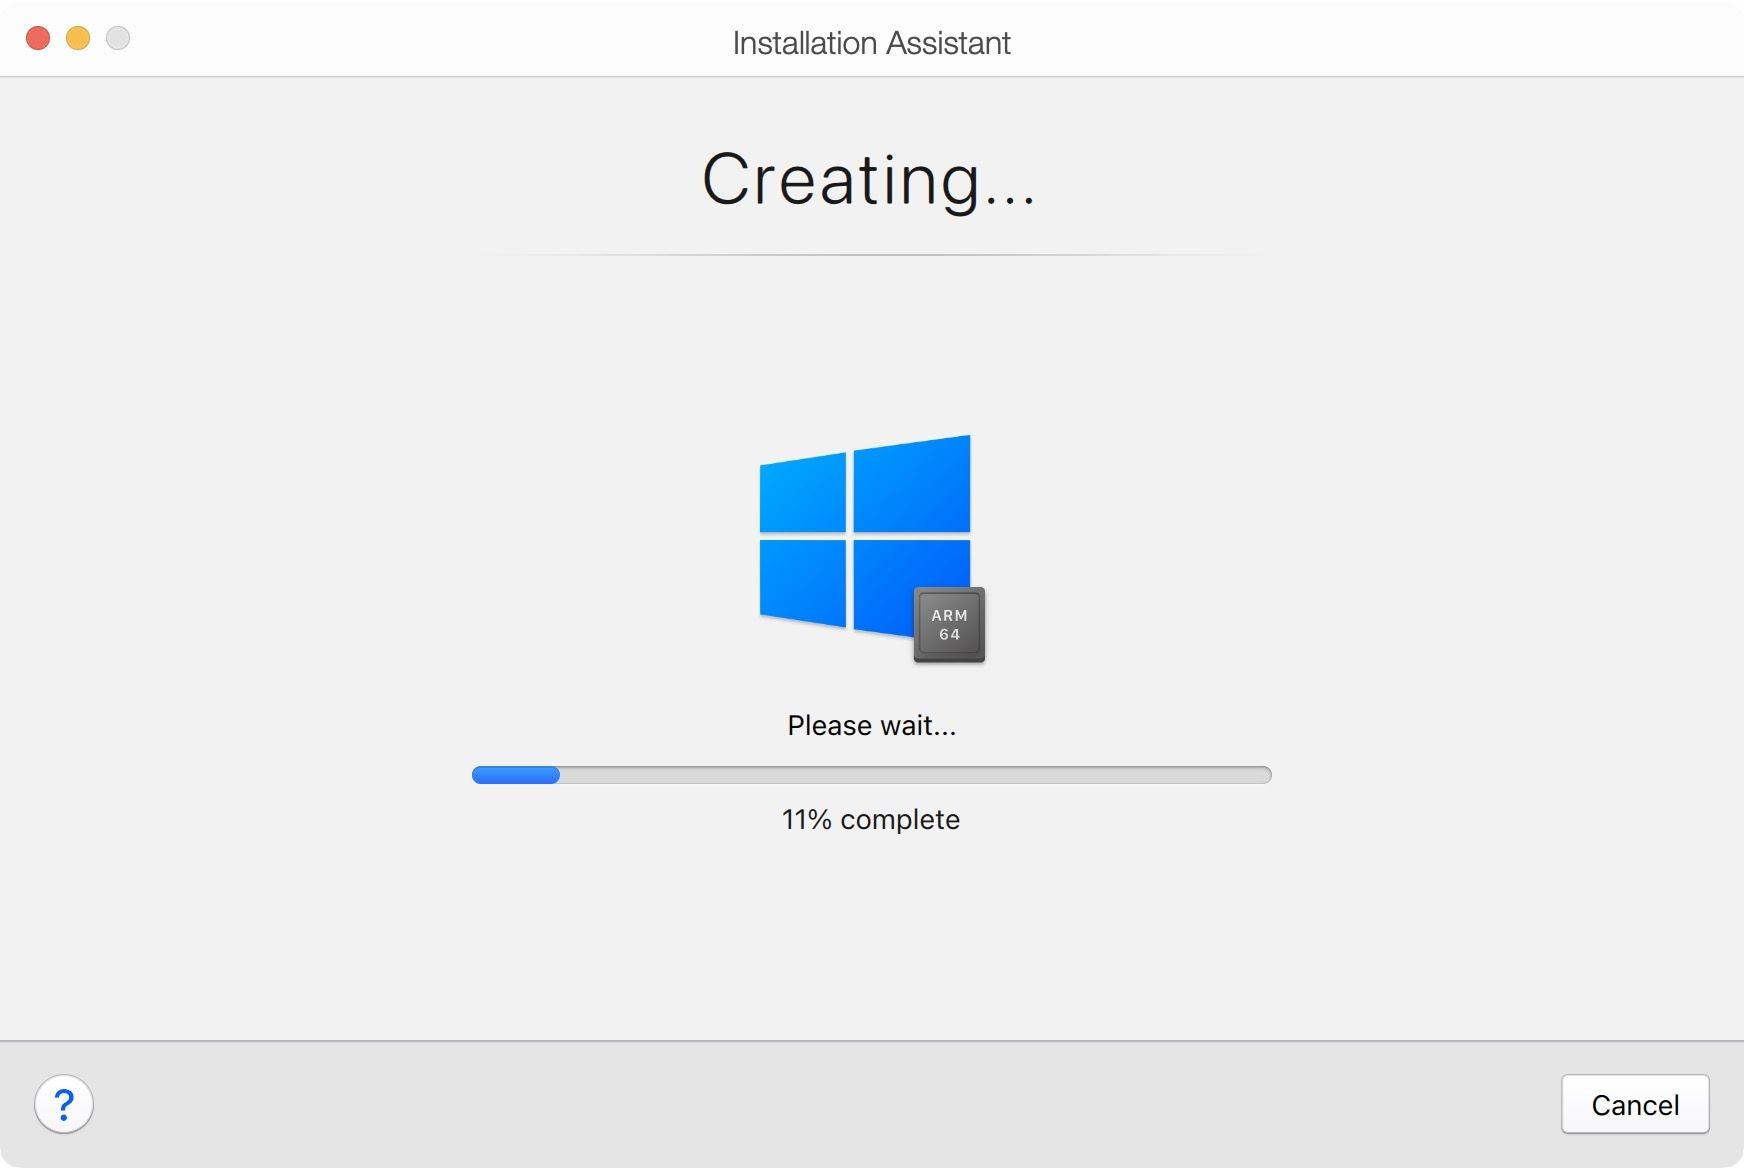
6. It might take a few minutes to complete the installation process. You can see the progress bar during the installation, as shown in the screenshot below.
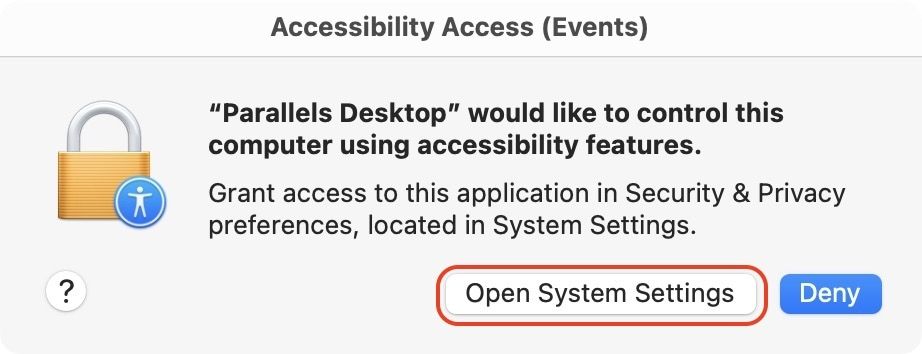
7. Now, Parallels Desktop will ask for permissions to successfully run Windows 11 on your computer. Grant all the required permissions needed so you don't experience any issues.
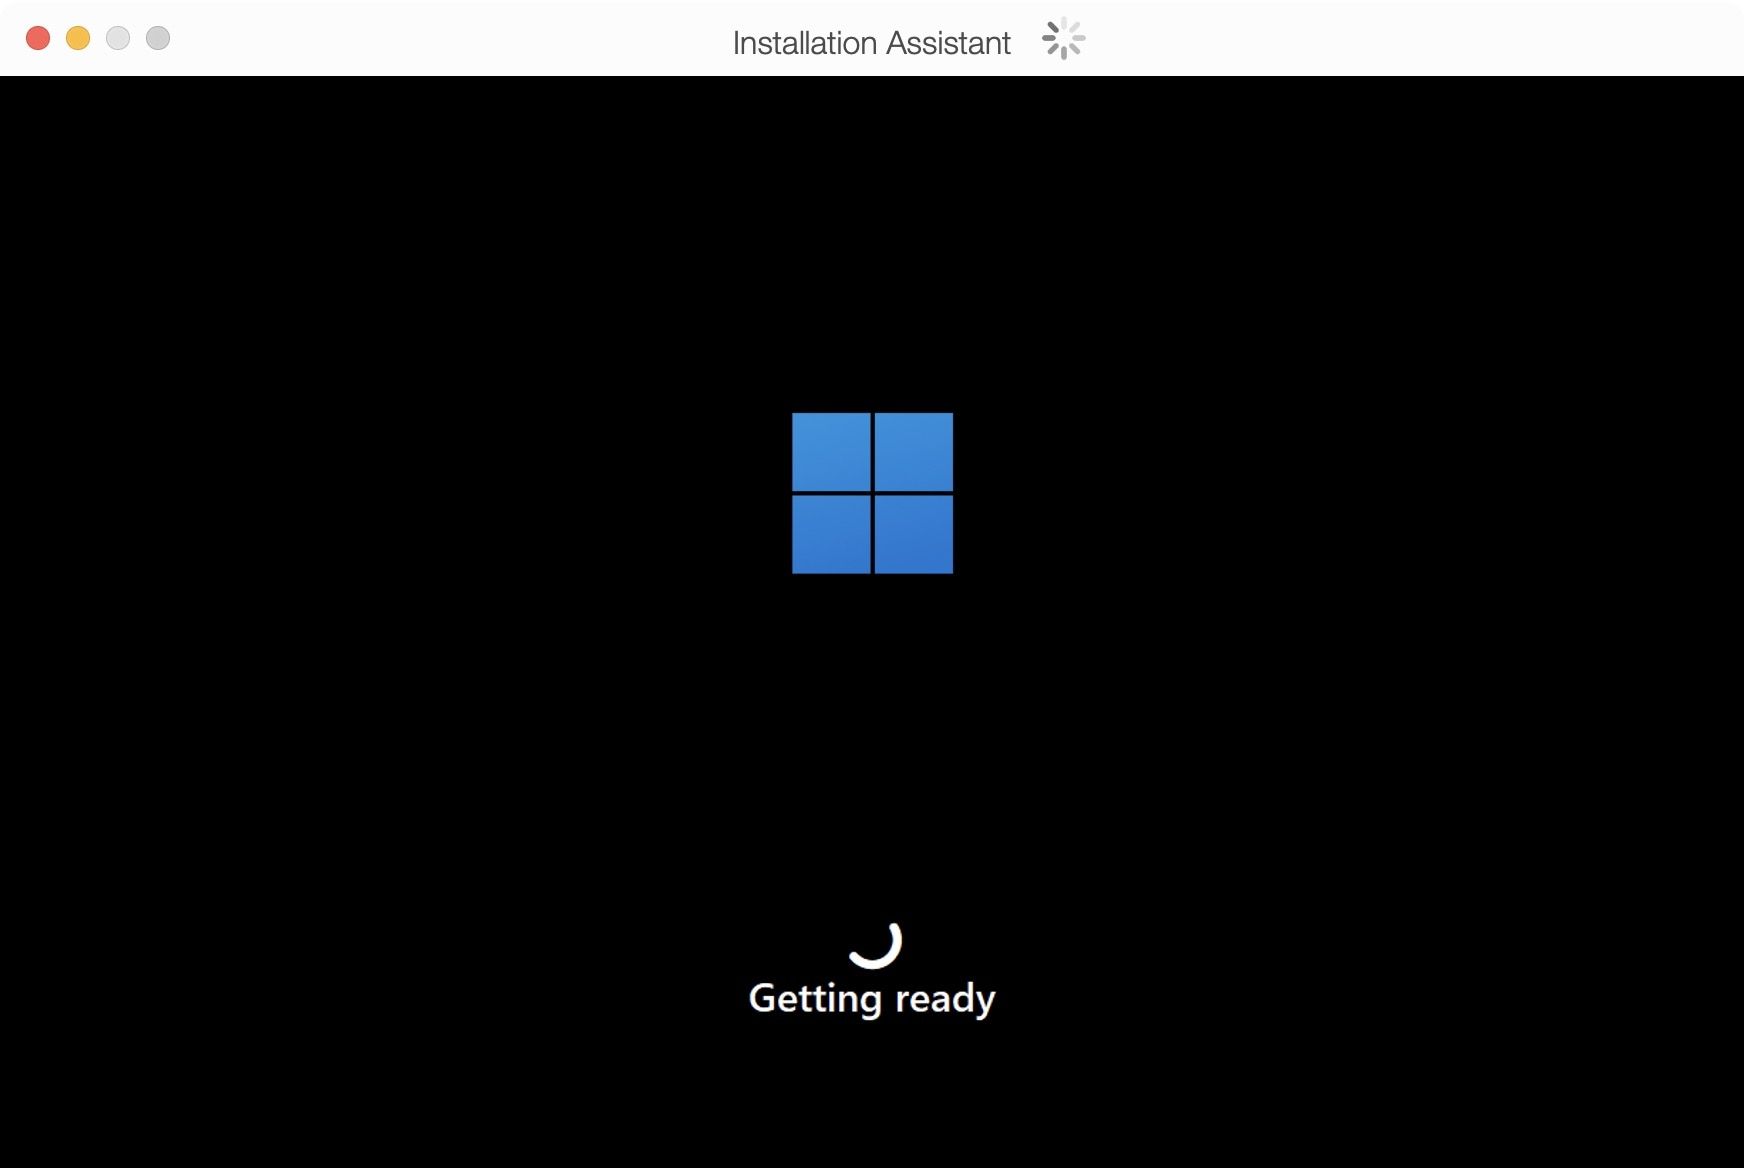
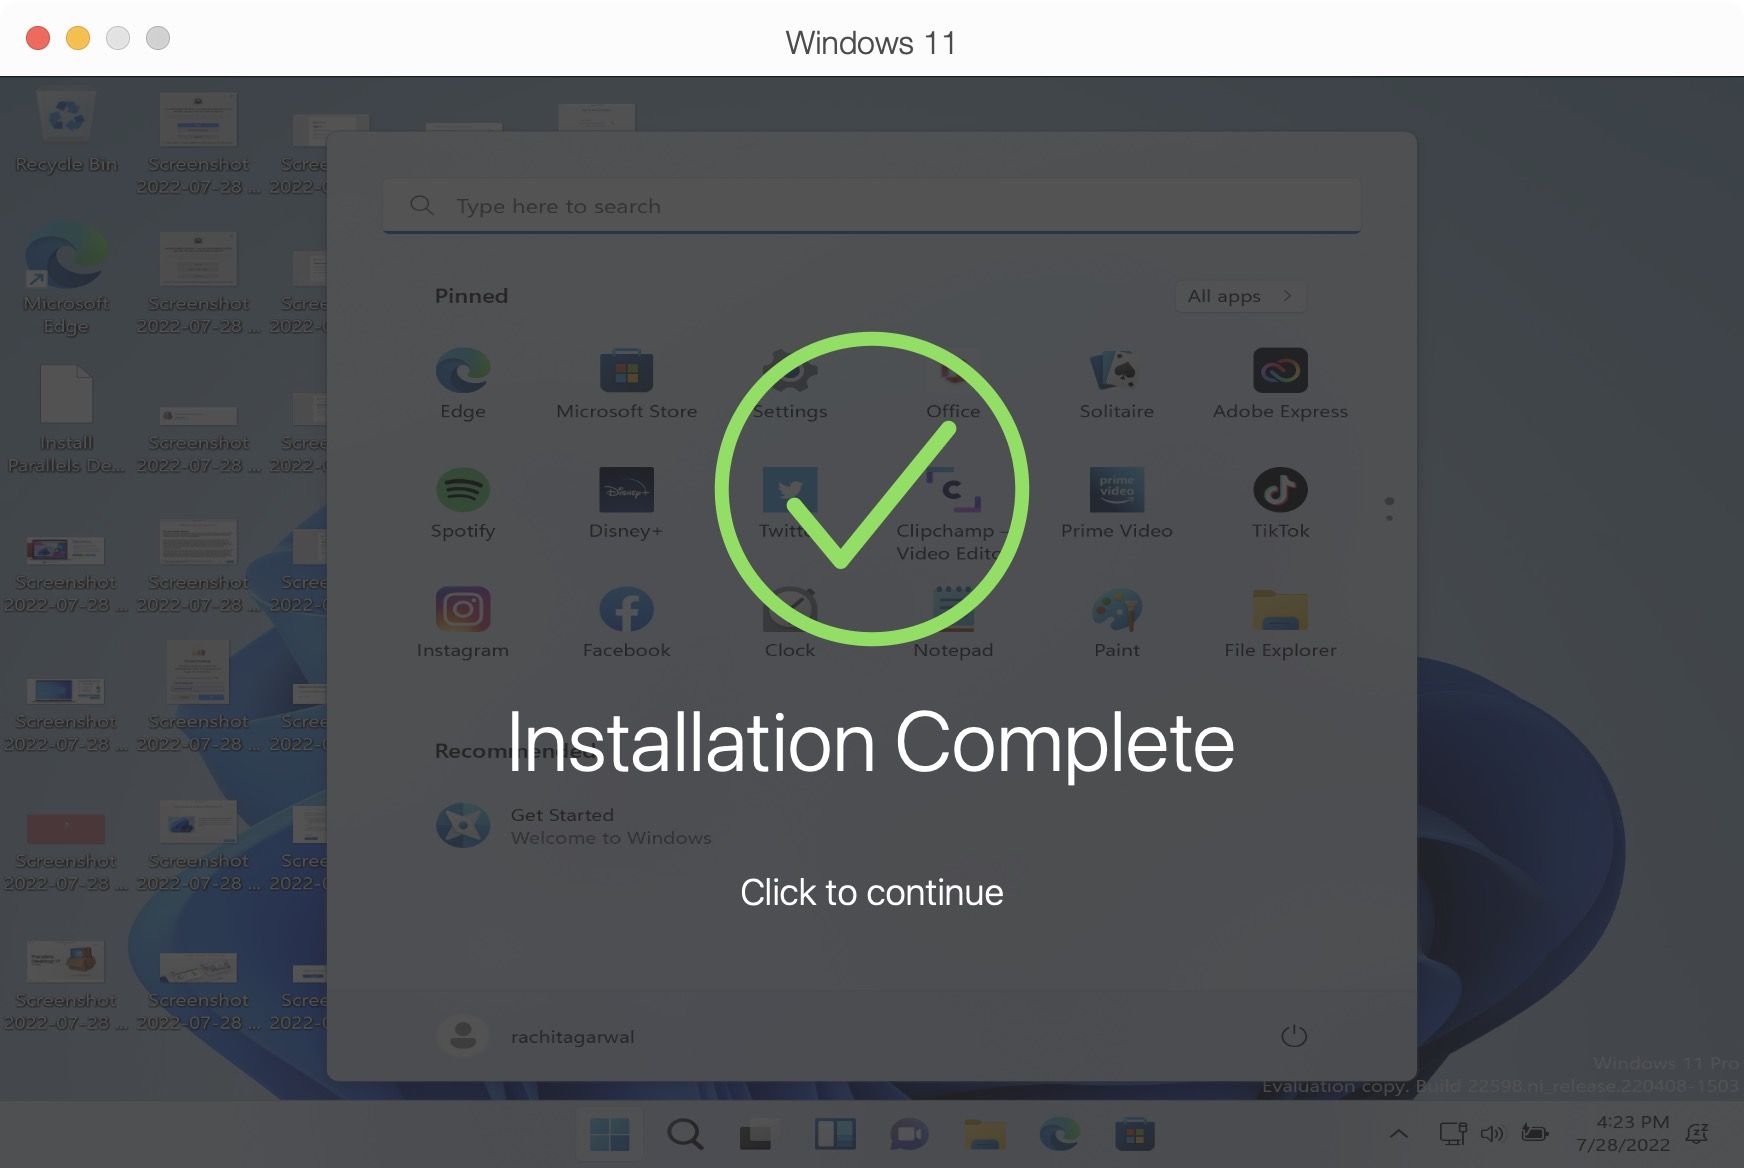
8. When you see the Installation Complete message, Windows 11 is ready to run on your Mac.
Use Windows 11 on M1 Mac using Parallels Desktop: final thoughts
Installing and running Windows 11 on M1 Macs might seem like a complex process, but it’s straightforward if you follow the steps. For us, the installation process went without a hitch, even on the latest macOS Ventura. However, if you are experiencing any issues, let us know on Twitter, and we will help.


