
How to Compress Images on Mac for Free
Learn how to compress images on Mac for free. You can reduce image size without reducing the image quality.
With each new generation, your iPhone captures better images, which results in larger file sizes. If you regularly export your images to external SSDs and pay for iCloud storage, the large image files might not be an issue. However, large image files make it harder to share images online, especially via email.
No matter which email app you use, you get a limit to the attachment size. Compressing images to reduce file size will ensure you can easily share those images online. They will also take less space on your Mac’s hard drive. Here’s how to compress images on Mac for free.
Compress images on Mac for free
macOS has a built-in image compressor of sorts that you can use to compress images and reduce their file size. If you are in a pinch, you can use this method. However, if you deal with thousands of images, we recommend using a free Mac app that can reduce the file size of an image without reducing its quality. We have mentioned both these methods in this guide.
How to compress photos on Mac using native tools
Method 1: Compress images on Mac using Quick Actions
You can easily compress images on Mac using the image format tool built into the macOS system. Here’s how you do it:
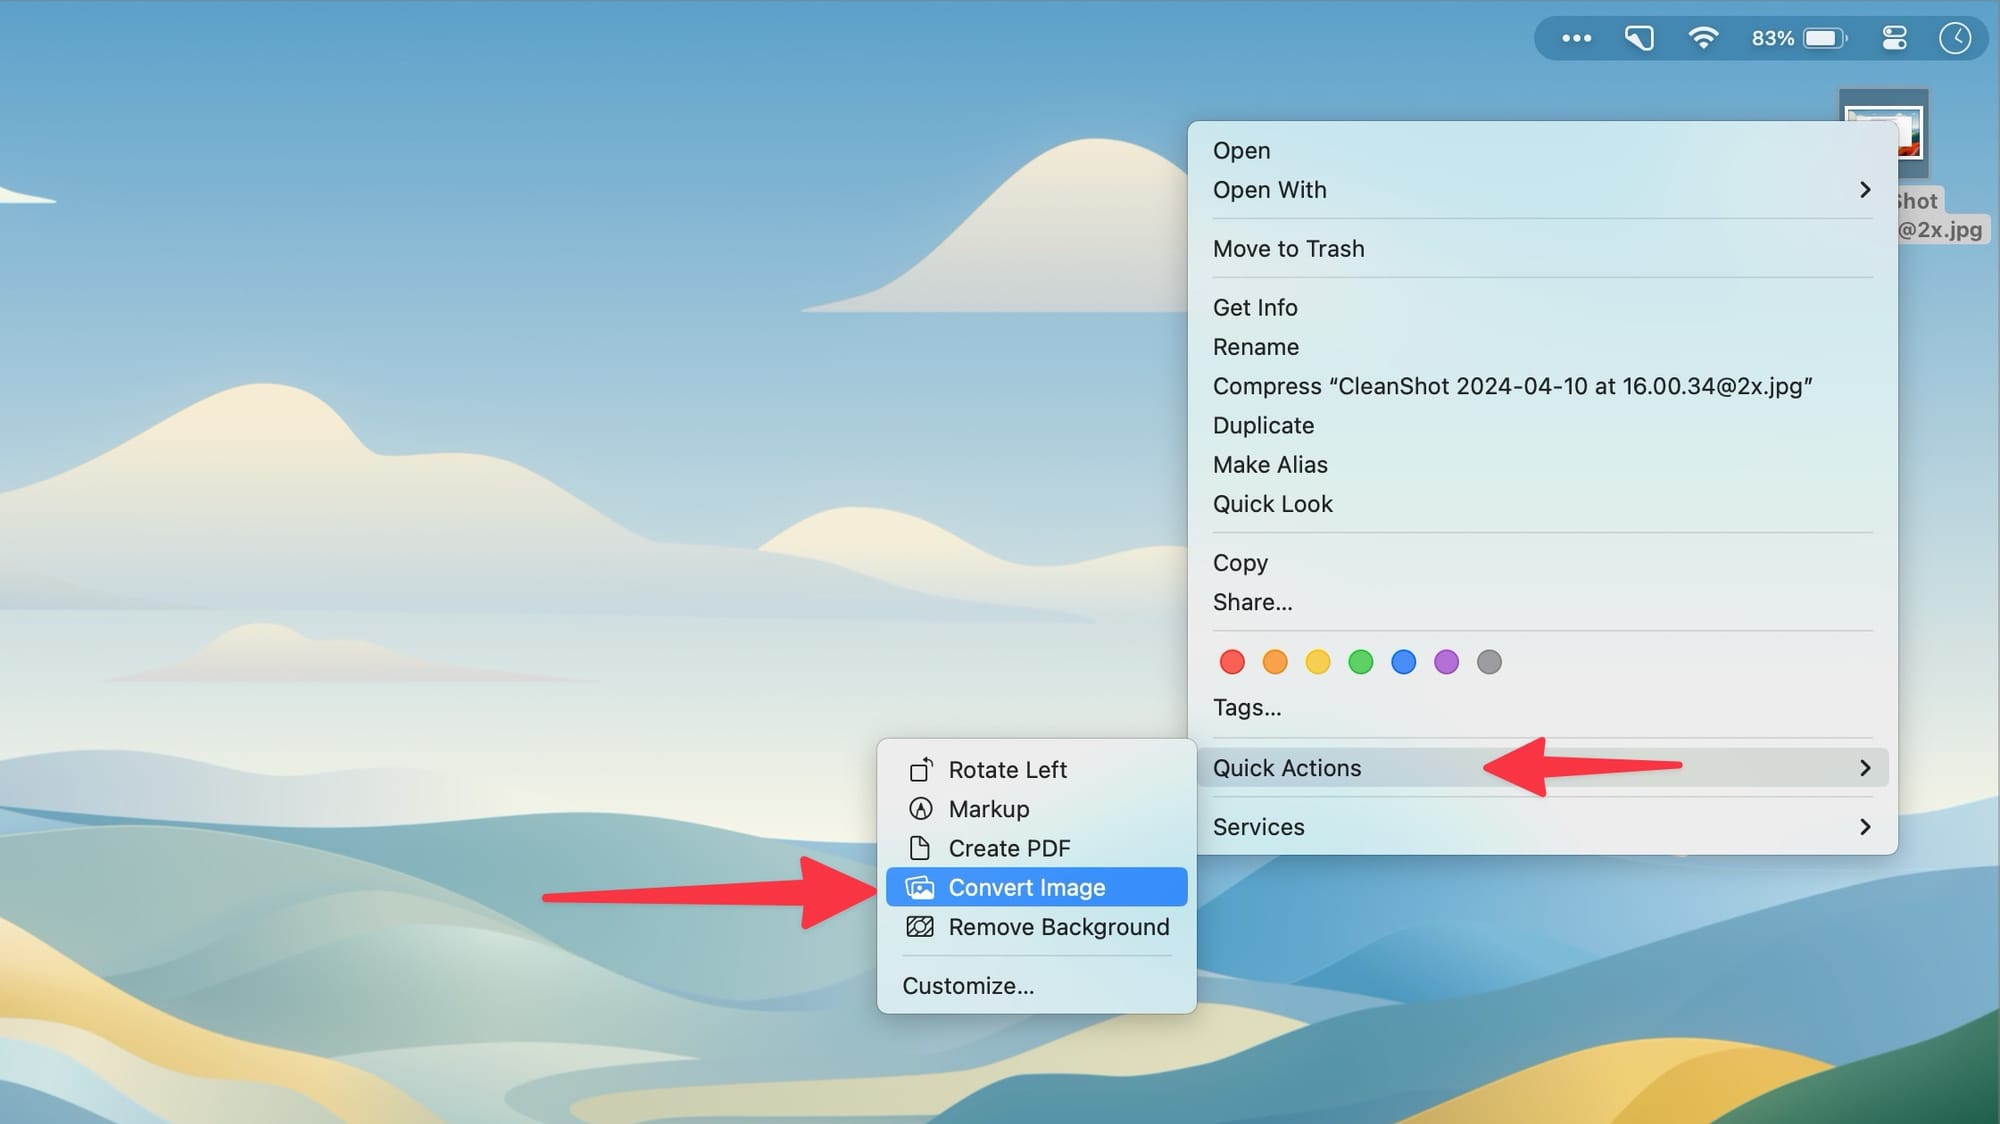
1. Right-click or Control-click on the image or images you want to compress, hover over the Quick Actions menu, and click the Convert Image option.
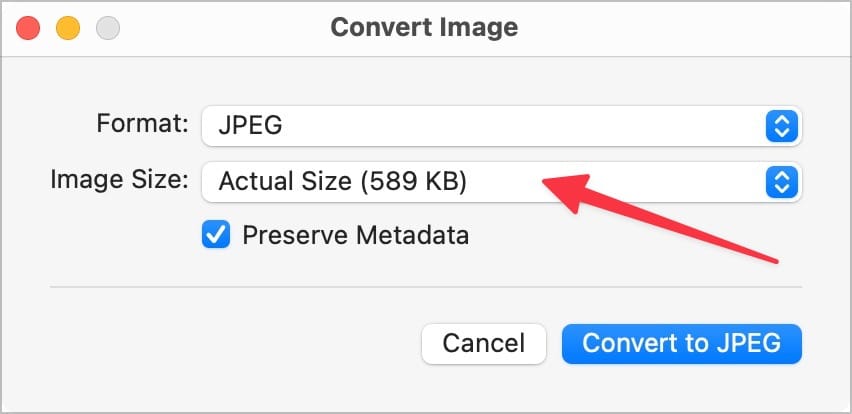
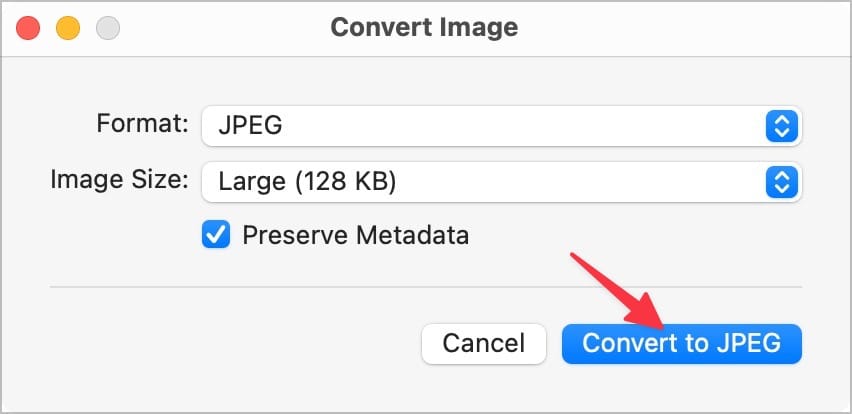
2. Click the drop-down menu next to Image Size.
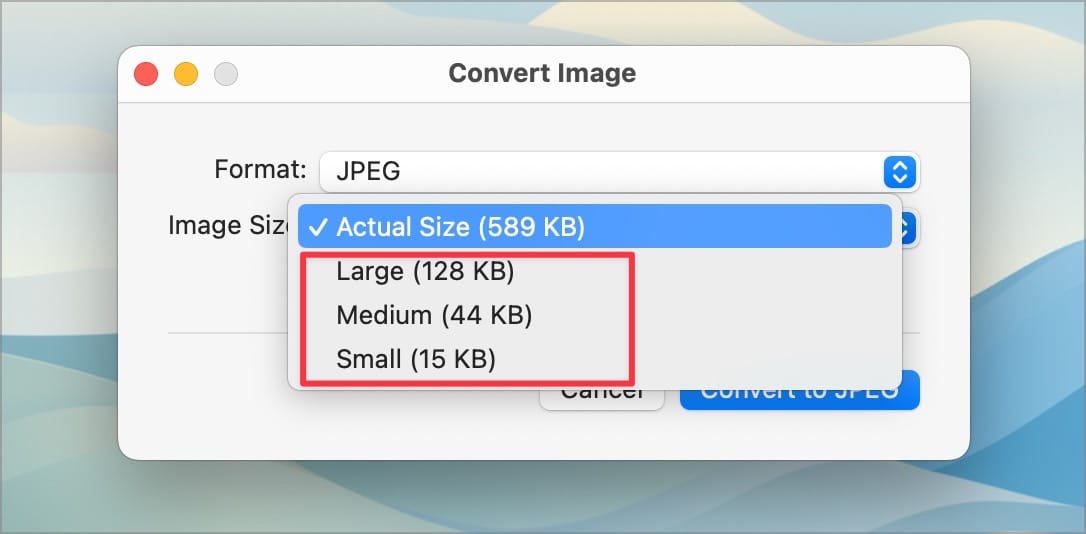
3. You can choose between large, medium, and small options. You can see the image file size next to each option.
4. Finally, click the Convert to … option to compress the image.
Method 2: Compress images on Mac using Export options
Alternatively, you can use the export option to compress images on Mac.
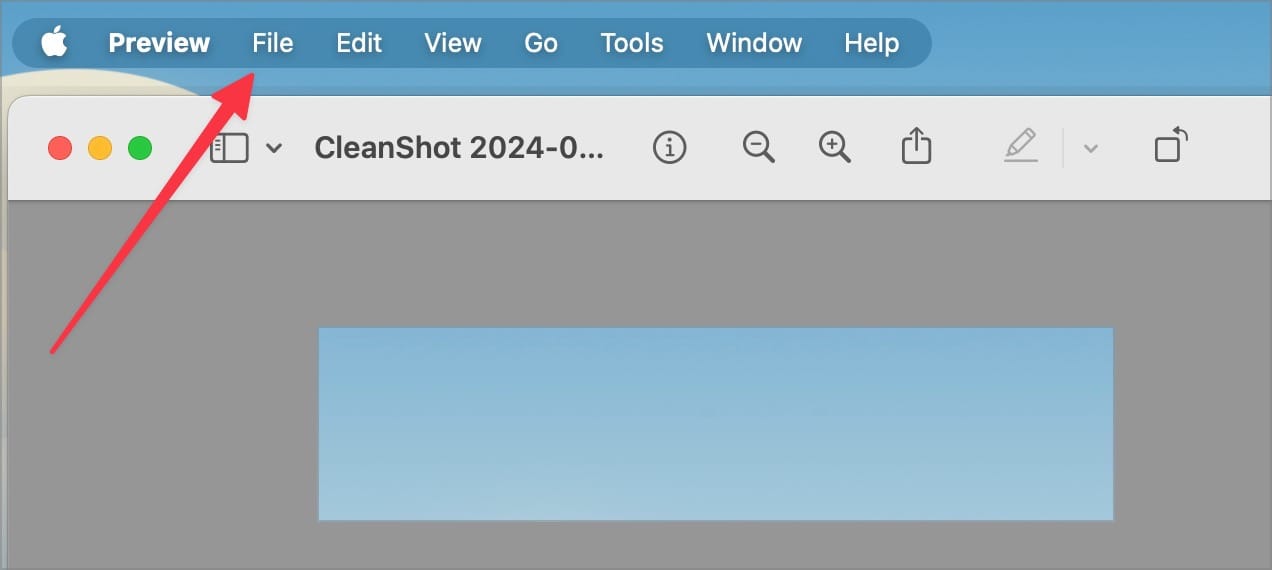
1. Double-click on an image to open it and click on the File menu.
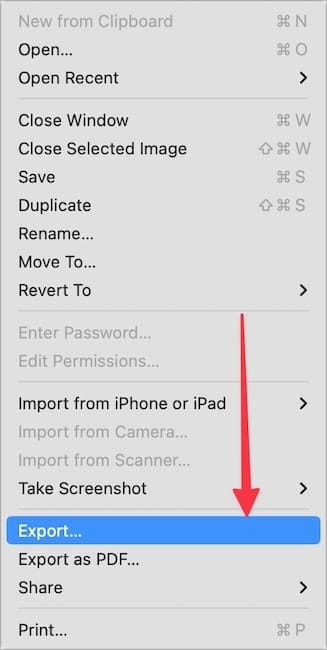
2. Click on the Export… option to open the export settings.
3. Here, you can use the Quality slider to compress the image and reduce its file size.
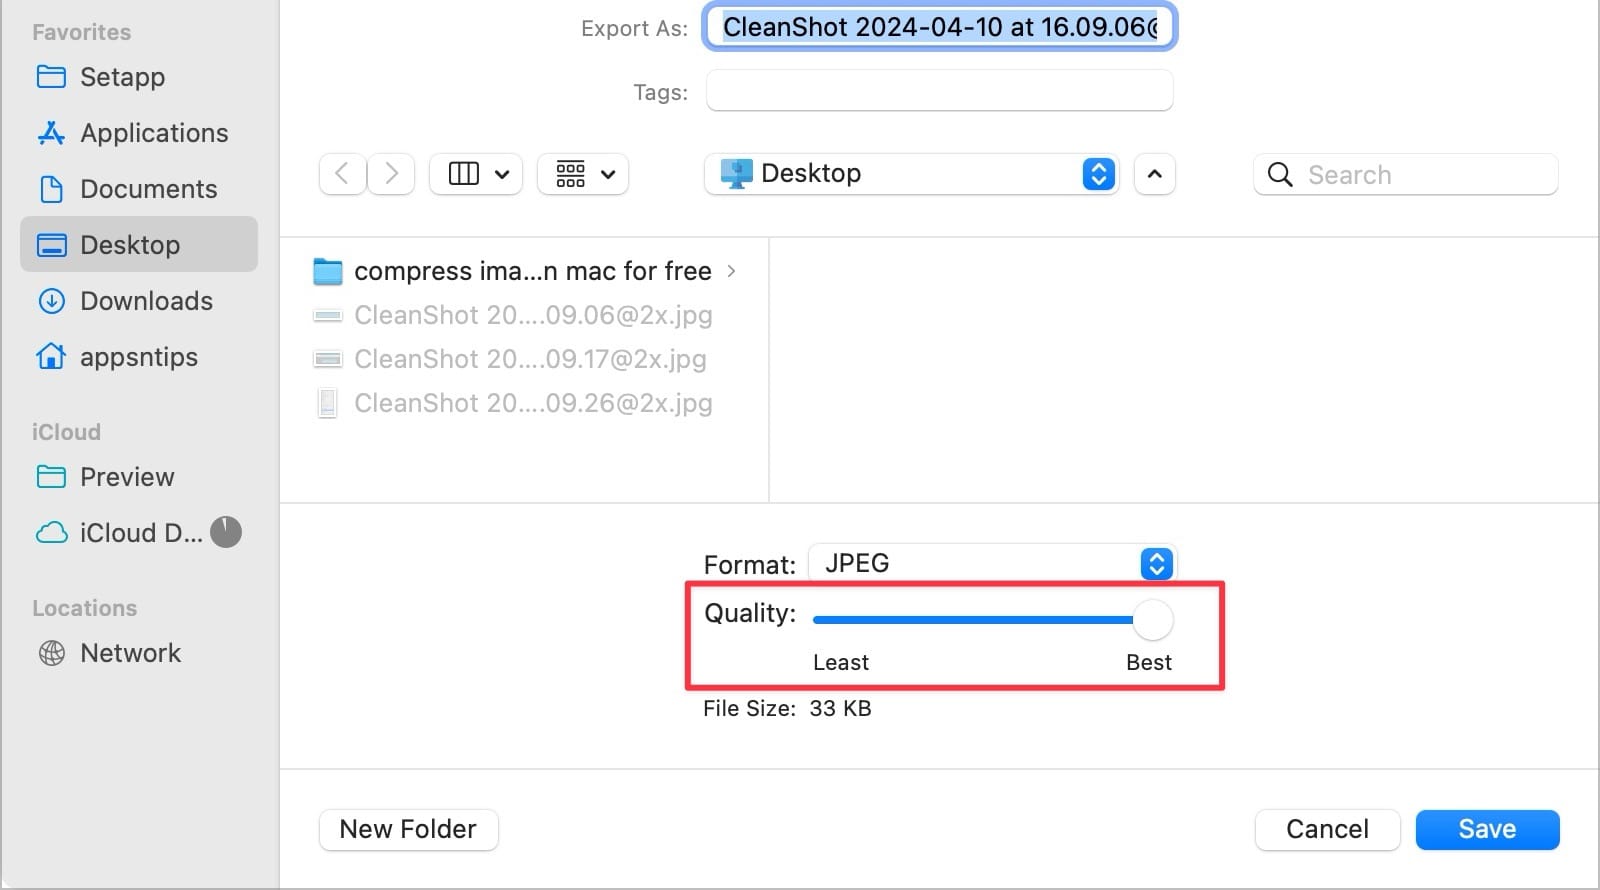
4. Once you are happy with the compression amount, click the Save button to save the compressed image.

Use ImageOptim to compress images on Mac without reducing image quality
While the above methods work in a pinch, I would not recommend them to anyone who needs to manage hundreds or thousands of images. I recommend a free Mac app called ImageOptim that makes image compression an effortless process. The best part is that you can compress image size without reducing image quality.
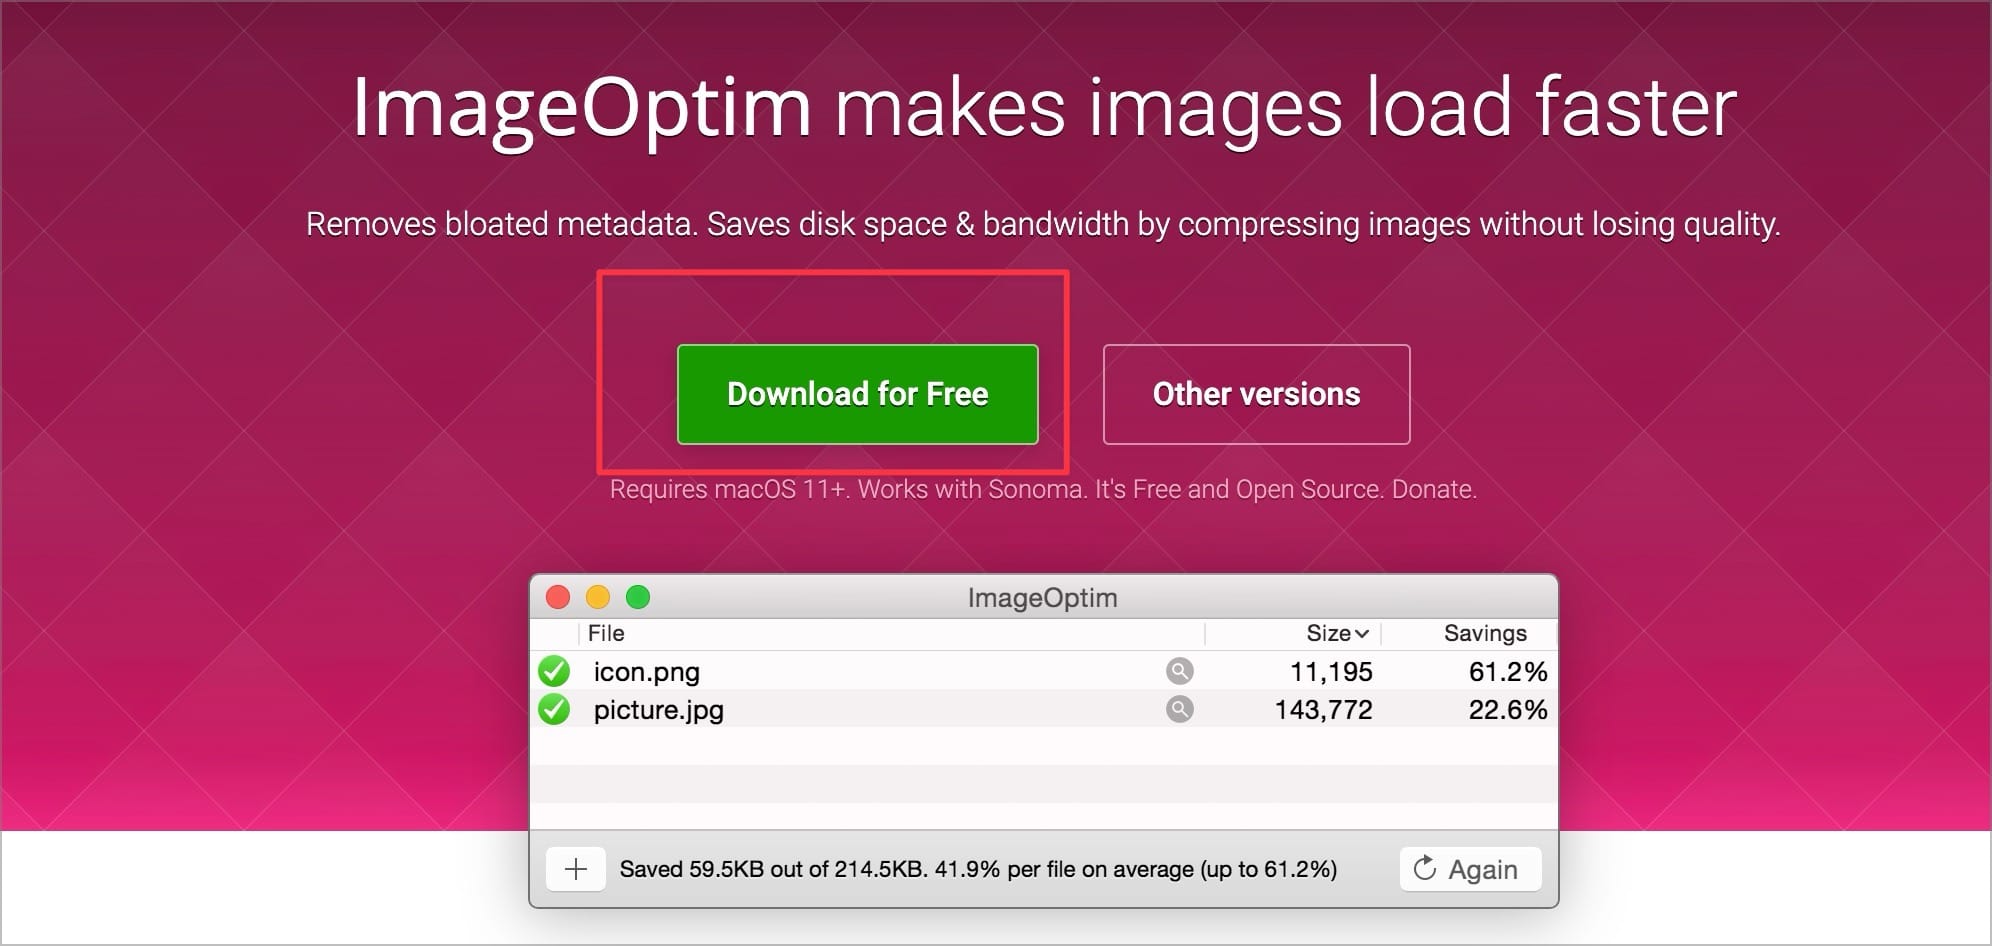
1. Open ImageOptim’s website and click the Download button to download the app.
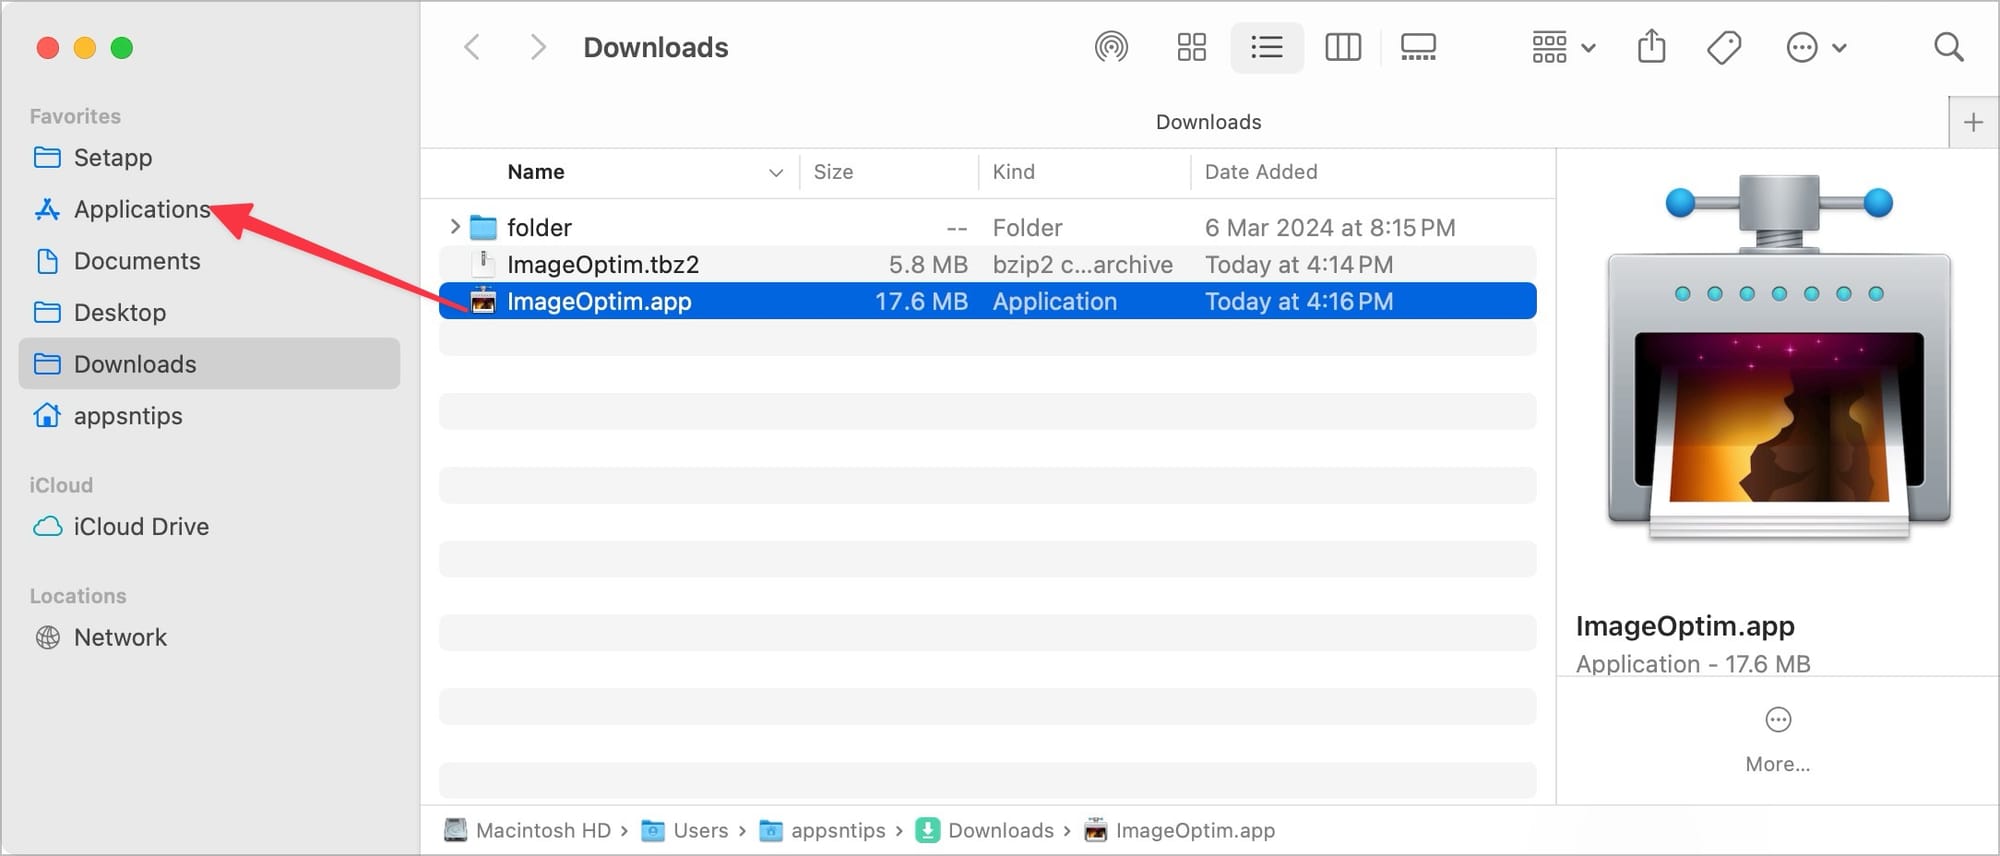
2. Double-click the downloaded file to extract it and drag the app to the Applications folder to install it.
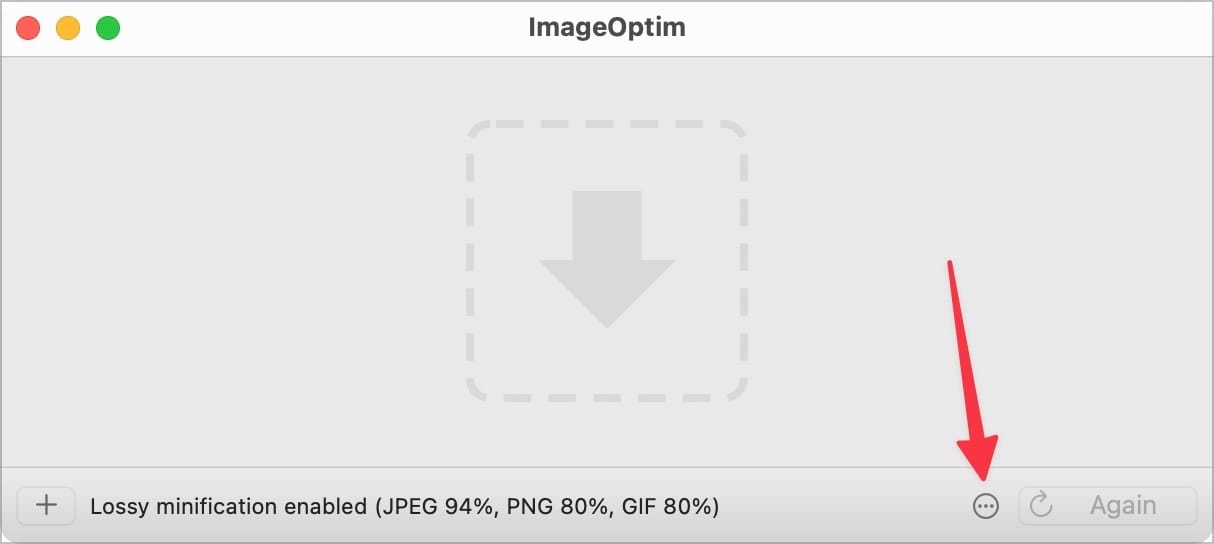
3. Now launch the app and click the three-dot menu in the bottom-right corner.
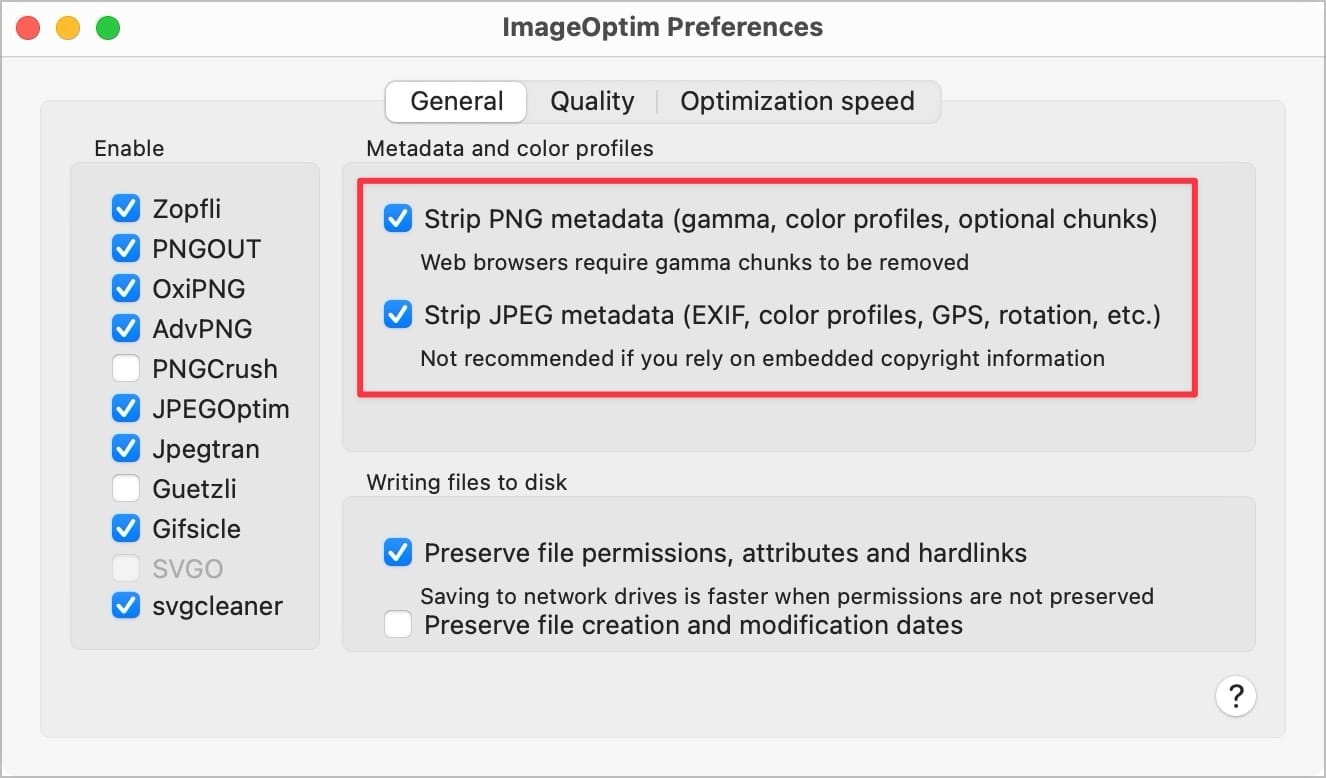
4. In the General tab, you will see that the app deletes all image metadata by default. If you need to preserve the information, then uncheck these boxes.
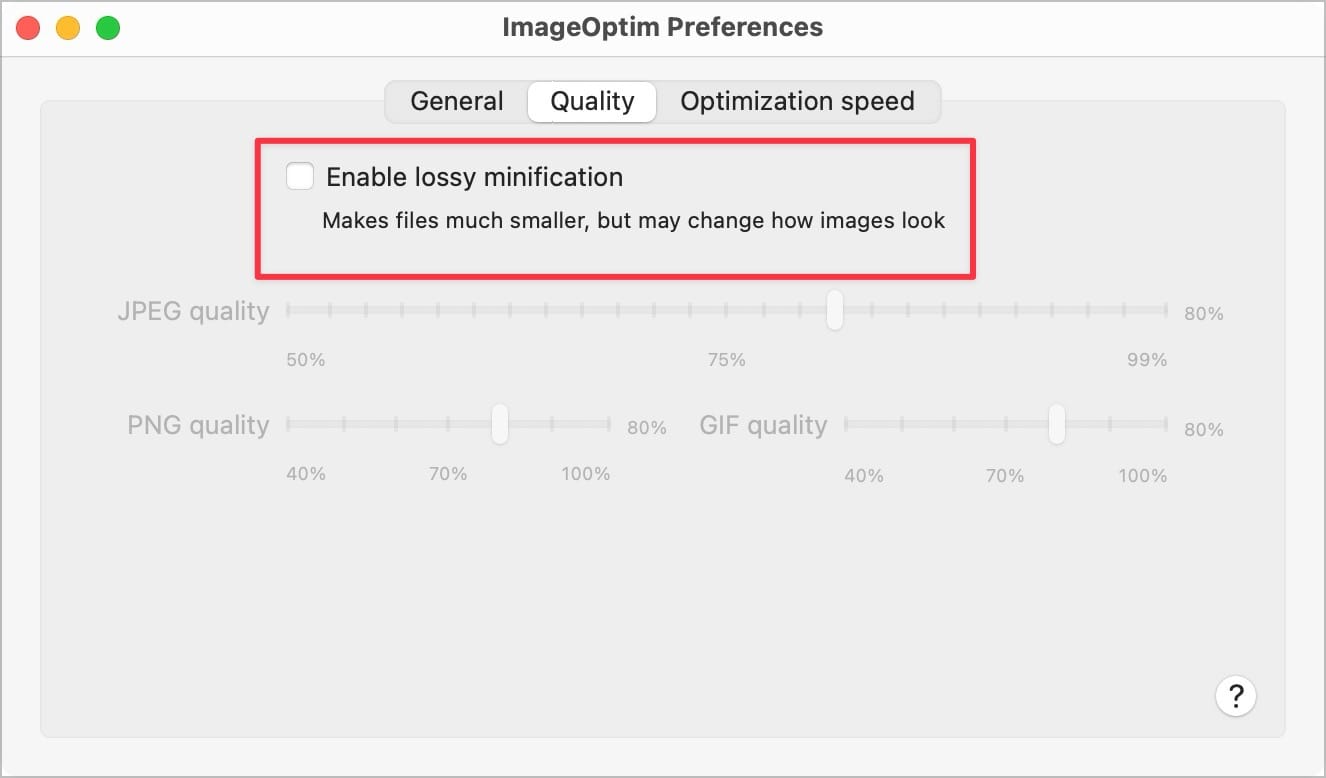
5 In the Quality tab, you can enable the checkbox for Enable lossy minification to get control over the amount of compression you want to apply. Remember, the more compression you apply, the more it will reduce the image quality.
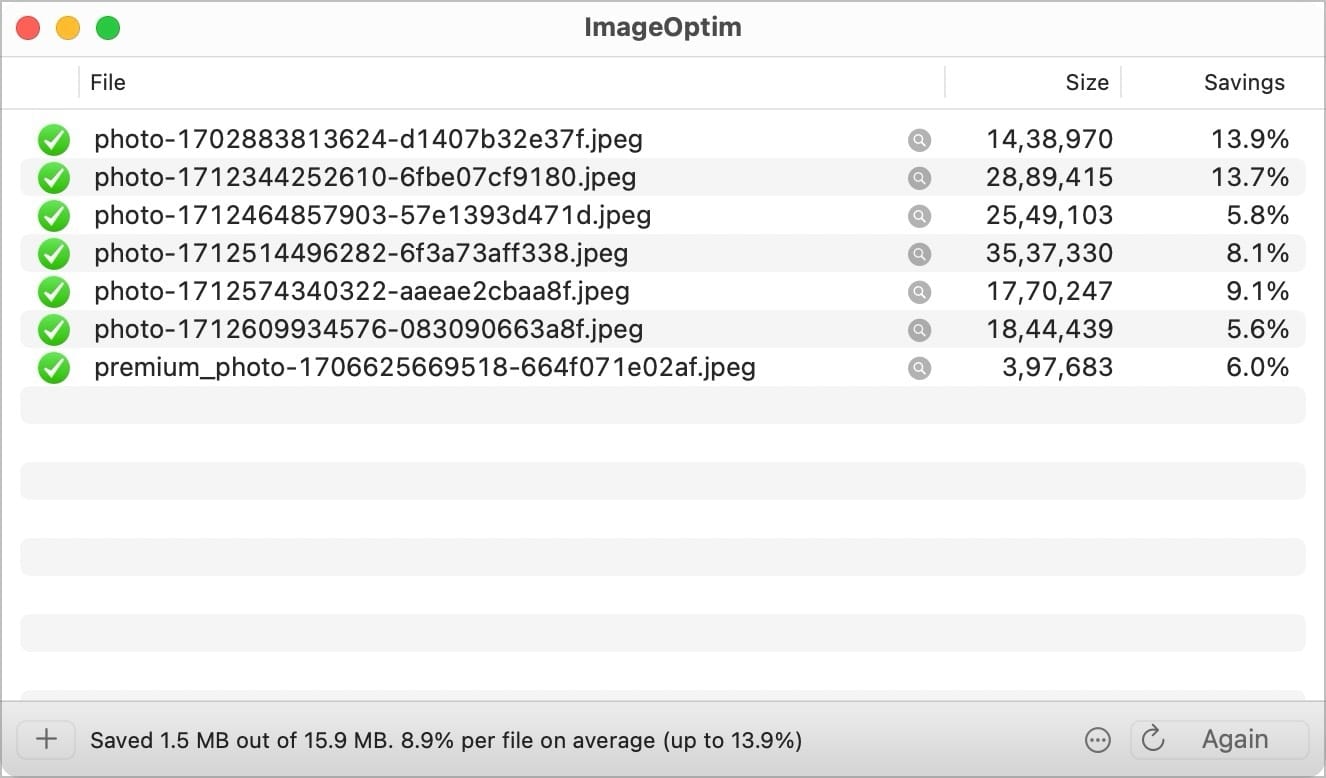
6. Now, you are ready to compress images using ImageOptim. To compress images, drag and drop the photos in the app’s window, and it will compress the images.
Remember that the app compresses the original images, so you might want to create duplicates of the files to ensure you don’t lose them. We recommend testing with several compression levels to find the best configuration before you trust the app completely.
That’s it. Now you know how to compress images to reduce their size on Mac. If you have any questions regarding this guide, drop them in the comments, and we will help you.


