
How to Create a Book Tracker in Logseq to Keep Track of Books You Read
Here is how you can create a book tracker in Logseq to keep track of the books you read.
If you use Logseq as your note-taking app for taking notes on books, creating a book tracker in Logseq is a good idea. It will help you quickly see the books you have read and access the corresponding notes with one click, thanks to Logseq’s notes interlinking feature. In this article, I will show you how to create a book tracker in Logseq to keep track of the books you read.
Use Logseq to keep track of books you read
Books are a great source of knowledge, and if you don’t want to forget your learnings as soon as you stop reading a book, you need an app that can help you digest the information and create actionable items and notes that you can use later.
Logseq, with its outline-based interconnected note-taking system, is perfect for this purpose. It is a powerful note-taking application meant for users who want to use the app as a place for thinking and creating a knowledge base.
To create a book tracker in Logseq, we will use its template, properties, and queries features. If you don’t know how to create templates in Logseq, we recommend you to read our explainer to get a better understanding.
Table of content
Create a book tracking template
To create a book tracker in Logseq, first, we will need to ensure that all our book pages have the same metadata. Having the same metadata is important, as it will guarantee that the query function we use will not break. For inserting the metadata, we will use properties and template features in Logseq. You can create the template anywhere in your Logseq graph. That said, we recommend that you create a separate page for saving all your templates, as it makes them easier to find and edit in the future.
Here are the steps you need to follow to create a book tracker template in Logseq.
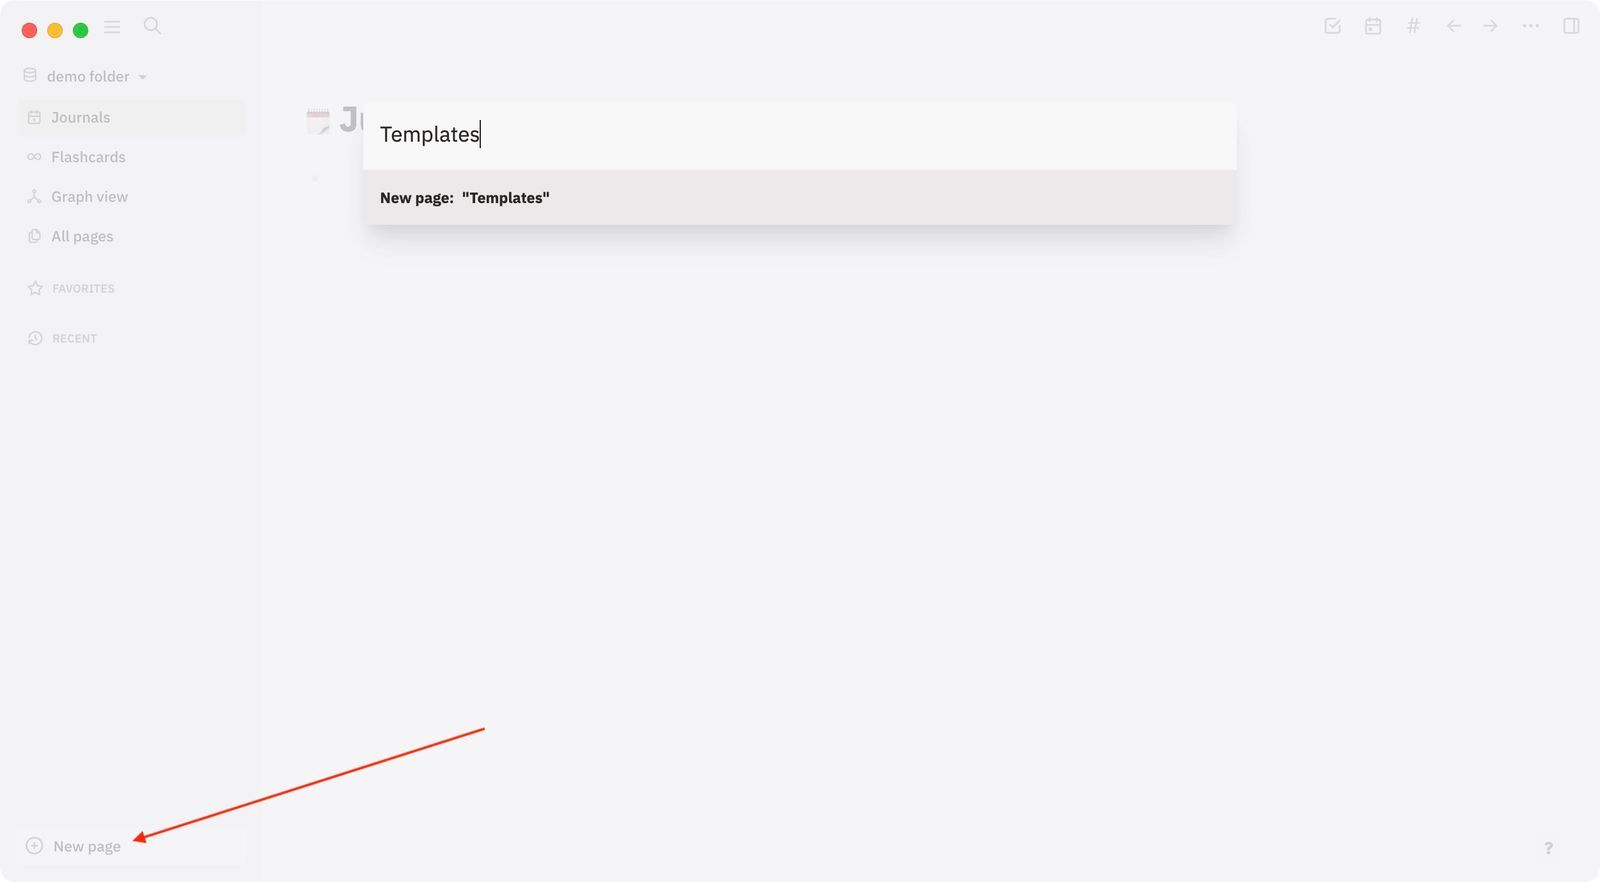
1. Launch Logseq and open the page where you save all your templates. If you don’t have one, click on the New page button in the bottom left corner, enter the title of the page, and hit enter.
2. In the parent block, type the name of the template. Let’s use Book Tracker as our template name.
3. Hit enter/return and use the Tab key to indent. Now, you will add all the metadata you want to associate with your books. Here’s the list of metadata I use for my books.
- Type::
- Cover::
- Author::
- Name::
- Status::
- Rating::
- Start-Date::
- End-Date::
You can use the same metadata or add or remove properties as per your needs. The only property you cannot change is the Type property, as we will use it for our query function. Here’s how the template should look after you add all the properties.
4. Right-click on the parent block, and select the Make Template option.
5. Enter the template name and disable the toggle next to Including the parent block in the template? option. Finally, click on the Submit button to save changes.
Use the book tracker template to add metadata to books
Now that we have created a book tracker template, we will use it to add metadata to the books we want to track. Let’s say that you are reading the book Make Good Art by Neil Gaiman.
1. Use the New page button in Logseq to create a page for the book you want to track.
2. Use the ‘/‘ menu and scroll down to find the Template command. Click on it to use it.
3. Click on the Book Tracker template, and it will autofill the metadata.
4. In the Type property, we will add books as we are tracking books, but you can add anything you want. If you want your book tracker to showcase the book cover, you will have to download the cover from Google.
Also, we recommend resizing the cover to 120pixels by height so that it doesn’t take up unnecessary space. To upload a cover, use the ‘/‘ menu and click on the Upload an Asset option. Choose the cover you downloaded to upload it to Logseq.
In the Name section, add the book name surrounded by double square brackets. It will create a link to the book page which will come in handy later.
Now, fill in all the other information as you require. Here’s how mine looks after adding all the properties. I have left the Rating and End Date fields empty, as I fill them after I have read the book.
Use query to create a book tracker
Now, it’s time to use a query that will pull all the books you have in Logseq in one place. You can use this query anywhere in Logseq, but having a separate book tracker page is recommended.
1. Use the New Page button to create a Book Tracker Page in Logseq.
2 Use the ‘/‘ command to use the query function or copy-and-paste the below query.
{query (page-property :type "Books”)}
Remember to change the :type from “Books” to the type that you are using in your template.
3. Click out of the query bullet, and you will see that all your books are showing up in a neat table. To adjust the info shown in the table, click on the gear icon next to Set properties.
4. First, disable all the properties by clicking on the toggles.
5. Now, enable them one by one in the order you want to see them in table. For example, I want to see the book cover in the left-most column, so I will enable it first.
6. Click on the (X) button to close the settings panel when you have enabled all the properties you want to see in the table.
You will notice that the Rating and End-Date properties are not showing up. It’s because their fields have been empty. Once you add the data, they will start showing up.
7. Your book tracker page is ready. As you can see, it looks awesome. Also, since we added links to author and book name properties, we can click on them to go to their respective page.
What I do is that I take notes on the page that I have created for the book and access them quickly by clicking on the name in the book tracker page. You can use these features however you want. Experiment with them and figure out the workflow that works for you the best.
Create a book tracker in Logseq: final thoughts
Tracking the books you read in Logseq will help you manage your reading list and easily access notes that you take on them. Thanks to the interlinking and backlink features, you will also be able to connect ideas from different books to gain a better understanding.
If you find the guide useful, don’t forget to share it, as every share helps in increasing the reach of our content. Like always, if you have any questions regarding this guide, reach us on Twitter, and we will answer all your questions.


