5 screenshot tricks your Mac has been hiding from you
Most people use one screenshot shortcut and call it done, but your Mac has been hiding these five tricks the whole time.
Your Mac has a powerful built-in screenshot tool that lets you capture your Mac’s display and even create screen recordings. However, most people are unaware of the hidden features that cannot only improve their screenshot game but also save them a lot of time. Here are 5 macOS screenshots tricks your Mac has been hiding from you.
Table of Contents
- Access screenshot tools from the Dock
- Change screenshot save location
- Change screenshot format
- Magnify a part of the screenshot to draw attention
- Use hand-drawn annotations
1. Access screenshot tools from the Dock
If you are a heavy user of the screenshot tool, you know that you can use the keyboard shortcut ⌘⇧5 to open the screenshot capture tool. However, not everyone is so good at remembering keyboard shortcuts.
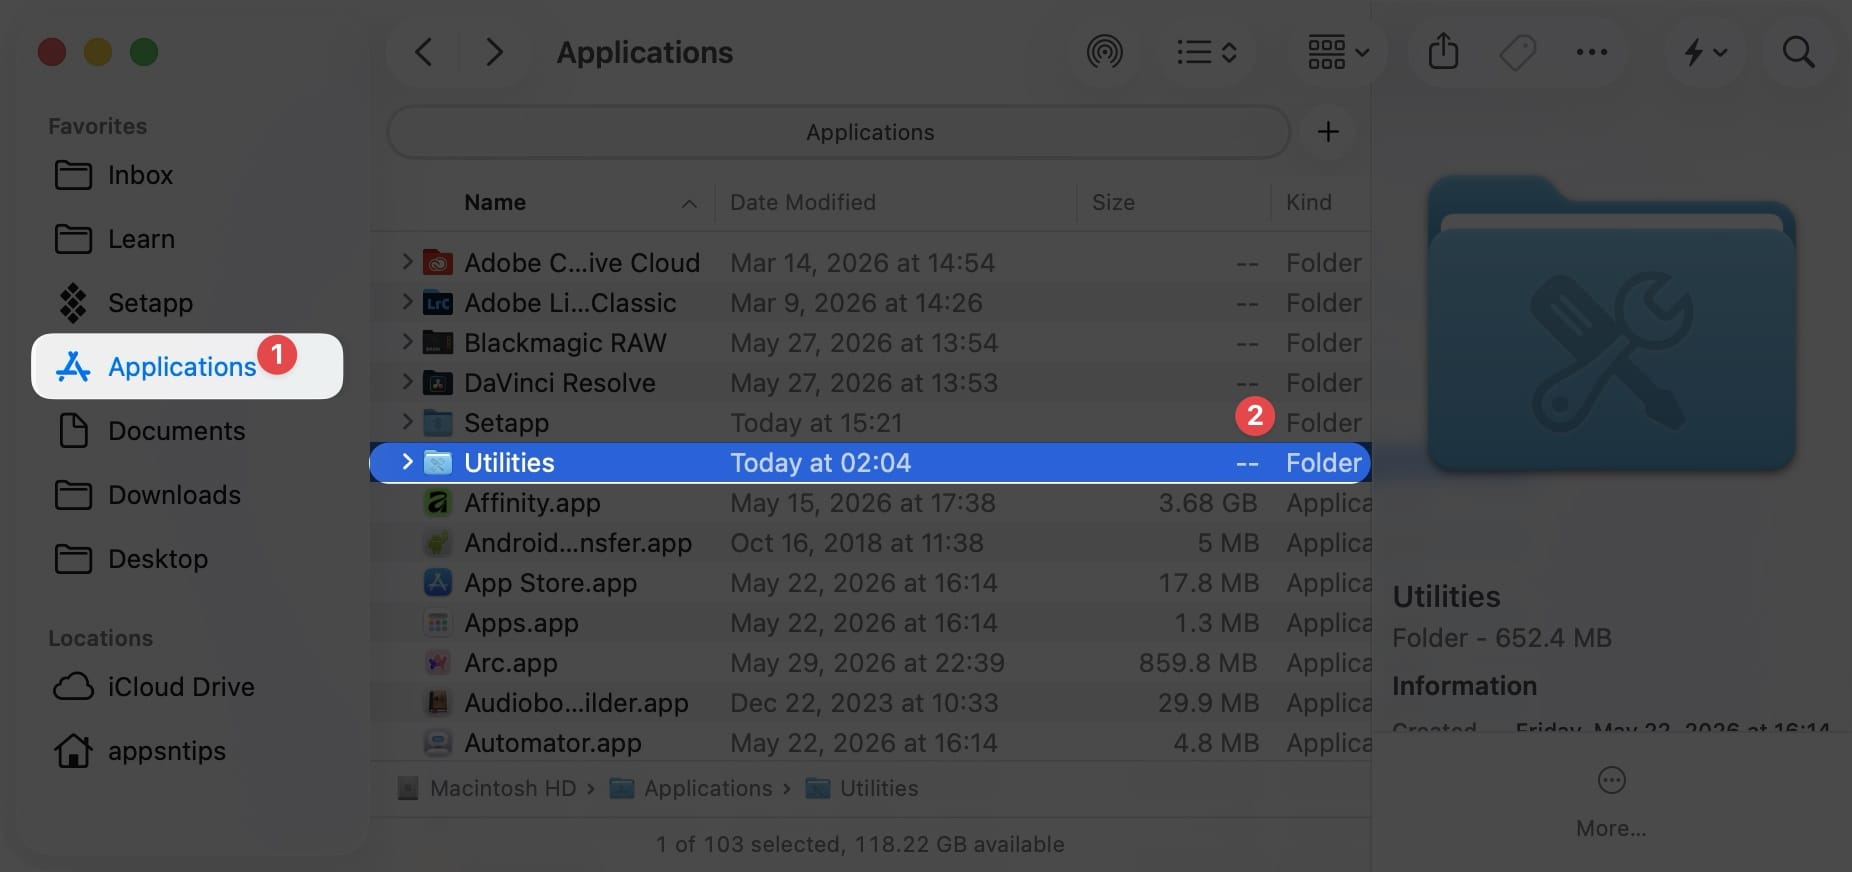
For them, I recommend adding the screenshot app to the Dock for easy access. To do that, open Finder and go to Applications → Utilities.
Here, scroll down to find the Screenshots app and drag and drop it into the Dock.
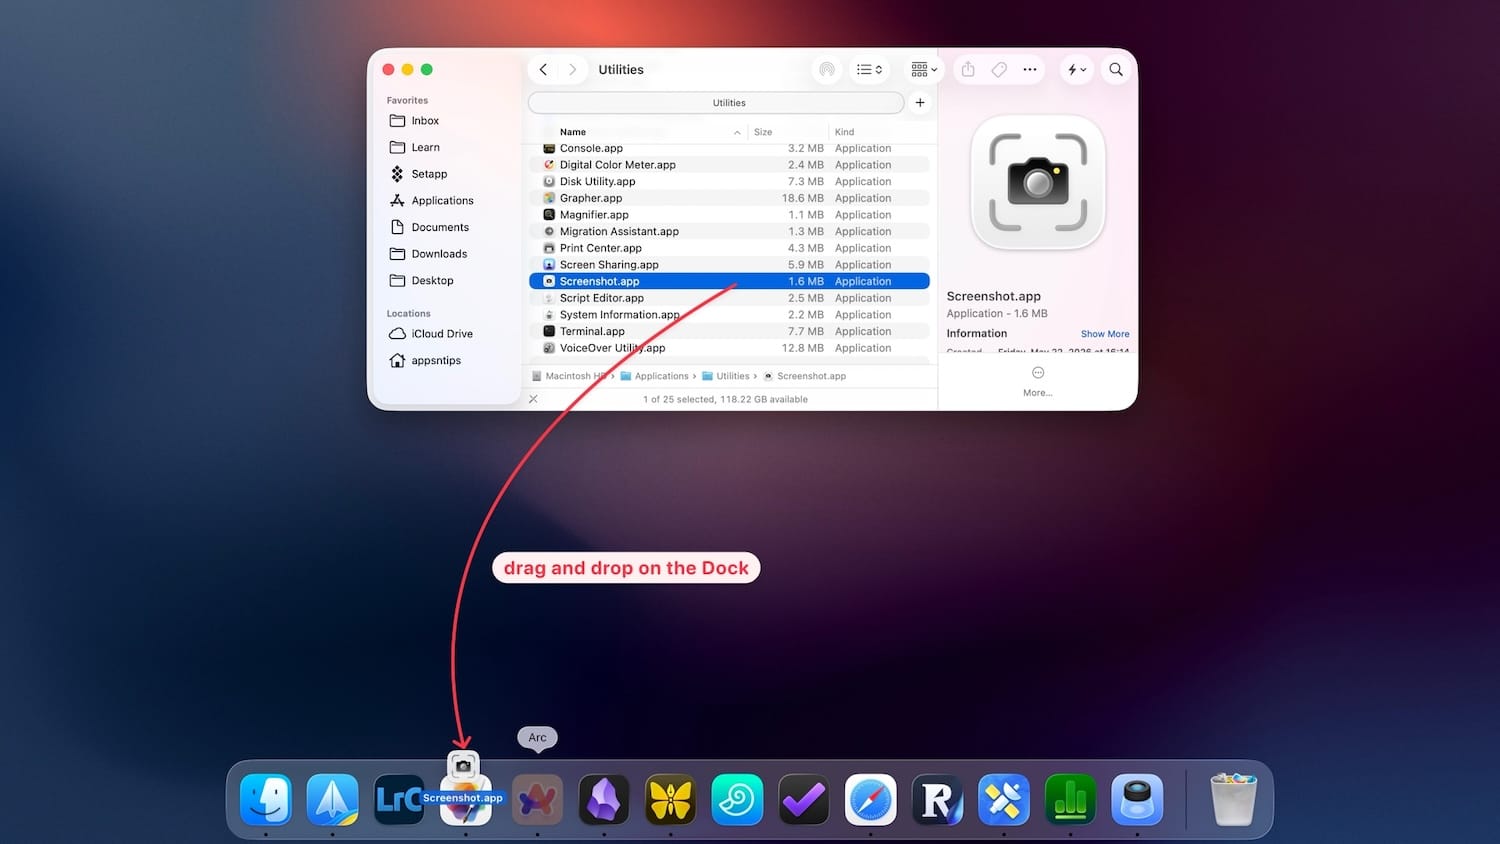
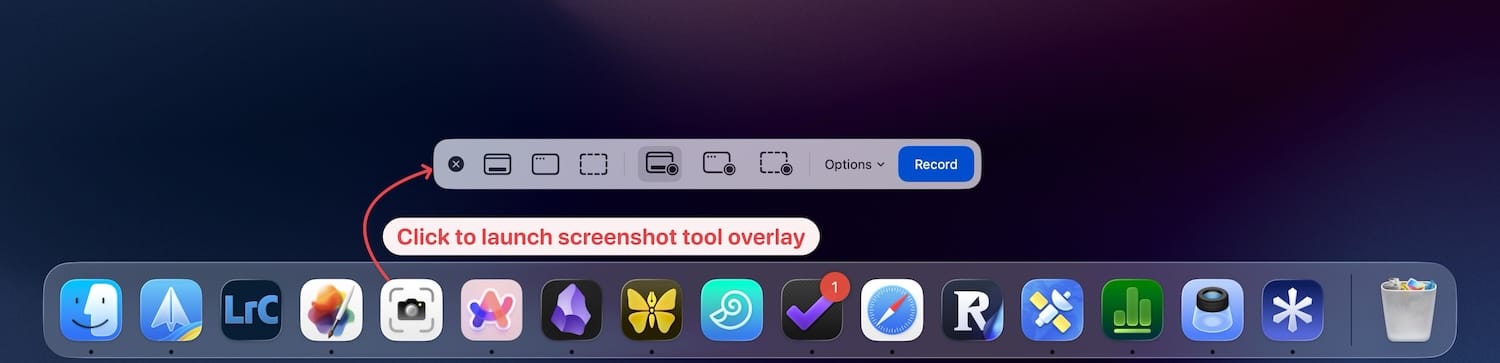
Next time you want to capture a screenshot, simply click the app icon to open the screenshot overlay menu.
2. Change screenshot save location
By default, macOS saves screenshots on the desktop. This can result in a messy-looking desktop, making it harder to locate other files. That’s why I recommend saving your screenshots in a dedicated folder to keep everything organized.
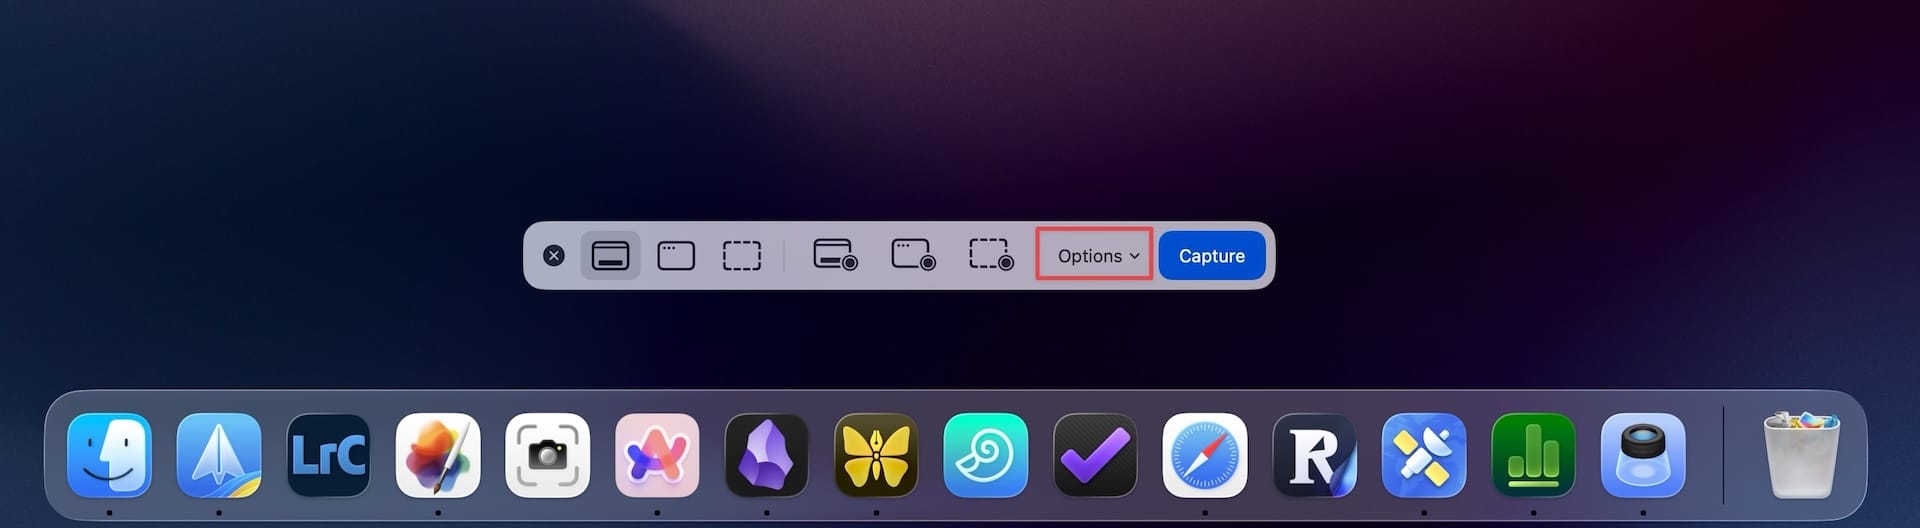
To do that, open the screenshot overlay by hitting the ⌘⇧5 keyboard shortcut or using the screenshot app in the Dock, and click on the Options button.
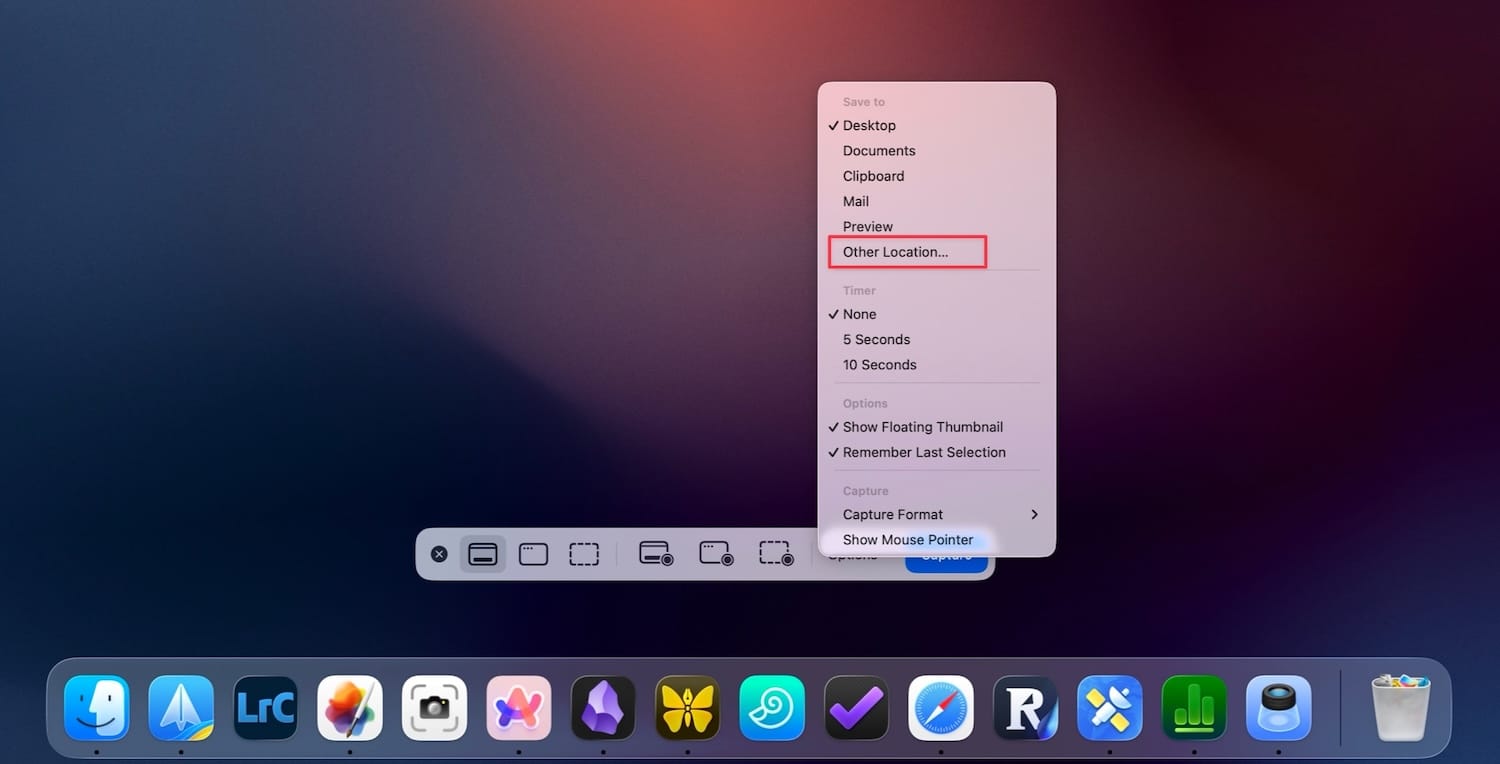
Now, click on the “Other locations” option.
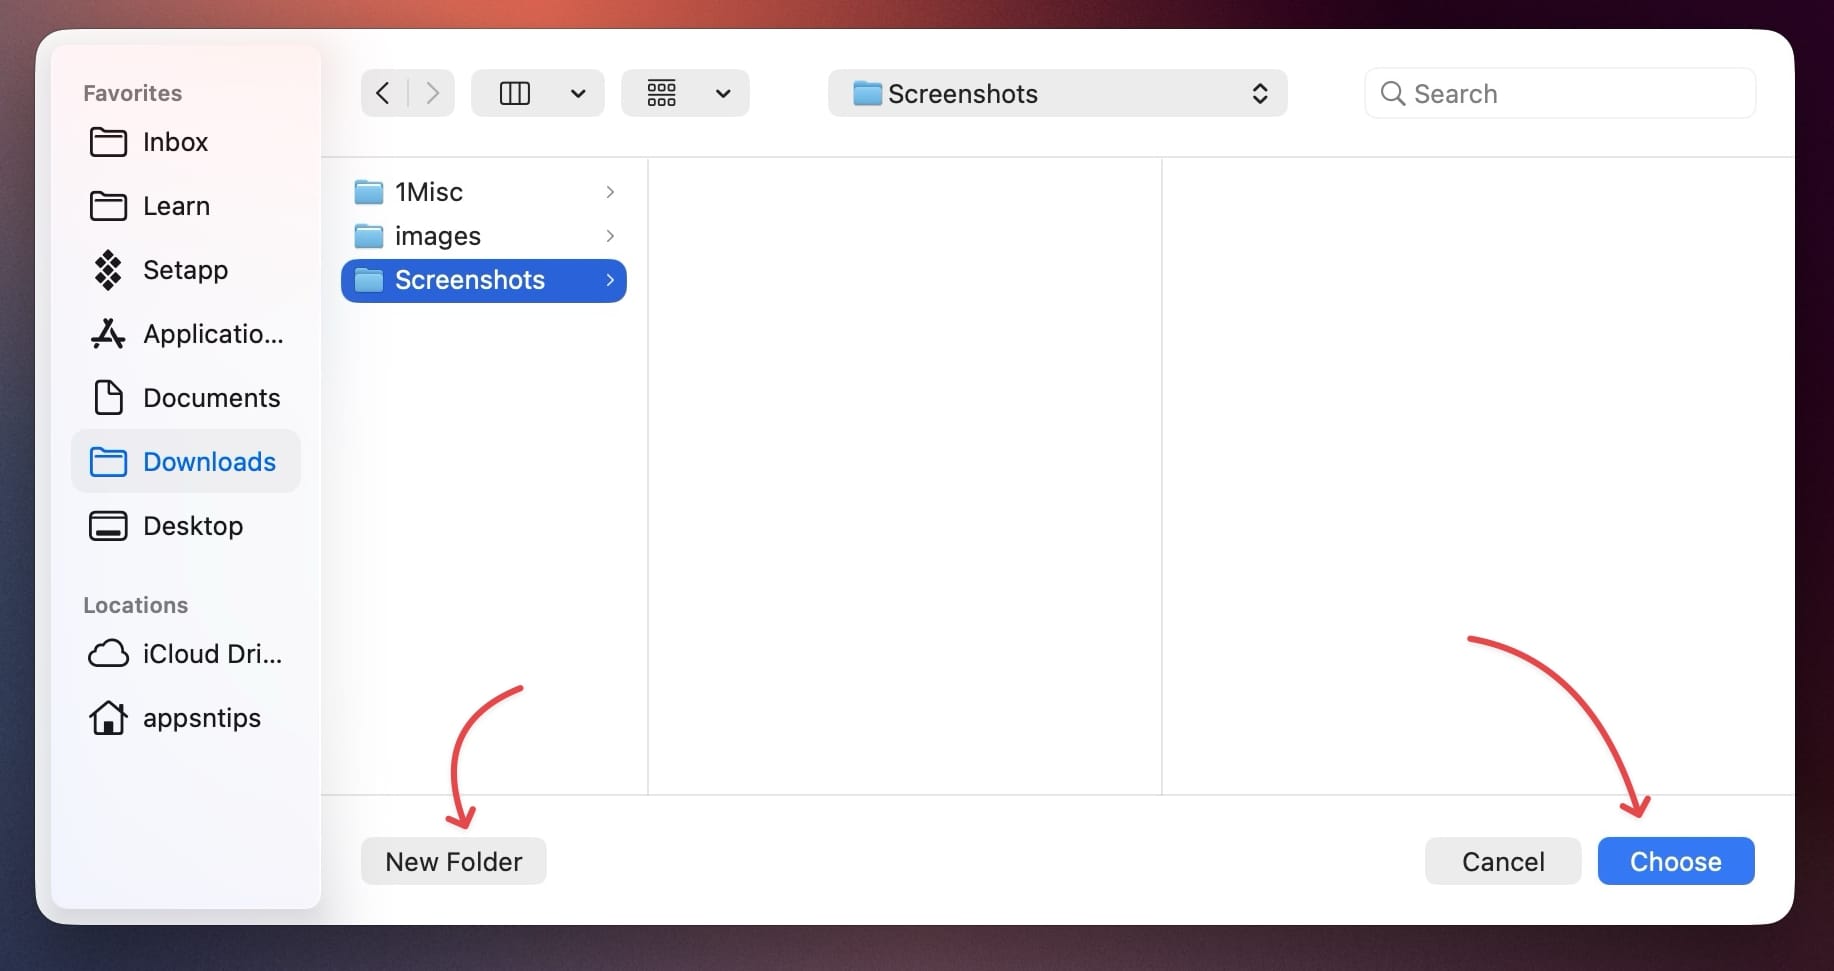
Navigate to where you want to save your screenshot. I like to keep it in a Screenshots folder inside Downloads. If you have not already created such a folder, simply hit the New Folder button to create it.
Now, all your screenshots will automatically save to that folder. I recommend checking the folder regularly and deleting the screenshots you no longer need, so they don’t hog up space on your Mac.
3. Change screenshot format
By default, macOS captures screenshots in PNG format, which produces large files. I recommend changing it to JPEG format, which will create screenshots with a smaller file size, without any discernible drop in quality.
The screenshot app doesn’t have a setting that allows this, so we will need to use a Terminal command to accomplish it. Don’t worry, if you have never opened Terminal in your life, it’s just a simple single command.
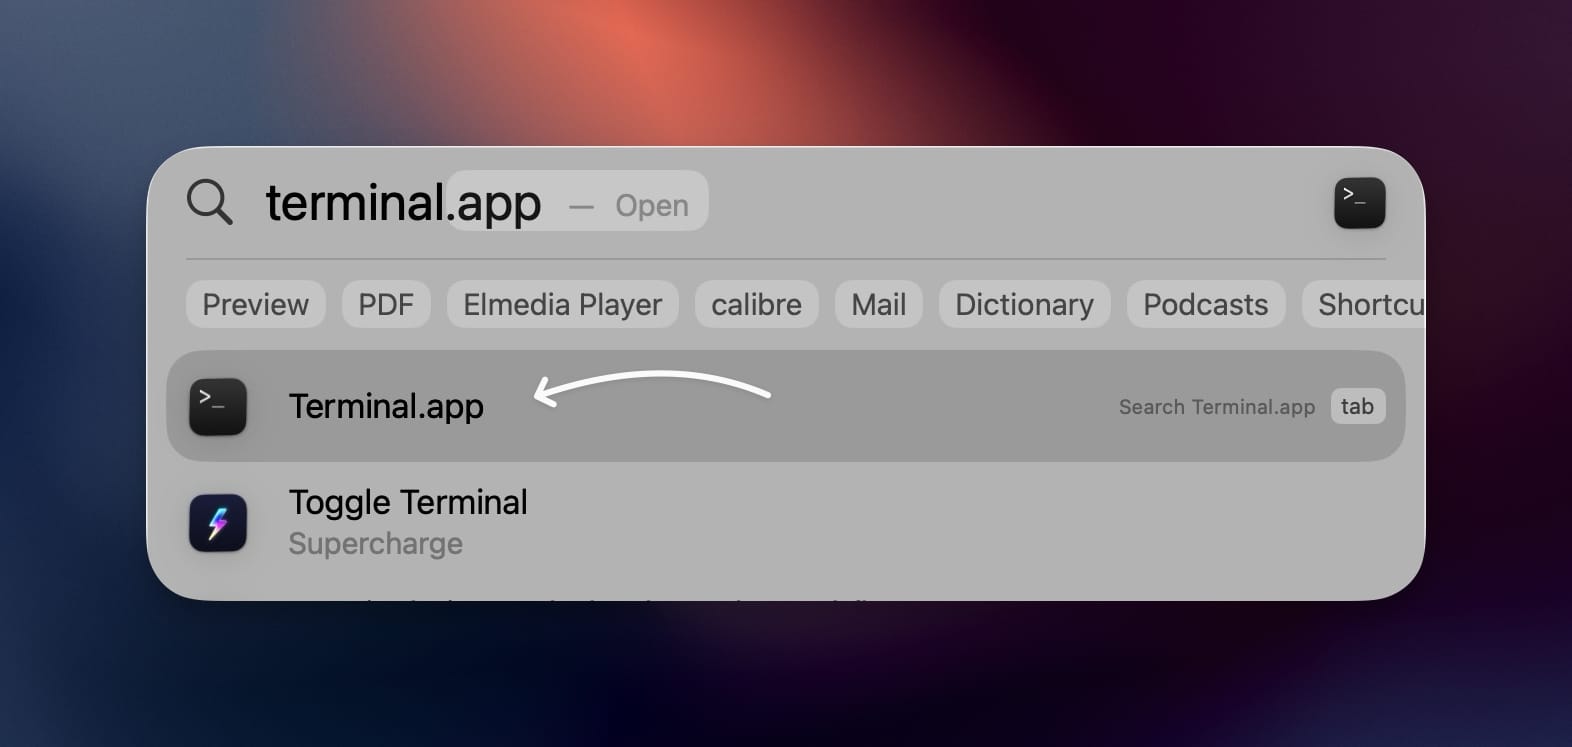
First, use Spotlight (⌘+Space) to launch Terminal on your Mac.
Now, copy and paste the following command in Terminal and hit the enter/return key on your Mac. Now, when you take a screenshot, it will save in JPG format.
defaults write com.apple.screencapture type jpg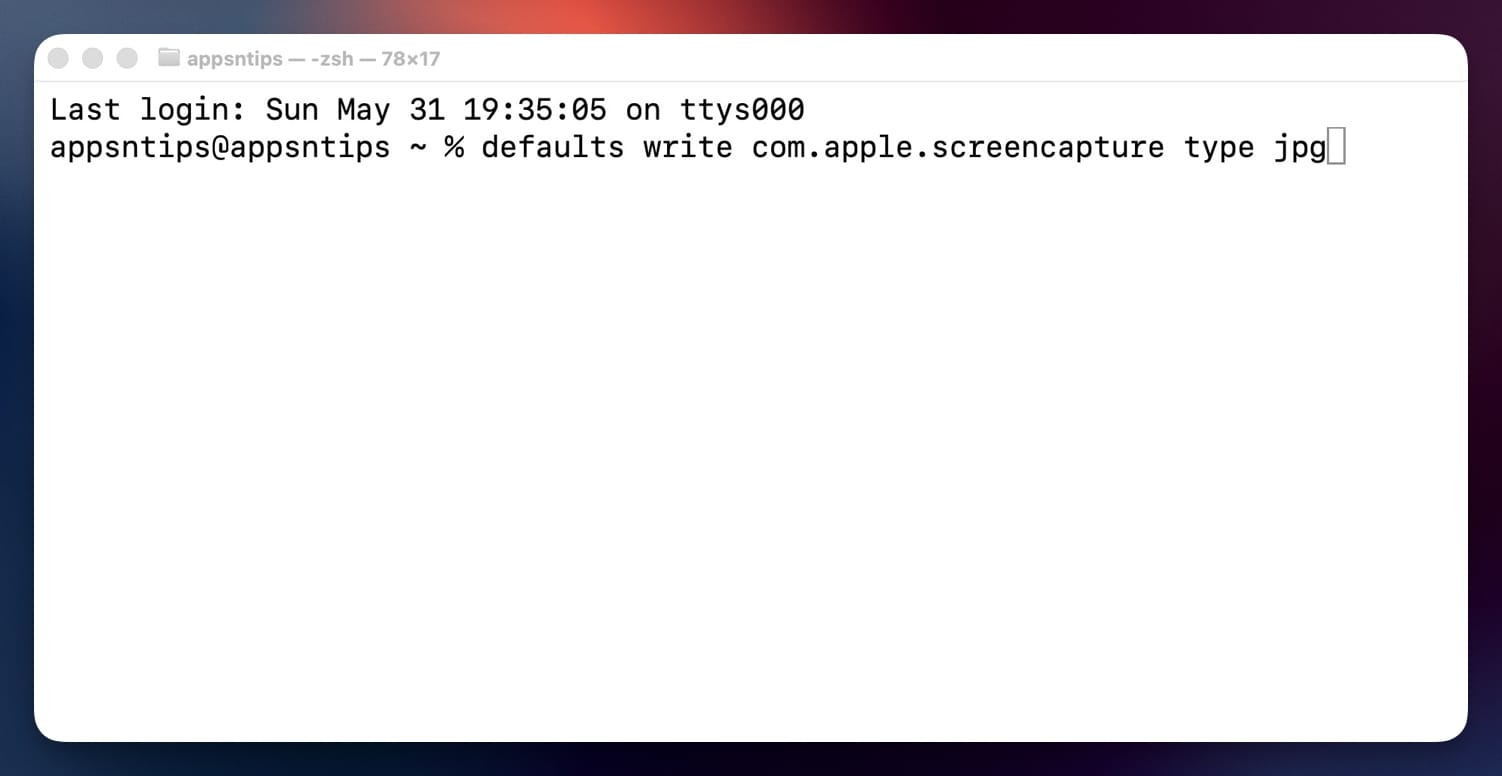
To change back to the PNG format, change the type from jpg to png in the same command.
defaults write com.apple.screencapture type png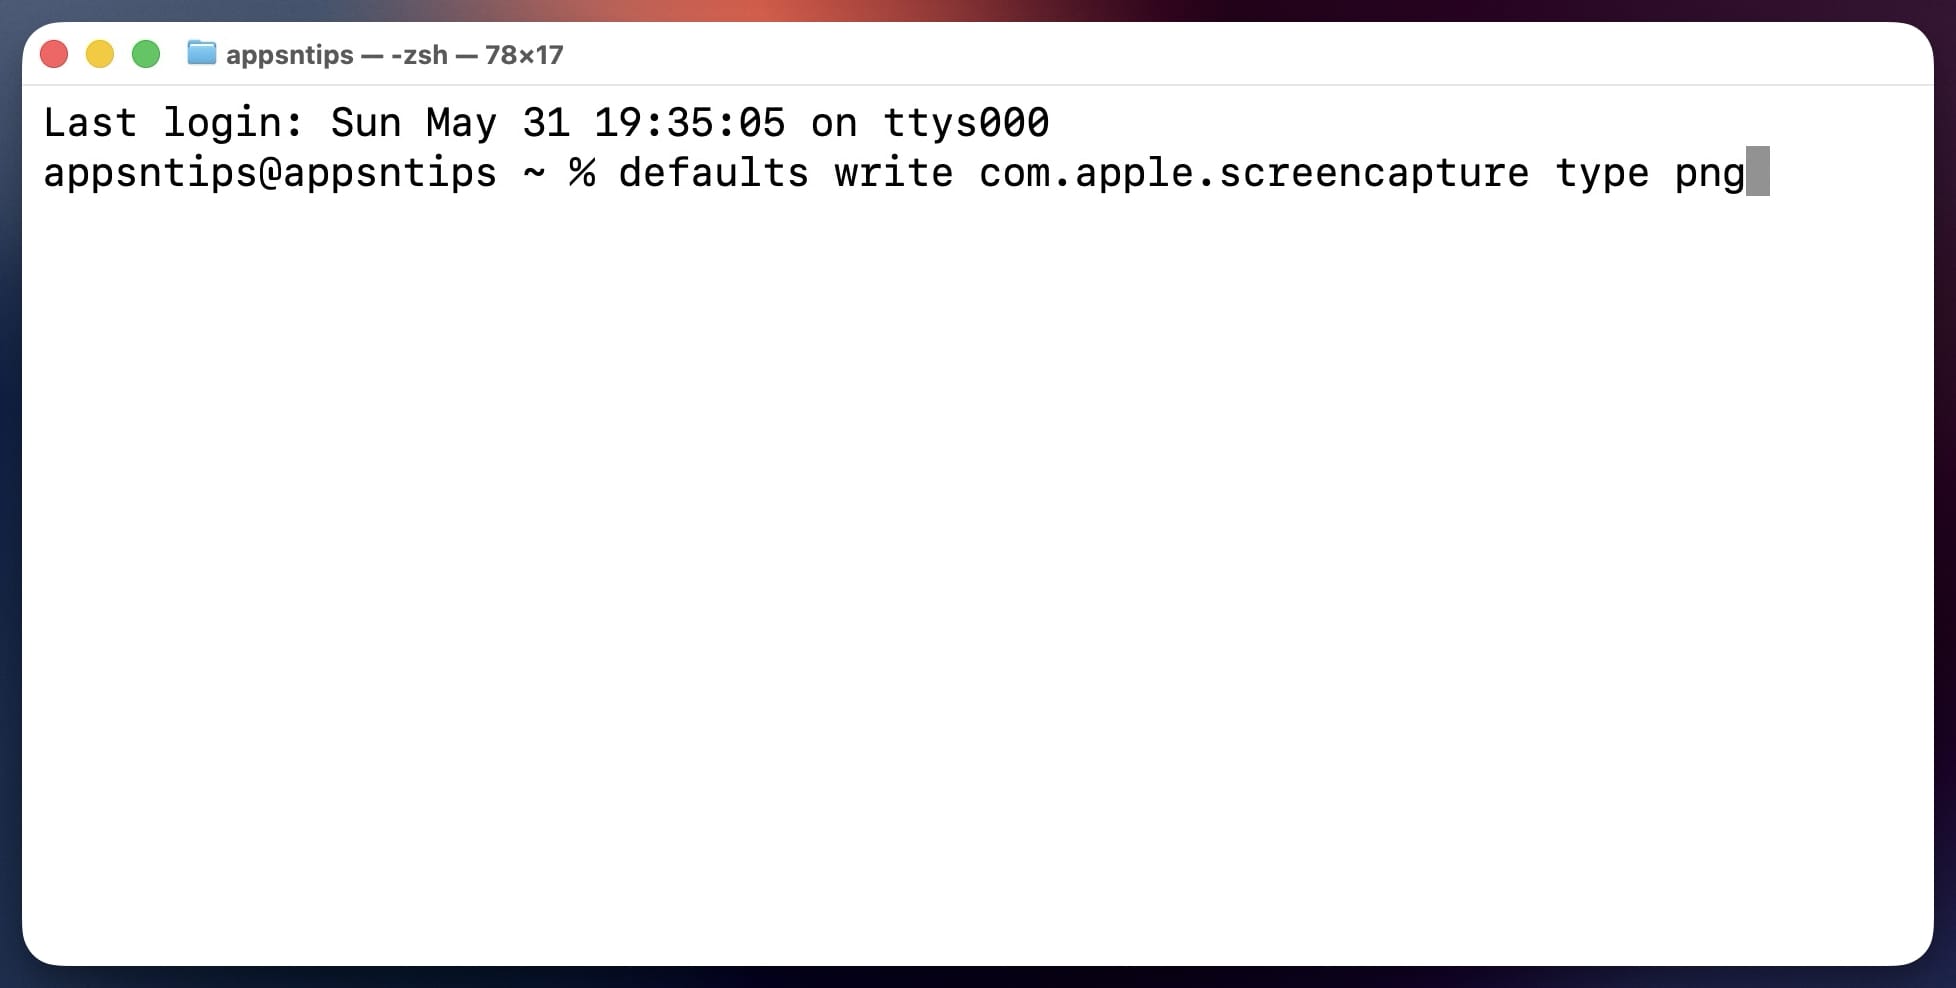
4. Magnify a part of the screenshot to draw attention
Sometimes, you need to draw attention to a specific part of a screenshot. Your screenshot tool has built-in markup tools that let you do it. My favorite tool is the magnify tool, which lets me enlarge a part of the image.
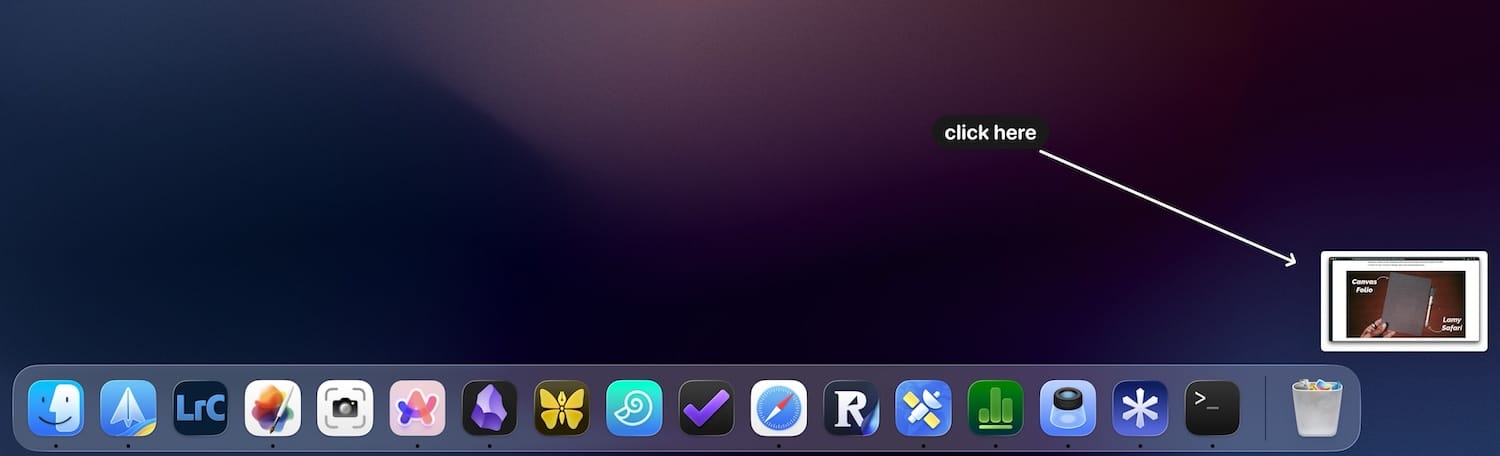
To access this, click on the floating screenshot window after you capture it. If a screenshot is already saved on the Mac, press the spacebar to open it in Quick Look.
Now, click the pencil button to open the markup tools, and then click the Shapes icon.You will see the magnify tool at the bottom-right. Click on it to add a magnifier to the image.
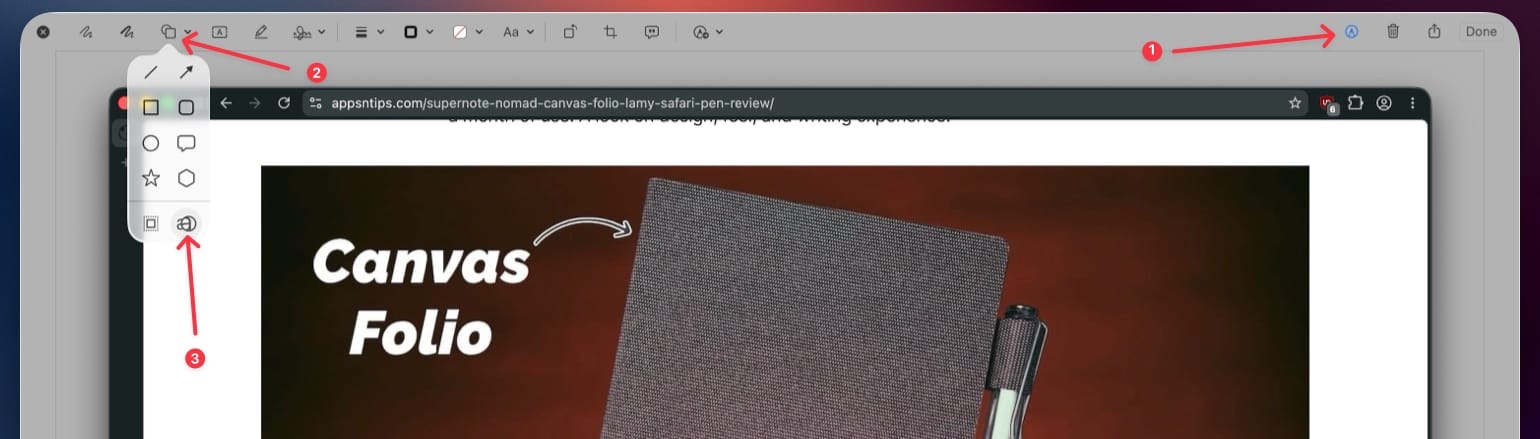
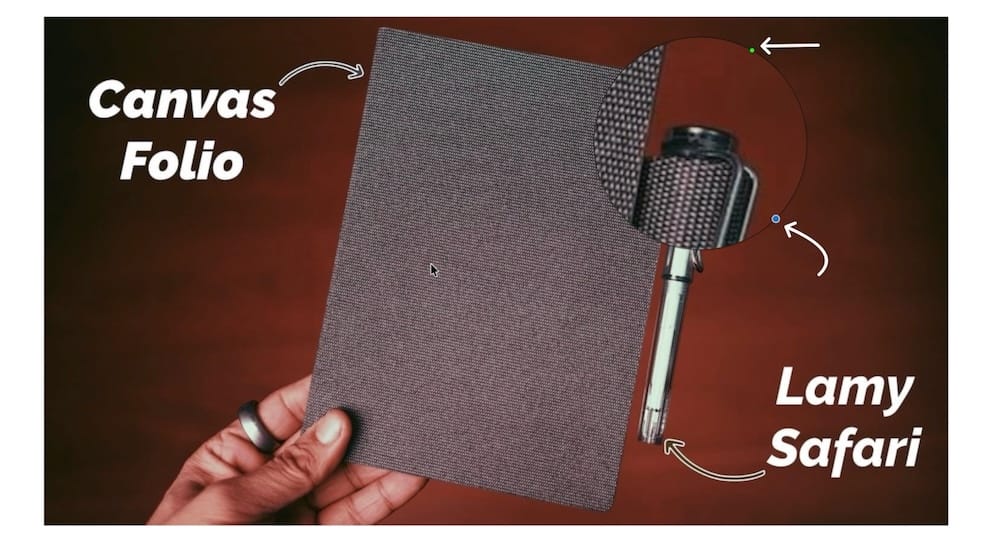
You can click and drag it to adjust its position, drag the blue dot to resize it, and drag the green dot to adjust the magnification level.
It’s sad that Apple removed this tool from iPhone screenshots, but there’s still a way to use it. You can read our guide on accessing the missing magnifier tool when marking up iPhone screenshots.
5. Use hand-drawn annotations
The markup toolbar has another hidden gem that lets you draw annotations with your fingers or Apple Pencil, if you have an iPhone or iPad.
To accomplish this, open the markup toolbar and click the pencil icon with a drop-down menu next to it. If you only have an iPhone or an iPad, you will see their respective icons instead of the pencil icon.
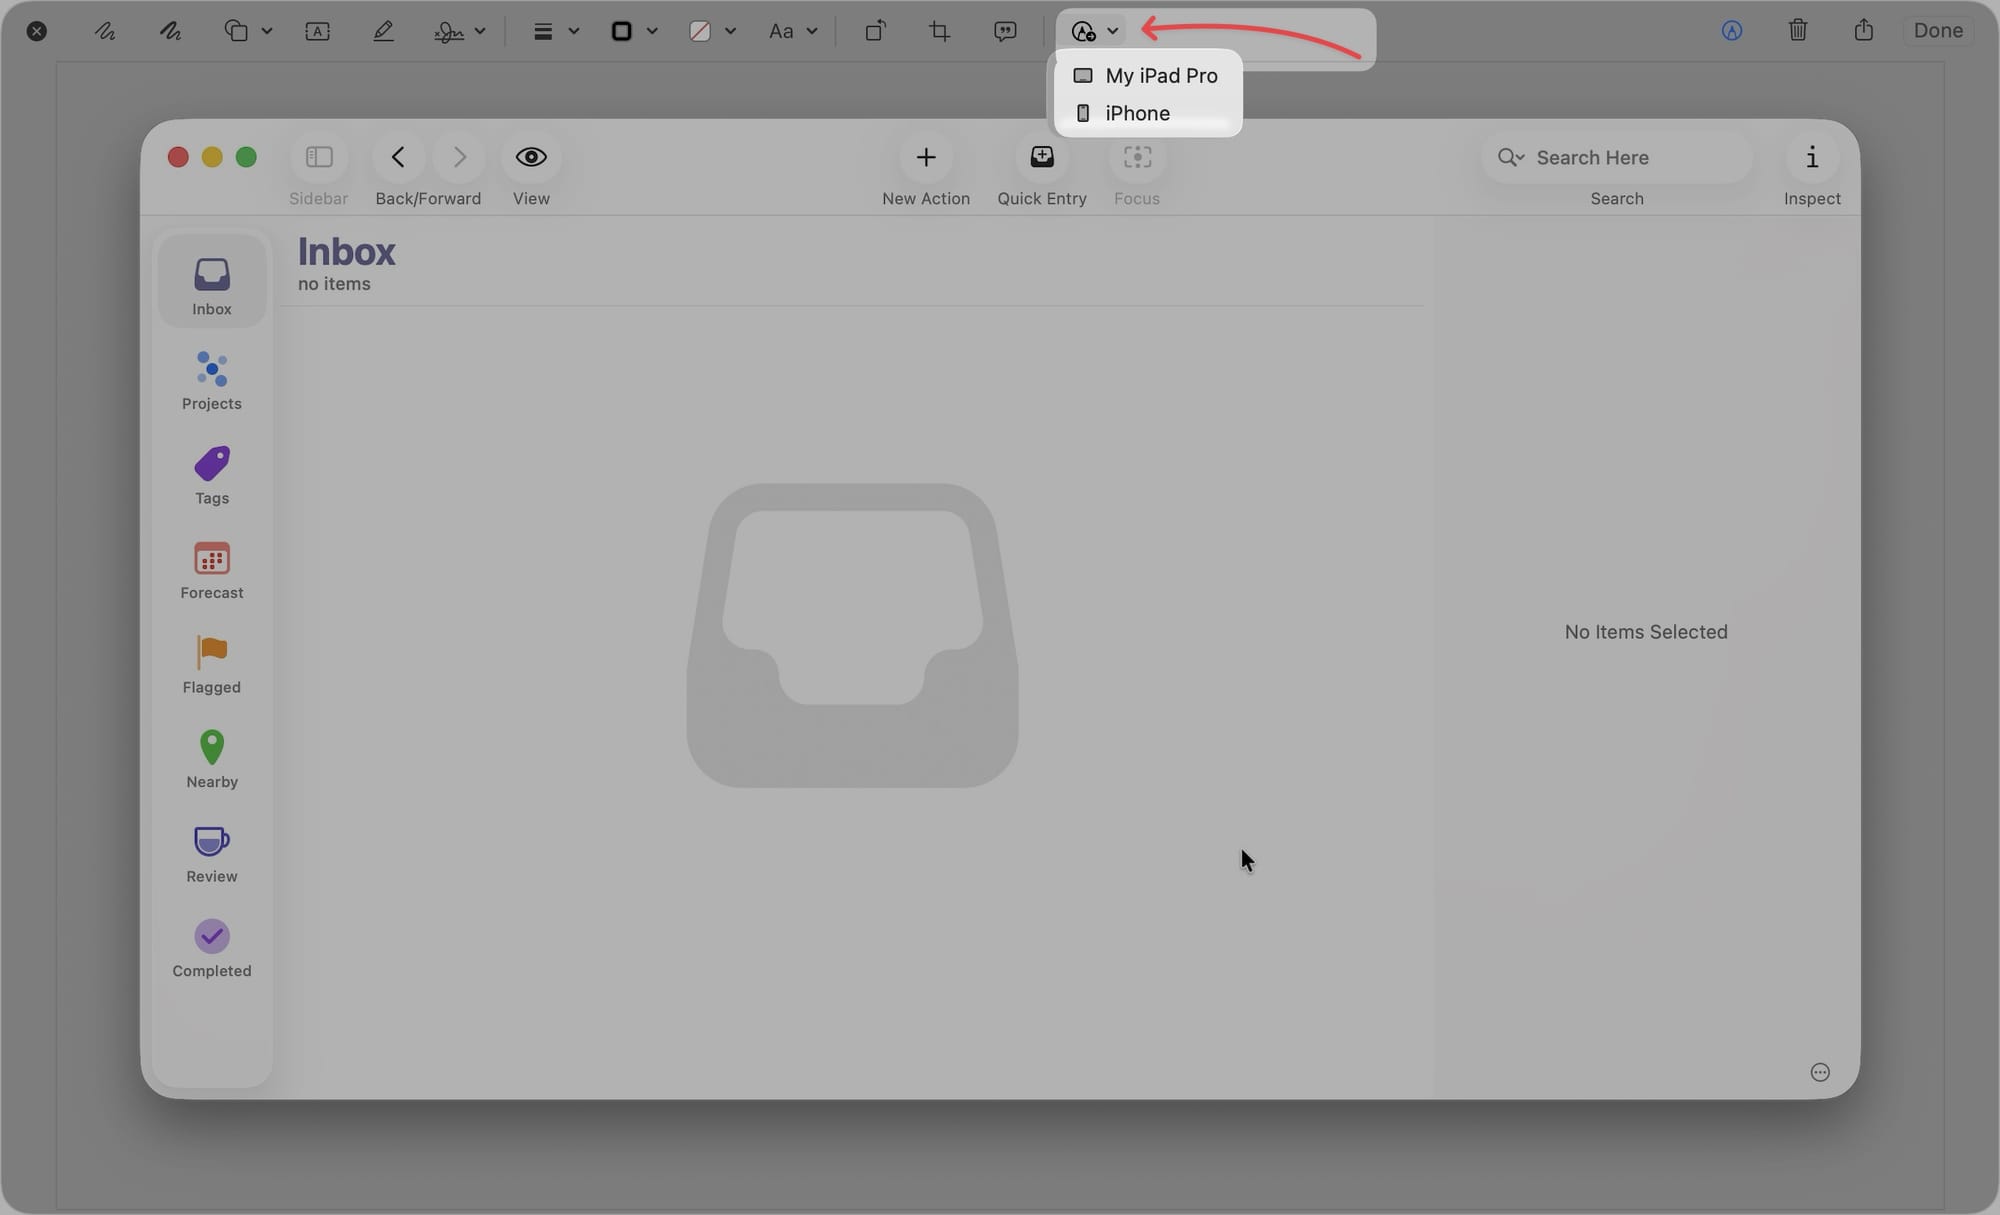
Now, choose the device you want to use for annotations, and it will open the screenshot on that . Here, I am using my iPad as an example.
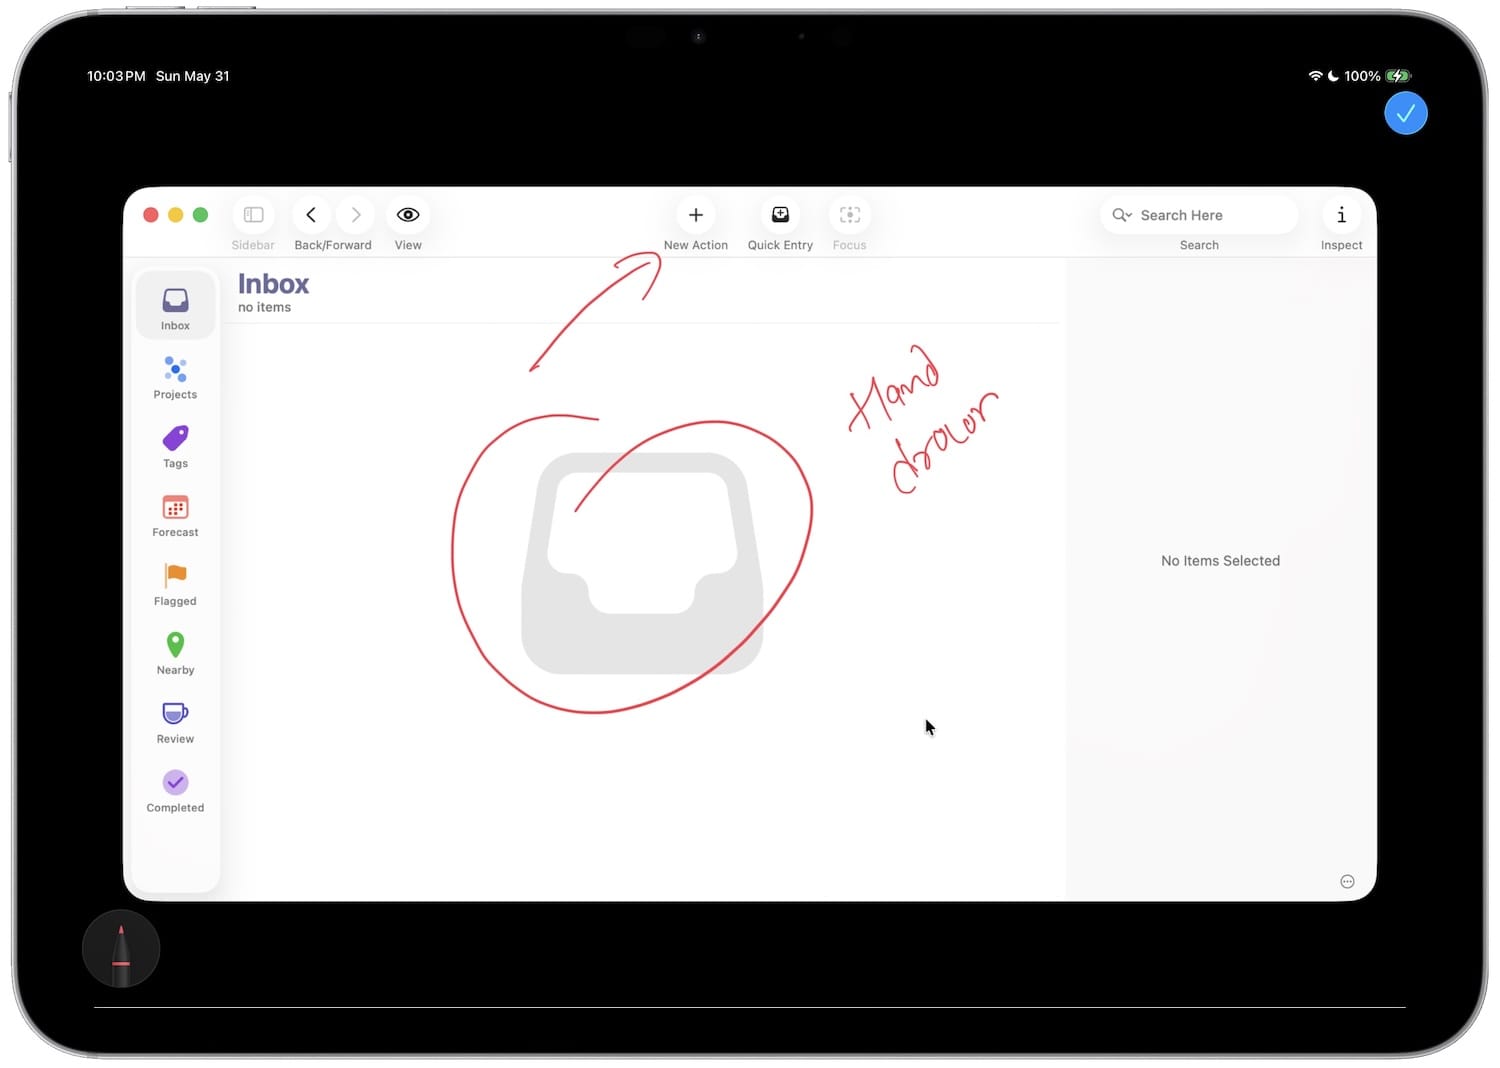
Once done, I can hit the blue check button to save the annotations to the original screenshot on my Mac. How cool is that?
Use these hidden screenshot tips to improve your screenshot game on Mac
These are 5 screenshot tips that will improve your screenshot experience on your Mac. If you want more, you can read our favorite Mac tips article to supercharge your macOS experience.